You can set up your AI Agent to interact with users through Facebook Messenger. This section explains how to create a Facebook app on the Facebook for Developers site and connect it to your AI Agent in the Druid Portal.
Prerequisites
Before configuring the Facebook channel, ensure you have:
- A published AI Agent.
- One or more Facebook pages.
- Open the Facebook Page's About page and then copy and save the Page ID.
- For DRUID hybrid and cloud deployments, the Facebook channel requires the Microsoft Bot Framework. You can configure the channel only if the Bot Framework is enabled on your tenant. If the channel configuration is unavailable – the Post Office is set to BotService (AI Agent Details → General) – contact Druid Support to enable the Microsoft Bot Framework on your tenant.
- For Druid on premise deployments, the channel uses direct DRUID Facebook integration. Ensure network access is configured for the following messaging endpoints:
| Outbound | graph.facebook.com |
| Inbound | DRUID.BotApp |
Connect an AI Agent to Facebook
To connect an AI Agent with Facebook Messenger, follow these steps:
Step 1. Create a Facebook app
- In your browser, navigate to Facebook for Developers and log in.
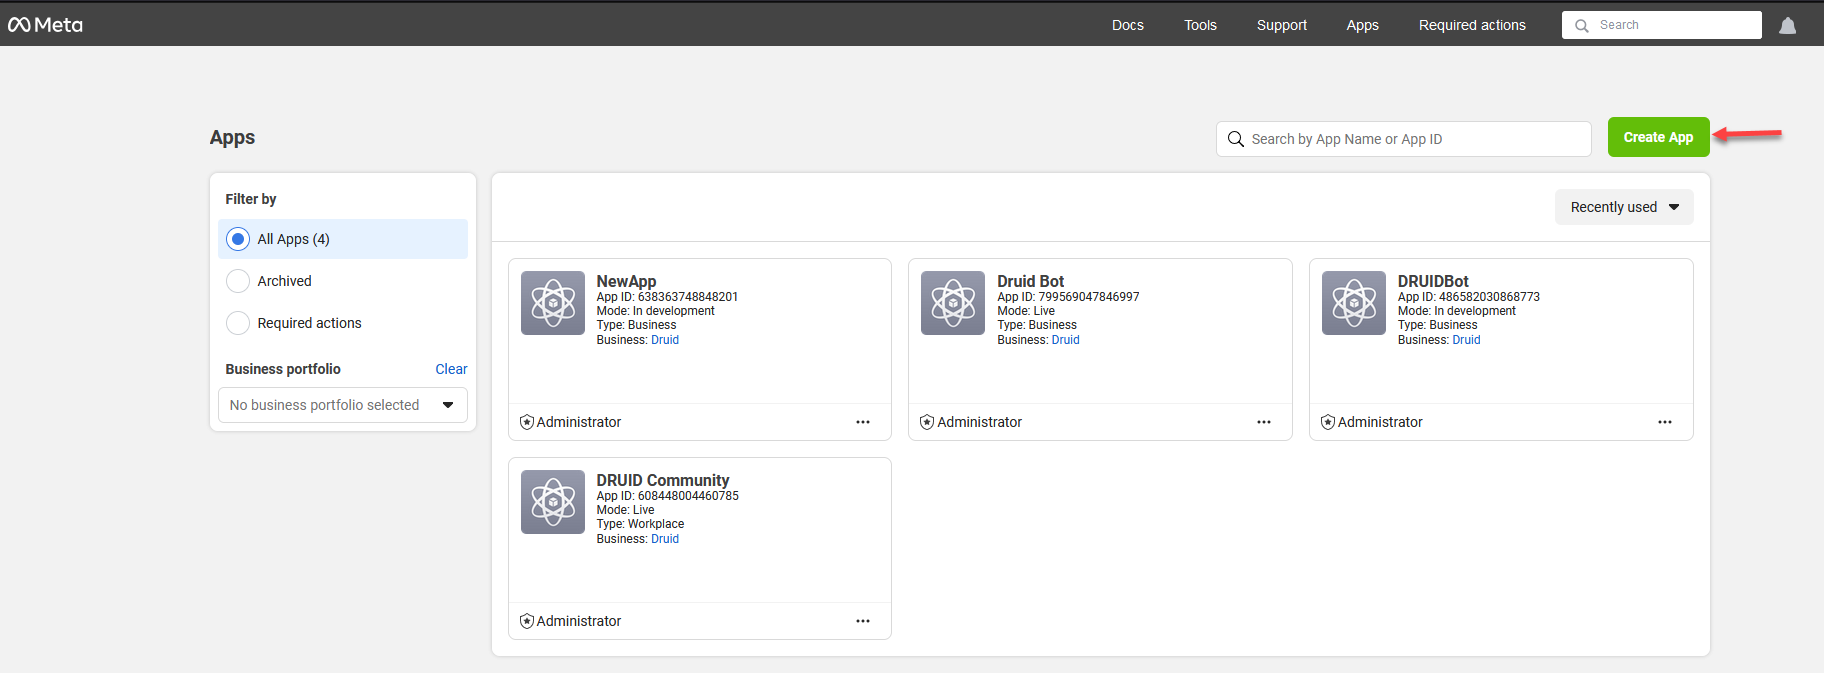
- On the toolbar, click My Apps. Your Facebook apps page appears.
- Click the Create App button.
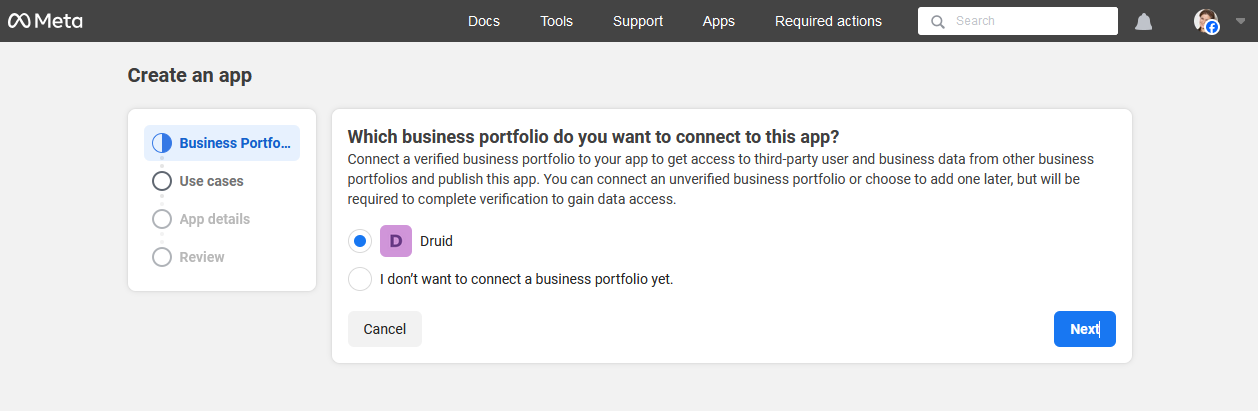
-
Select the business portfolio (verified or unverified) that you want to connect to your app.
- Click Next.
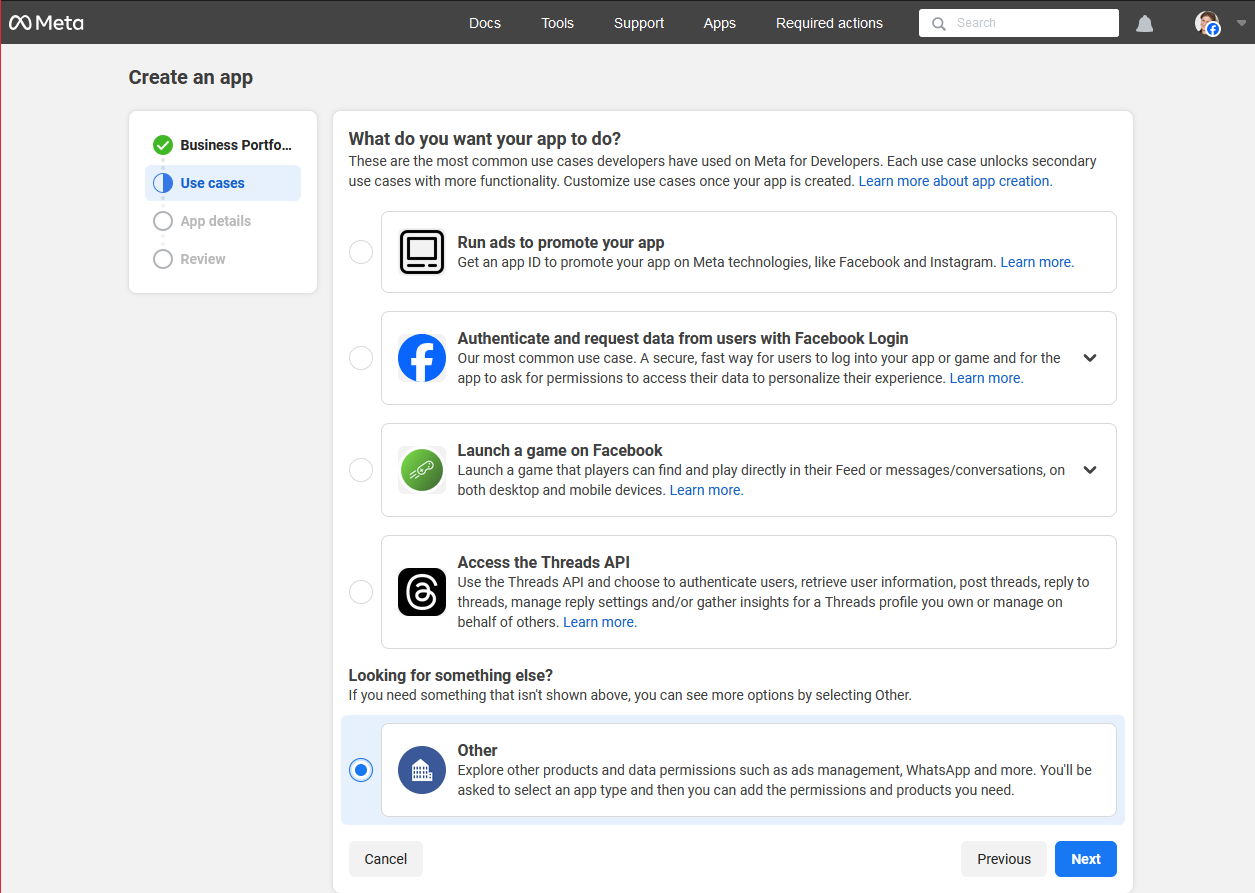
-
Select Other as the use case. You can customize how your app interacts with Meta later on the app Dashboard.
- Click Next.
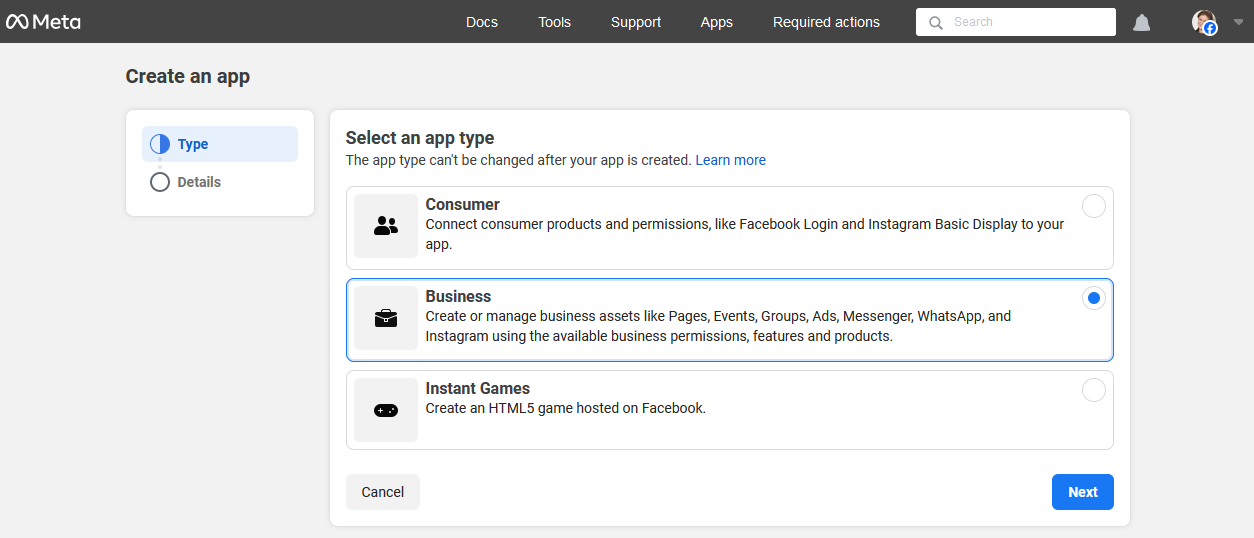
- Select Business as the app type. Your app type determines which products and APIs are available to your app.
- Click Next.
-
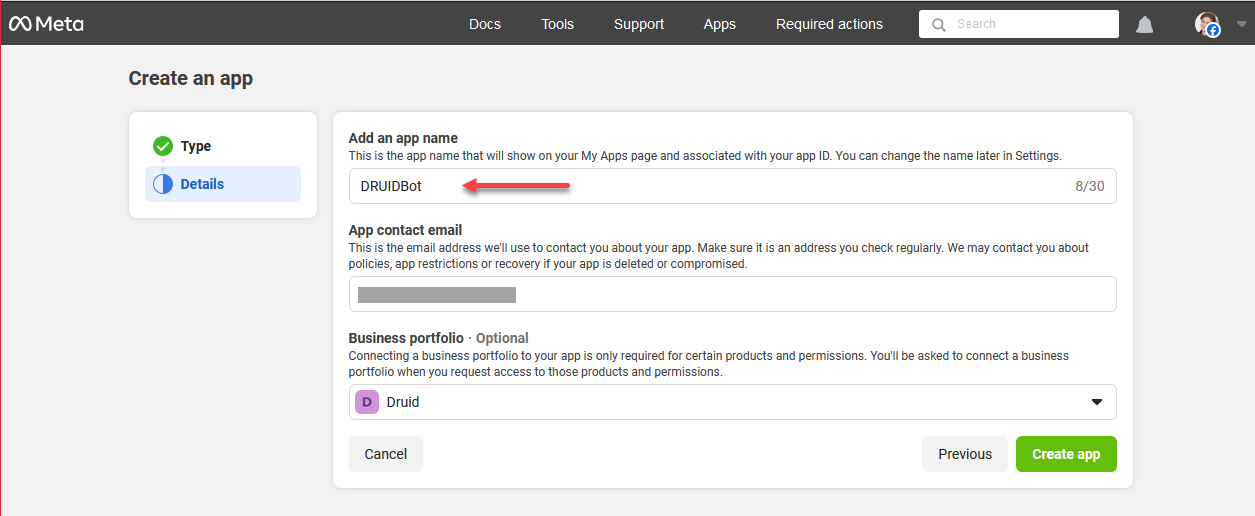
Enter an app name and the email address to be used to contact you about this particular app.
-
Optionally, you can link this app to an existing Business portfolio using the drop-down menu, or you can add this later.
- Click Create app.
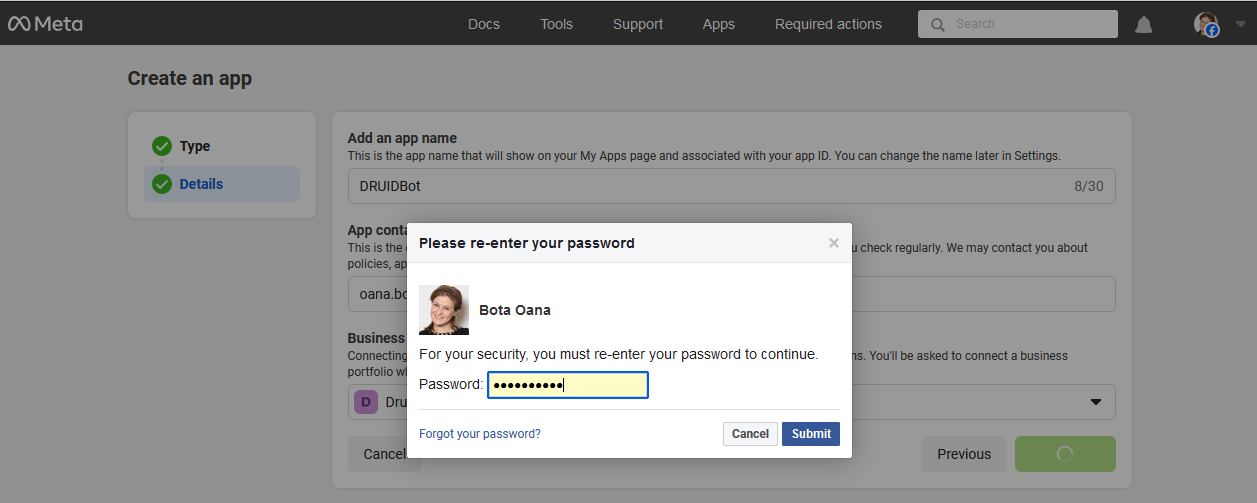
- For security reasons, re-enter your password and click Submit.
The Add products to your app page appears. You can now customize the way you interact with people on Messenger. For more information, see the next step.
Step 2. Set up Messenger for your app
In this section you will enable Messenger. connect your app to a Facebook Page and generate an access token for the FB page:
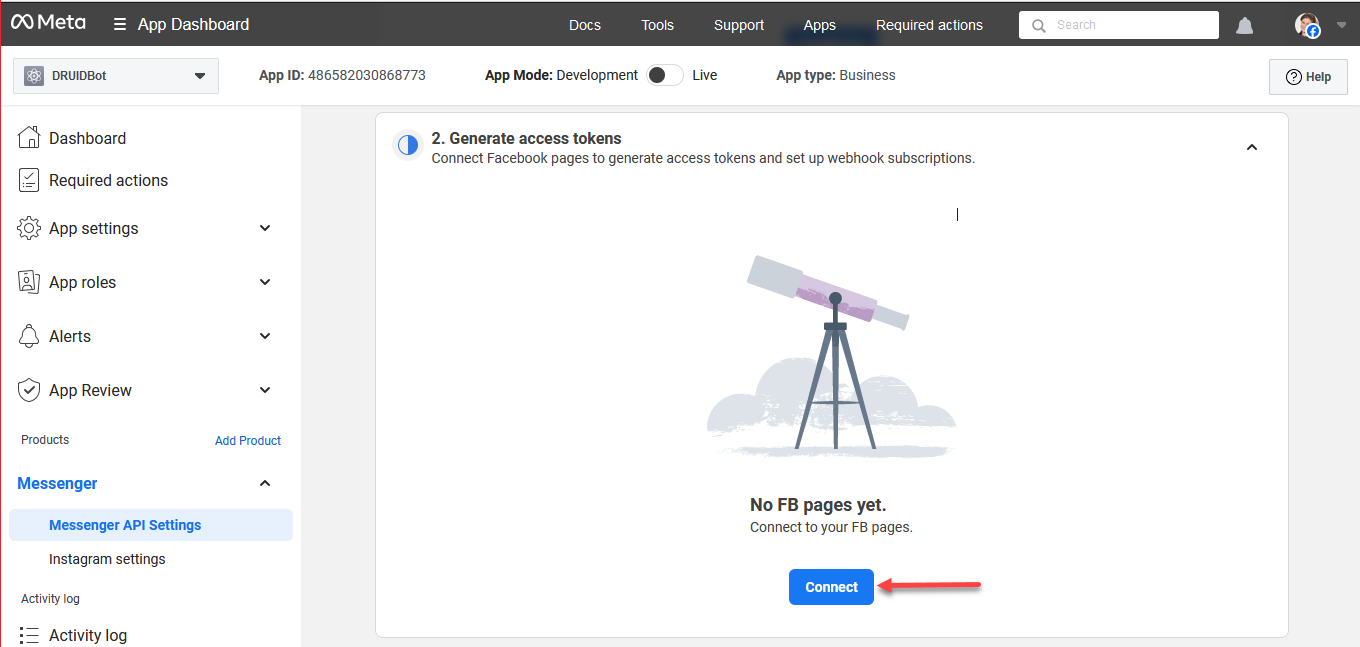
- On the Add Products to Your App page, search for Messenger and click the Set Up button. The Messenger API Setup appears.
- Scroll-down to the Generate access tokens section and click Connect.
- Continue as logged in user or log in using another account.
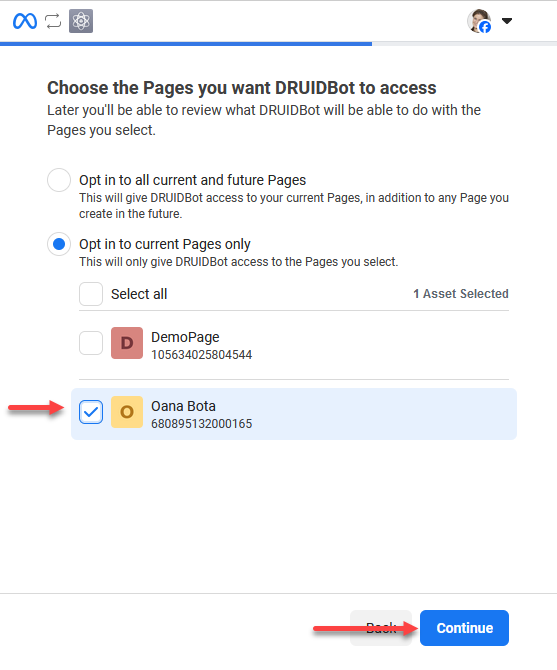
- Select the target Facebook page and click Continue.
- When prompted to review the app's permission requests, click Save.
- Click Got it.
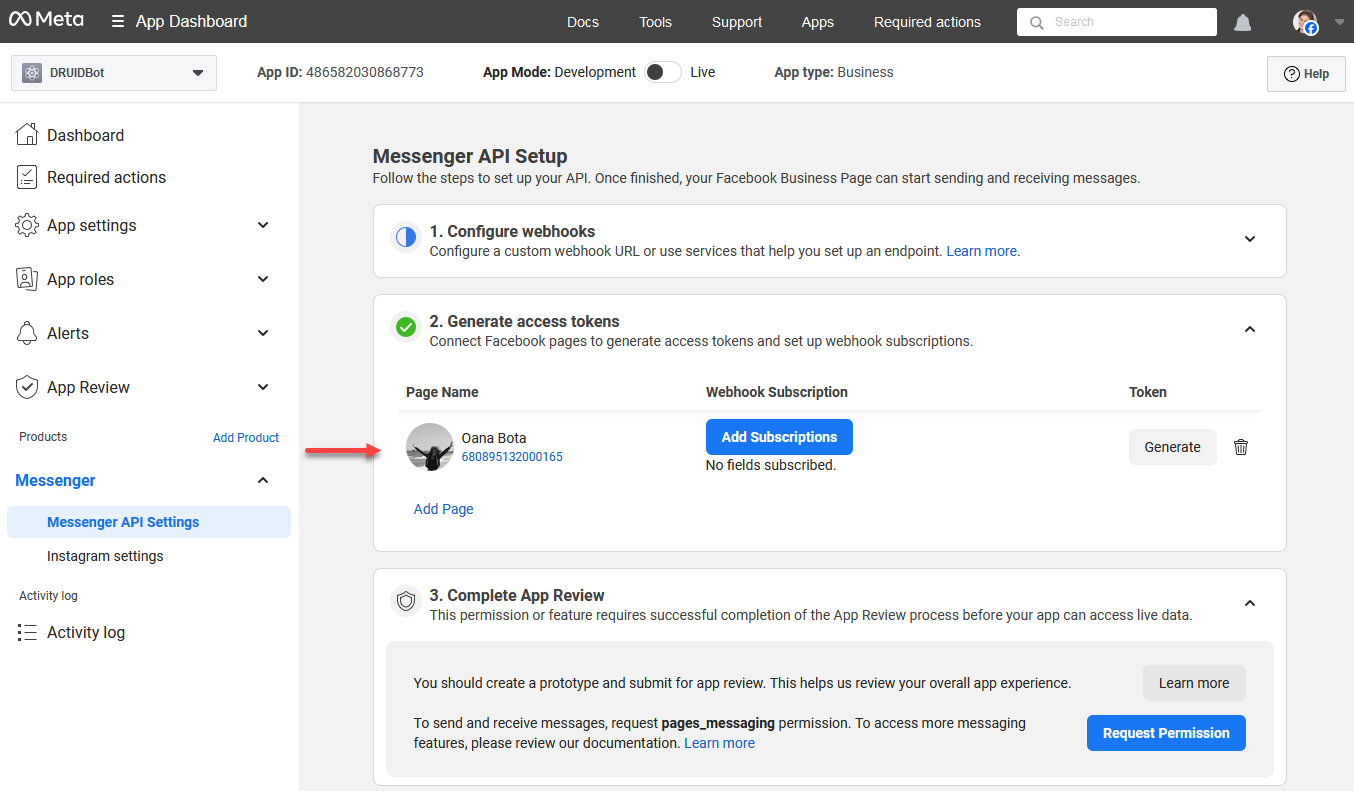
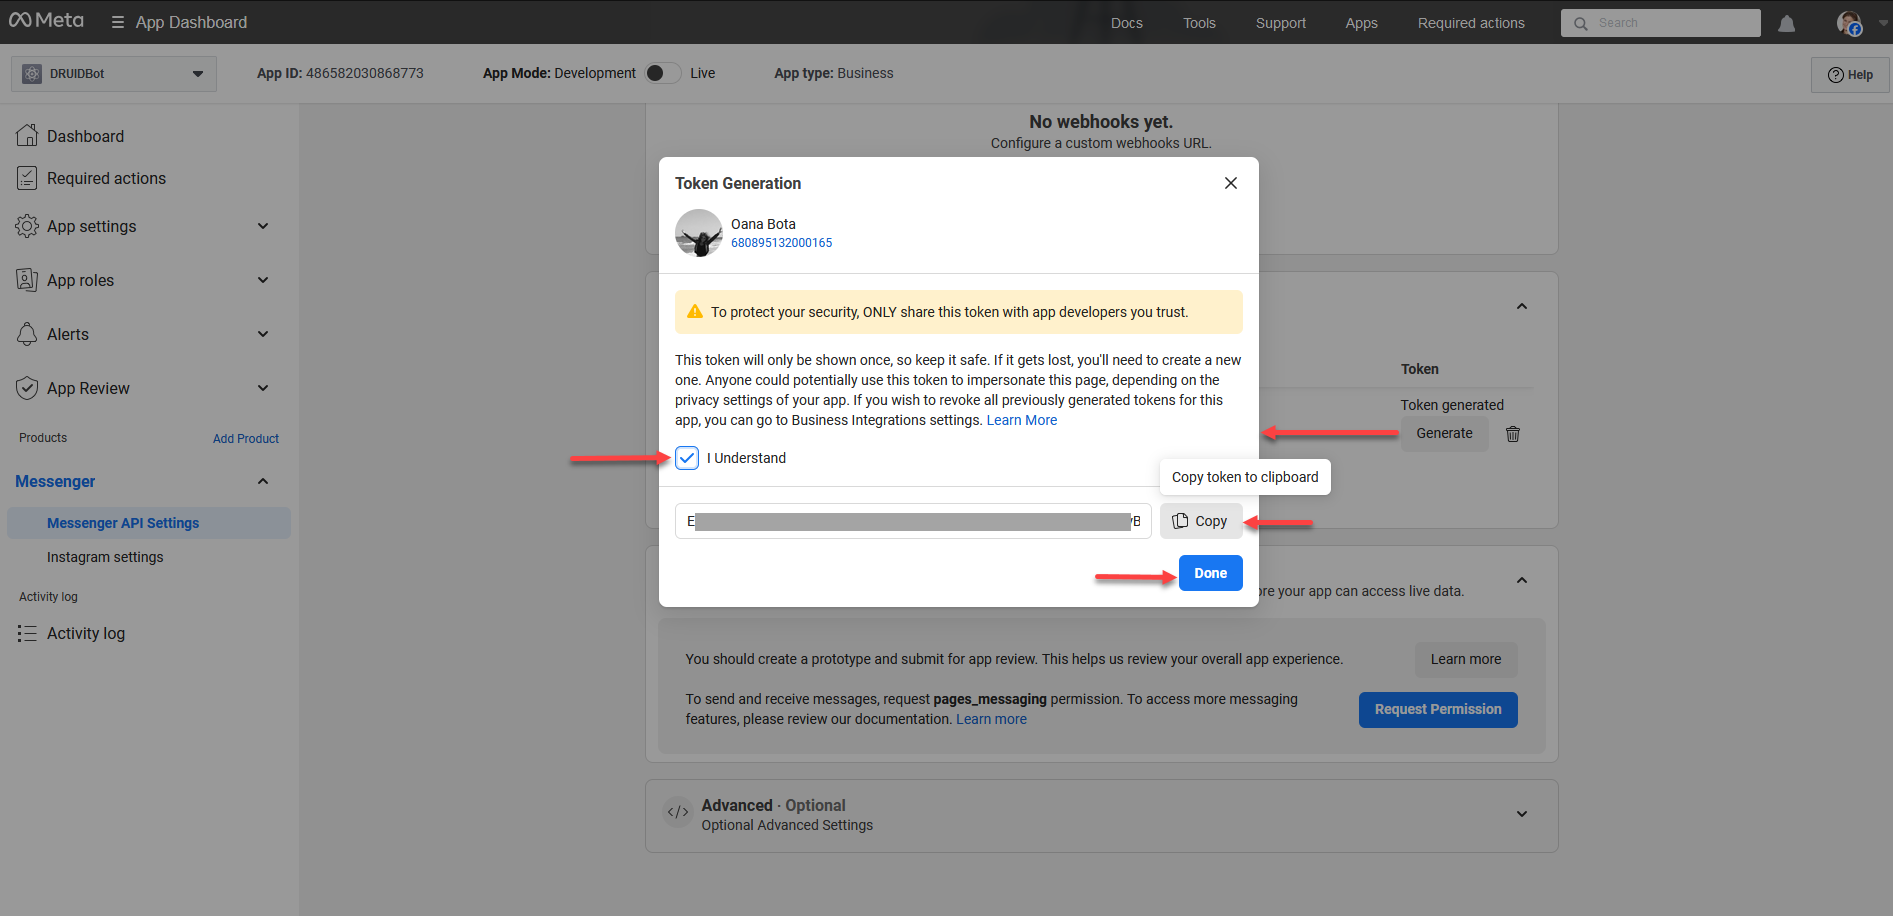
- Click the Generate button to generate an access token for your FB page. The Token Generation pop-up appears.
-
Tick I understand, then click the Copy button to copy the page access token and save it for use at Step 4.
- Click Done.

A pop-up appears informing you that you linked your Facebook app to Facebook.

The connected Facebook page appears on the Messenger API Setup.
Step 3. Get your Facebook app details
- In Facebook for Developers Portal, go to your Facebook app settings.
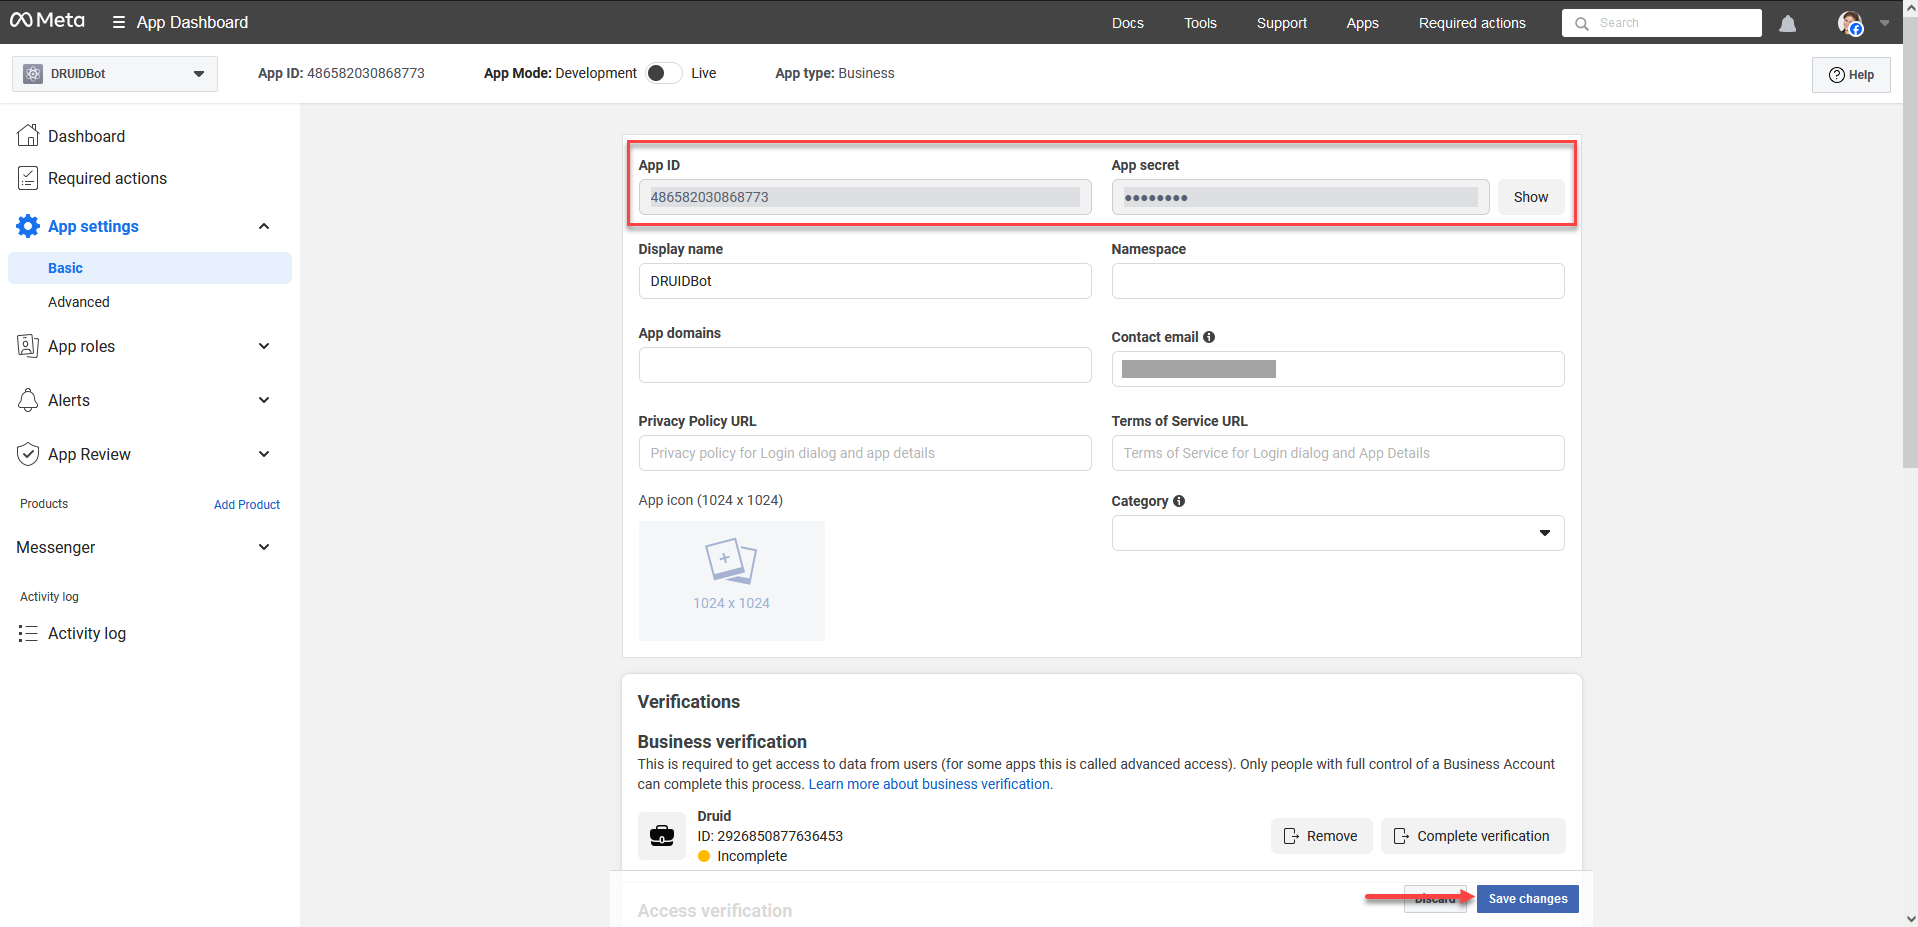
- On the main menu, click App settings > Basic.
- Click Show and enter your FB password to reveal the App ID. Copy the App ID and App secret and save them for use in Step 4.
- Click Save changes.
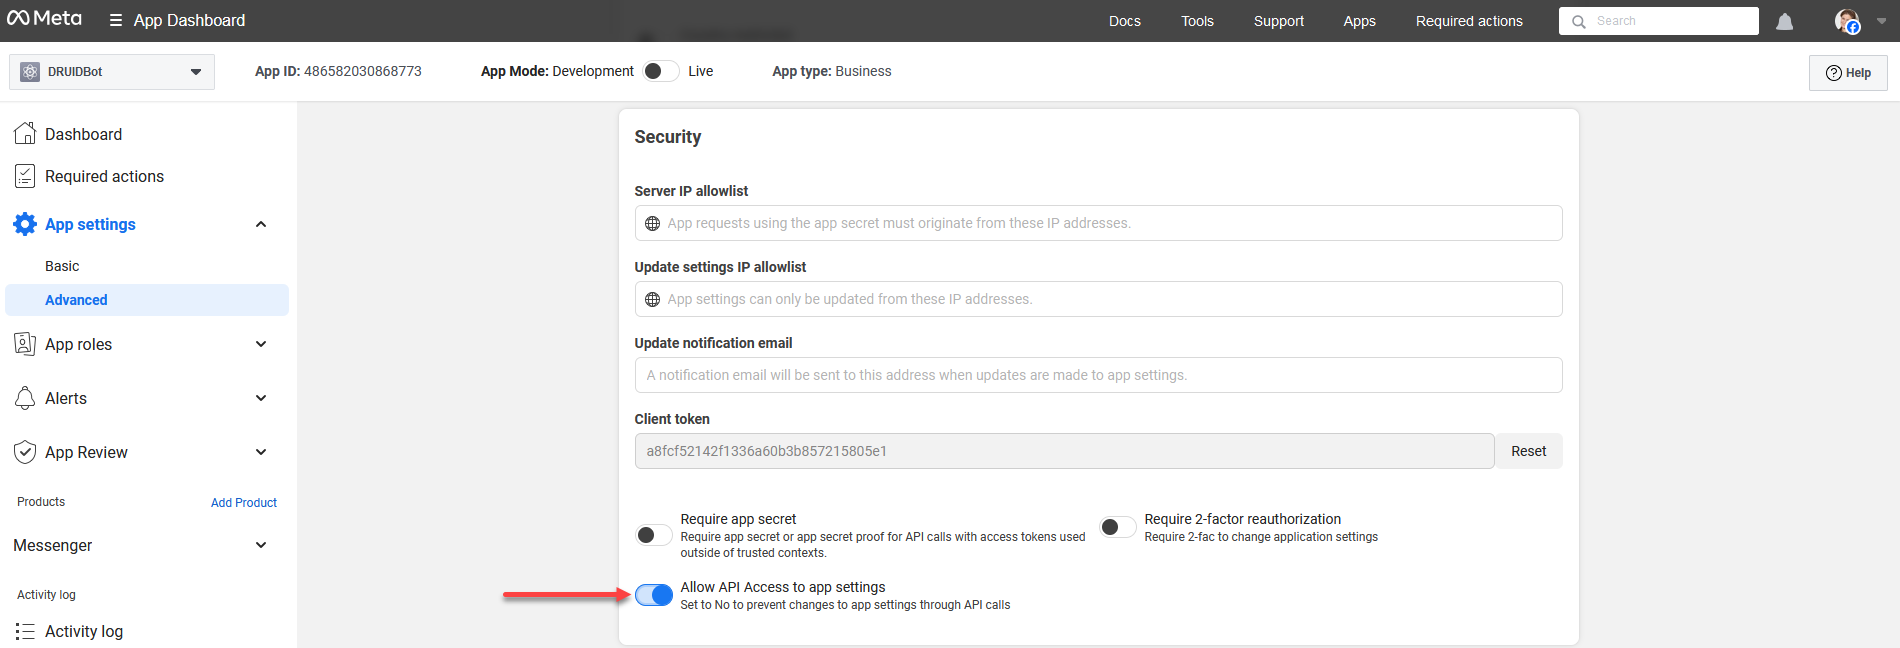
- On the main menu, click Settings > Advanced.
- In the right pane, tap on Allow API Access to app settings.
- Click Save changes.
Step 4: Configure the AI Agent
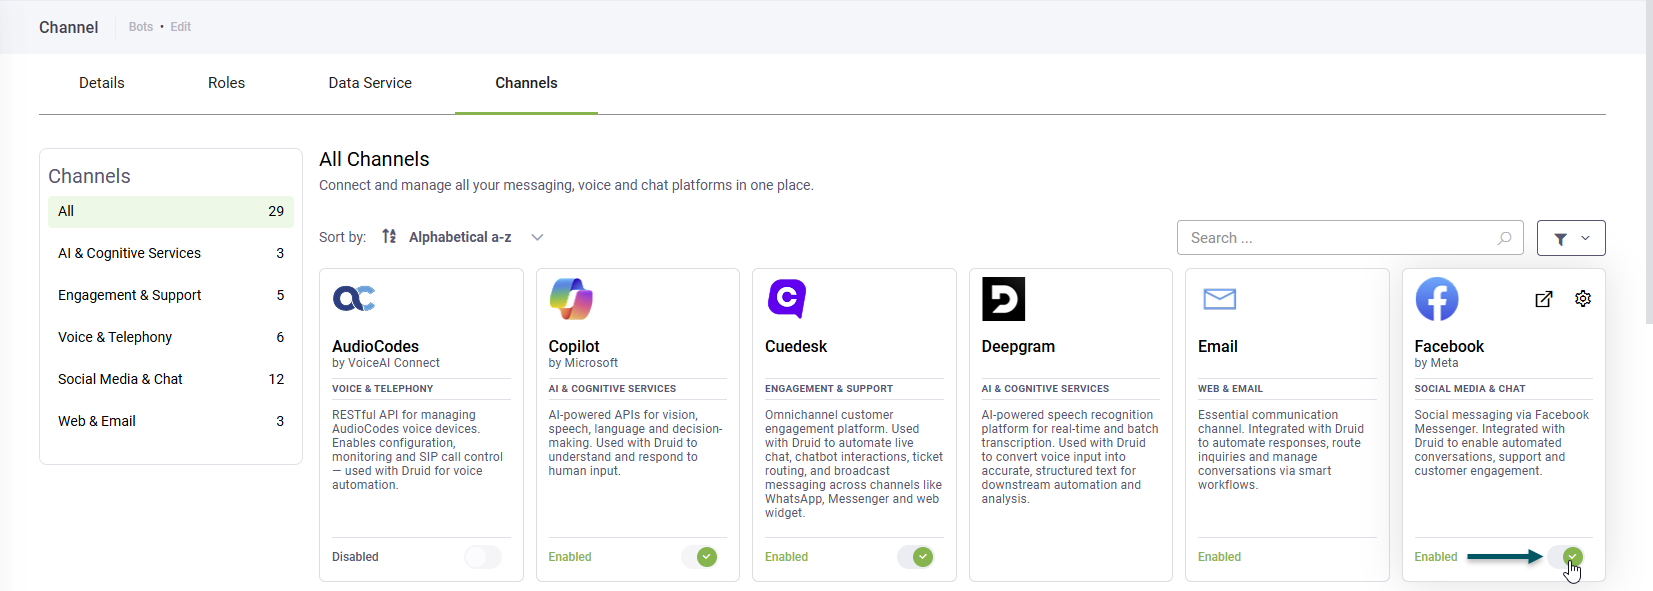
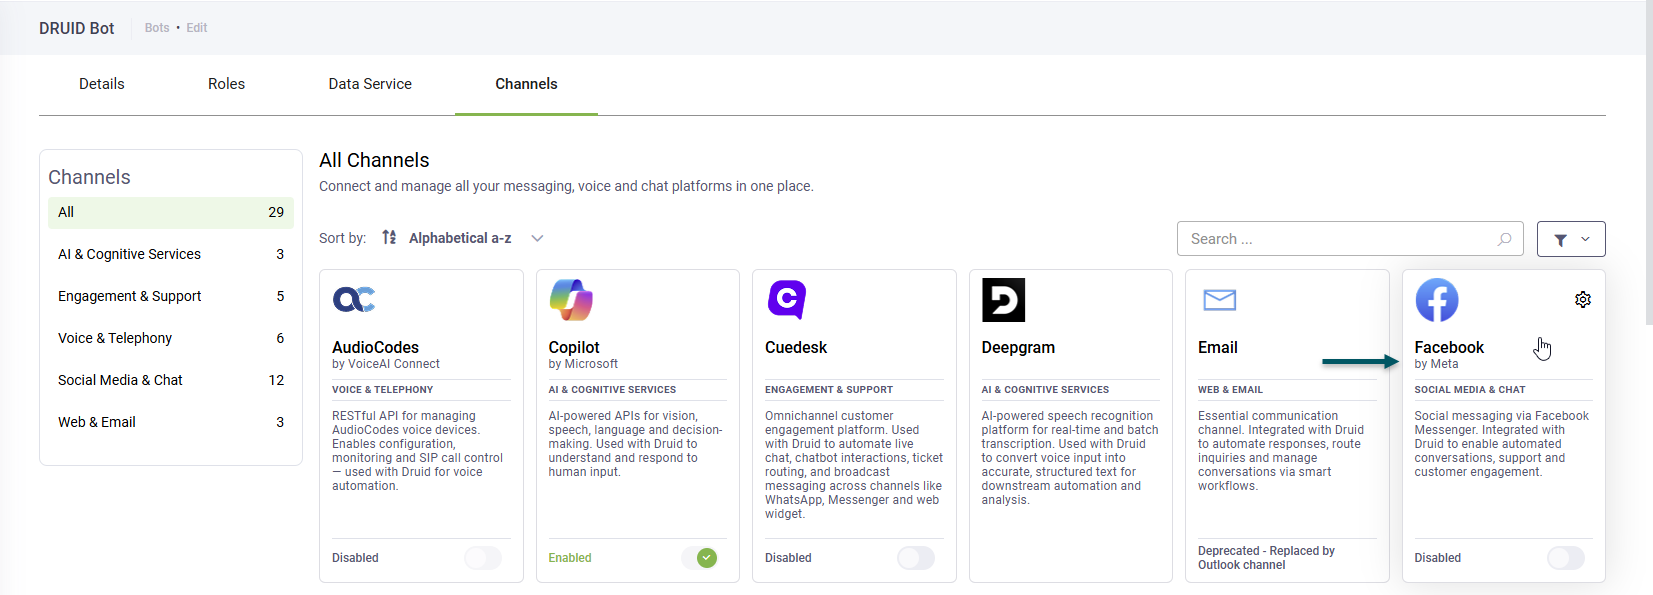
- Log in to the Druid Portal and select your AI Agent.
- Click the Channels tab, then click the Facebook card.
- Enter the Facebook App ID and the Facebook App Secret. Use the App ID and App Secret you copied when creating the Facebook app.
- Click the Add Page button and enter the Facebook Page ID and Page Access Token and click Pave Page button.
- Click the Publish button to activate the channel. The channel activation might take up to 1 minute.
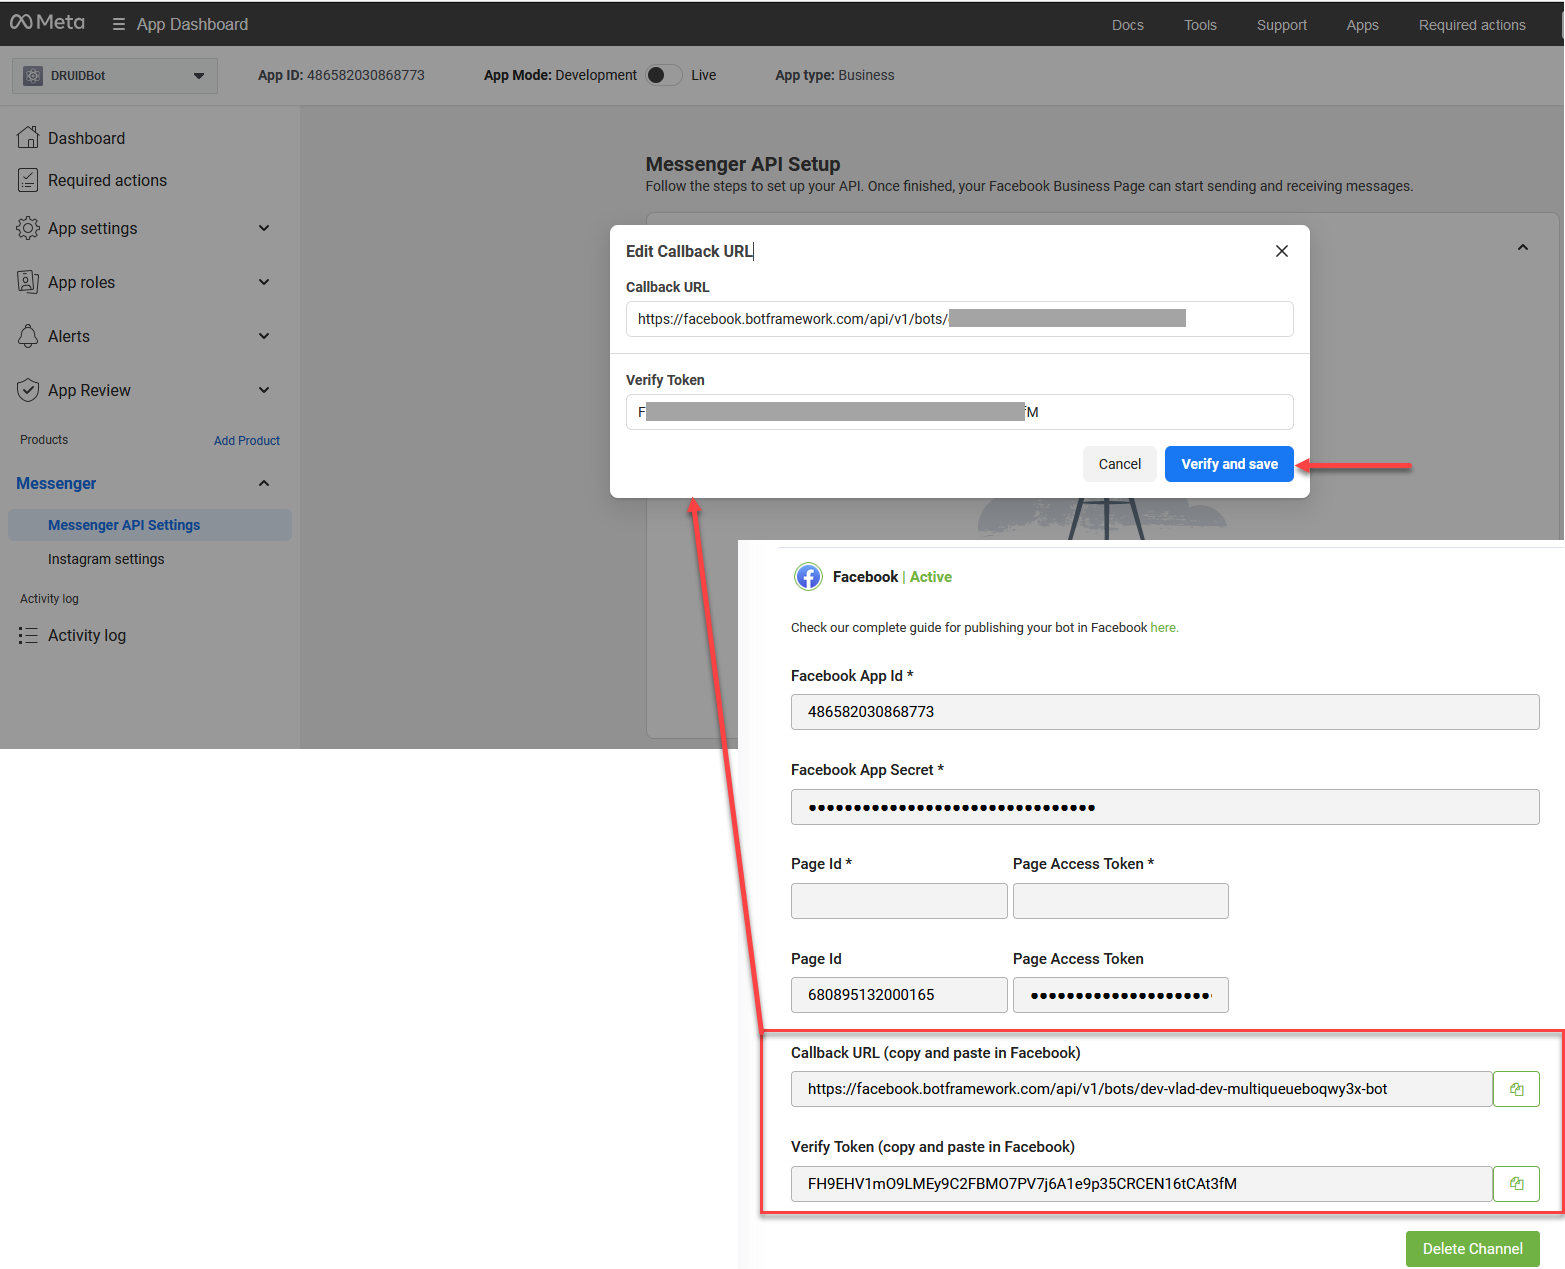
- Copy the Callback URL and Verify Token and save them for use in Step 5.
The channel configuration modal appears.
If you host the AI Agent via Facebook app in multiple Facebook pages, repeat step 4 for each additional Facebook page.

After the channel activates, the following fields are available in Druid:
- [[ChatUser]].ChannelId = "facebook"
- [[ChatUser]].UserId - Stores an unique identifier of the Facebook user account.
Step 5: Enable webhooks and select webhooks subscriptions
In order to send messages and other events from your AI Agent to Facebook Messenger, you must enable webhooks integration. To do so, follow these steps:
- In Facebook for Developers Portal, go to your Facebook app settings.
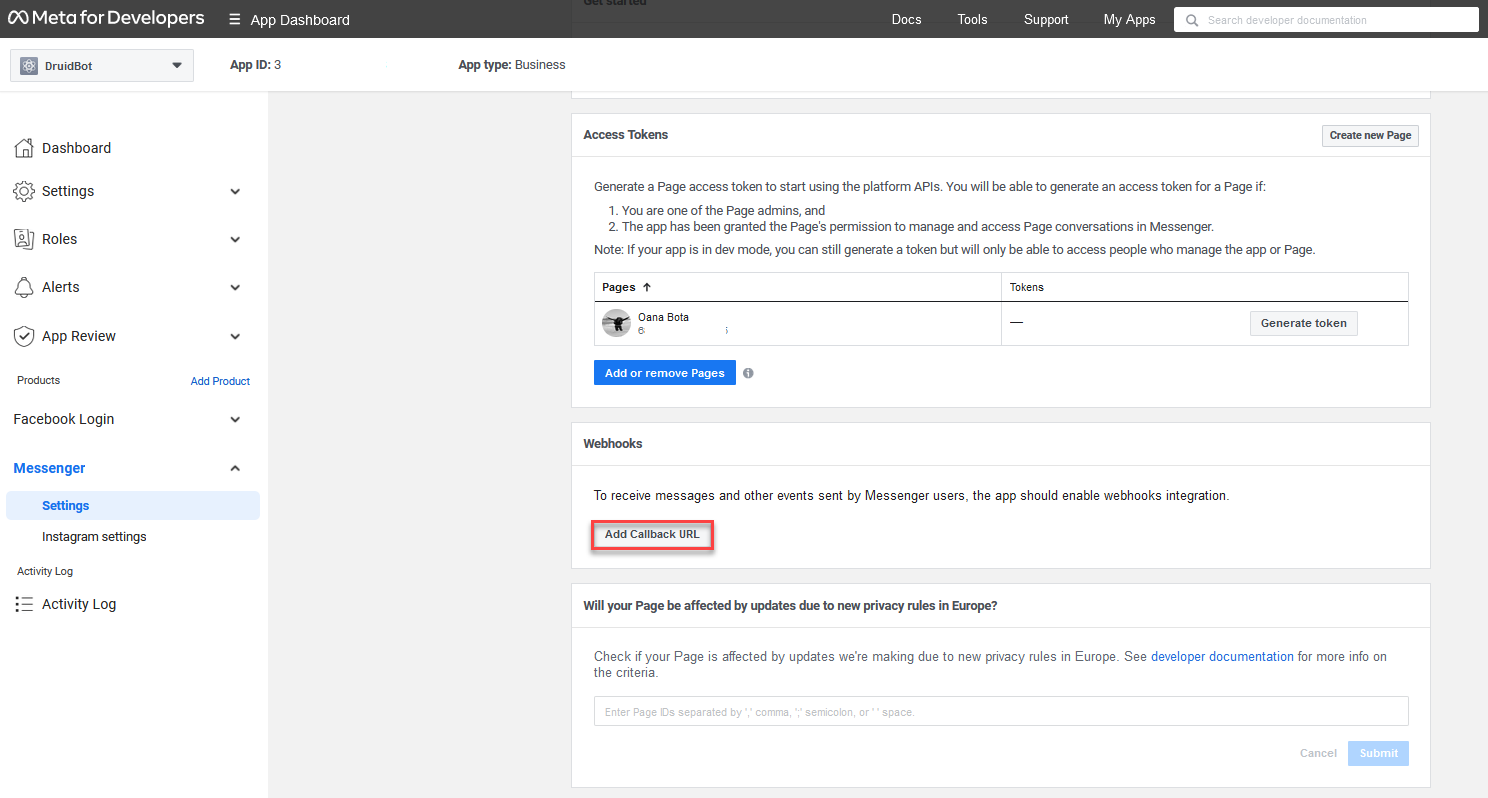
- On the main menu, click Messenger > API Settings.
- On the right pane, in the Configure webhooks section, click Configure. The Edit Callback URL pop-up appears.
- Enter the Callback URL and Verify Token you copied from the Druid Portal.
- Enter the Callback URL and Verify Token automatically generated in Druid on the Facebook channel and click Verify and save.
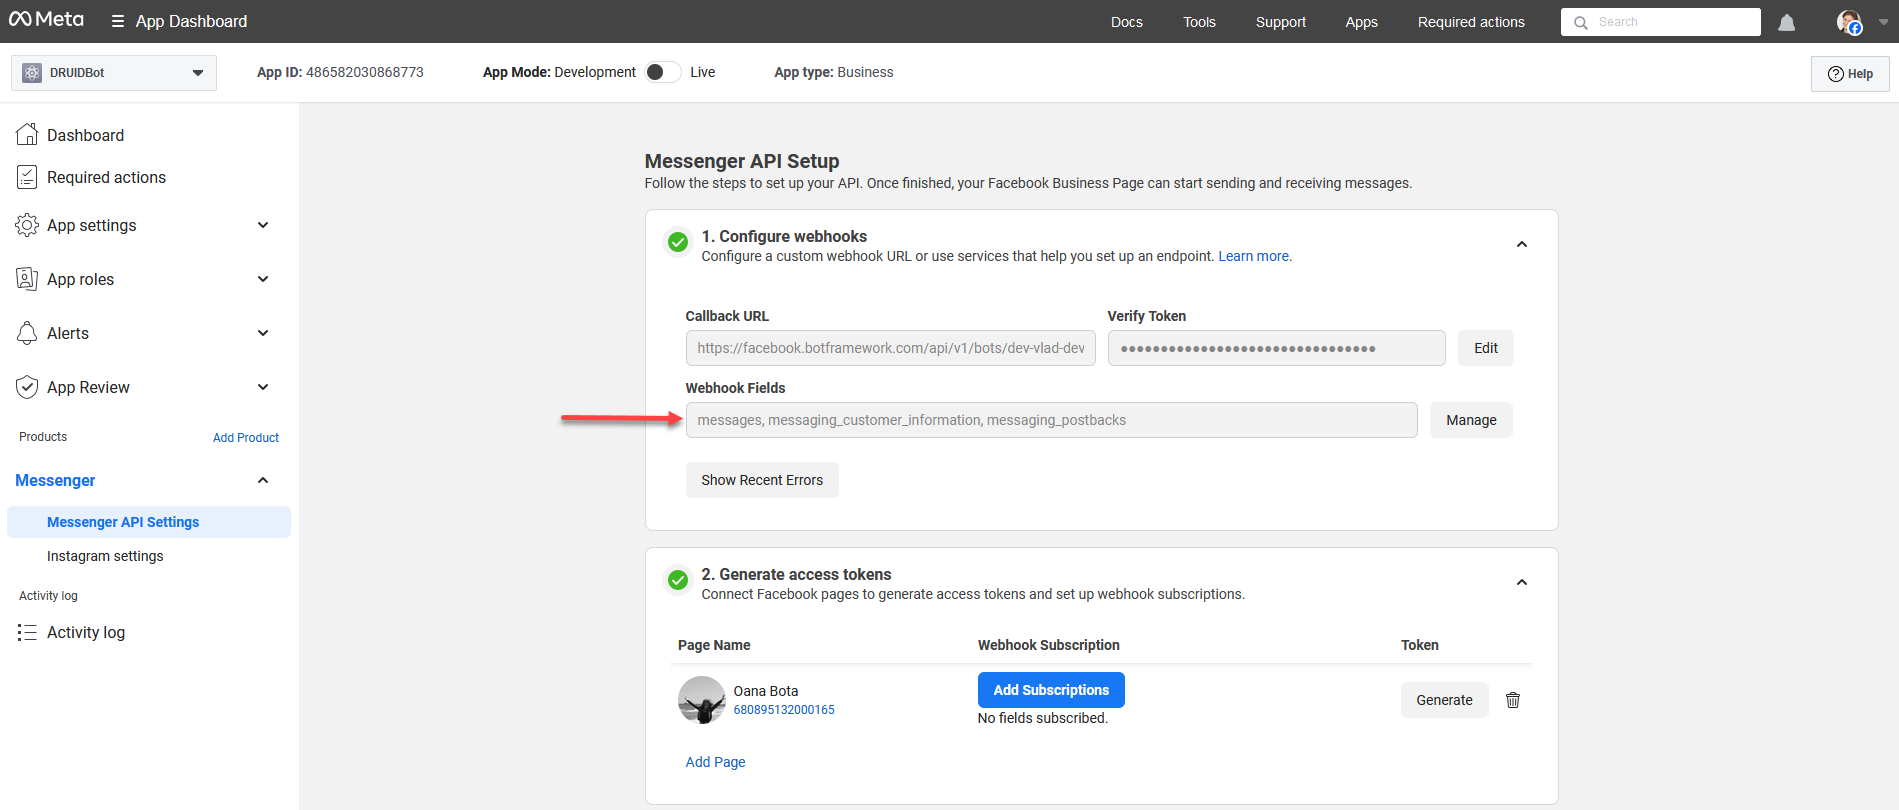
- The webhook appears in the Configure webhooks section, but no webhook events are selected. You need to select webhook fields for your FB app.
- Click the Manage button. The Webhook fields pop-up appears.
- Subscribe to the following webhook events: messages and messaging_postbacks. Select messaging_customer_information if you want Druid to store the chat user's first name and last name (in [[ChatUser]].FirstName and [[ChatUser]].Lastname).
- Close the pop-up. The selected webhook fields appear in the section.
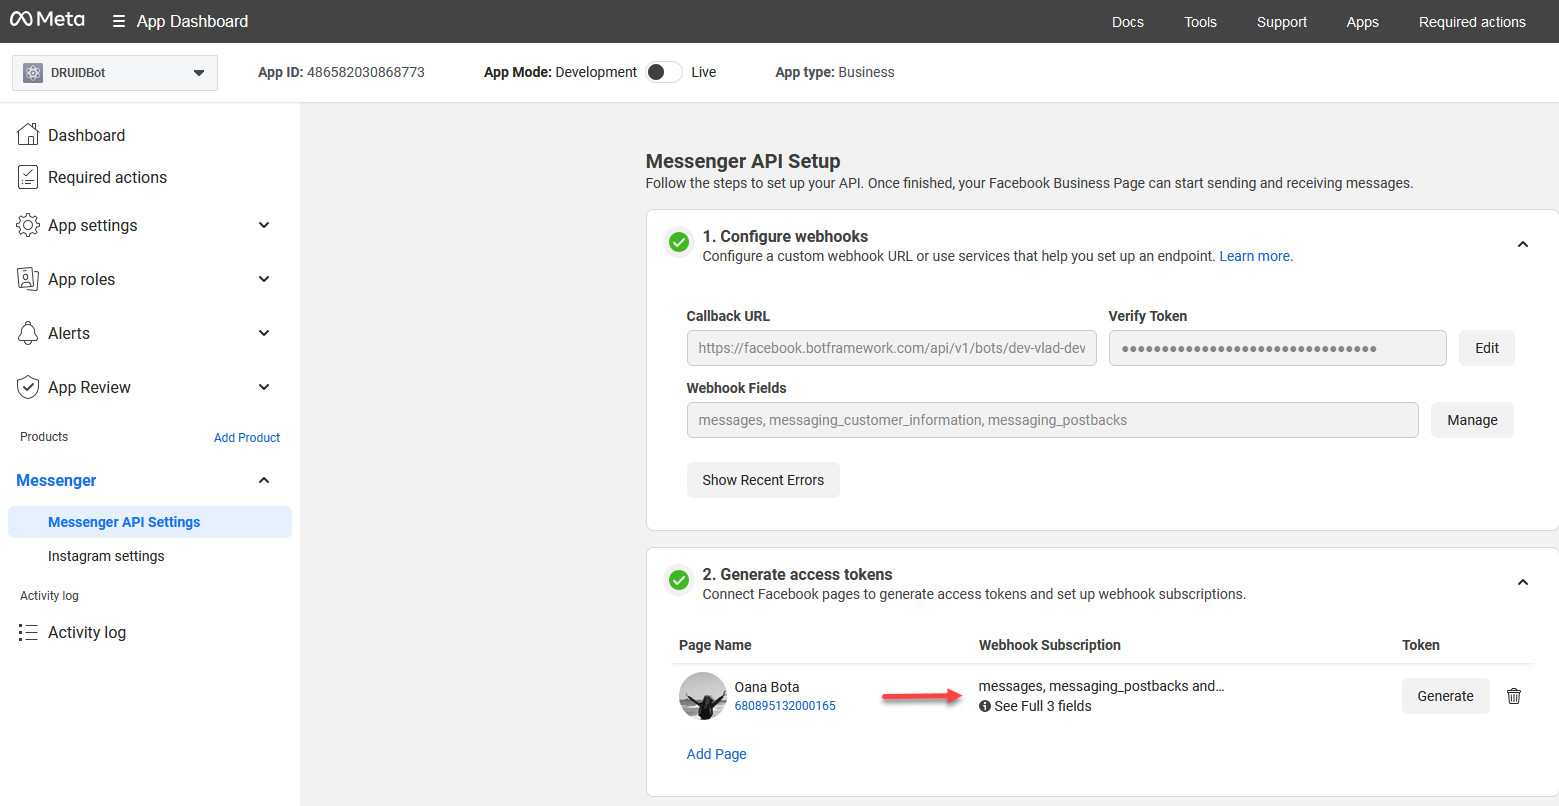
- In the Generate access tokens section, click the Add Subscriptions button. The Edit Page Subscription page appears.
- Select messages and messaging_postbacks. Select messaging_customer_information if you want Druid to store the chat user's first name and last name (in [[ChatUser]].FirstName and [[ChatUser]].Lastname).
- Click Confirm. The selected webhook events appear in Generate access tokens section in line with your FB page.
Now you need to select webhook events for your FB page.

The integration between the AI Agent and the Facebook Page is complete.
Complete your Facebook app review, make the app public and publish the Facebook Page.
Handling Facebook Data Deletion Requests
To comply with Meta data privacy requirements, Druid supports an automated Facebook data deletion flow. When a user who has interacted with an AI Agent via the Facebook channel deletes their Facebook account or removes the app, Facebook sends a data deletion notification to Druid. You can configure a specific flow to handle these requests, such as anonymizing personal information or deleting records from the Conversation History.
To enable this functionality, you must create a data deletion handling flow select it from the Facebook data deletion flow dropdown in the Dialogue Management section of your AI Agent settings. For more information, see Facebook Data Deletion Flow.
Inactivating the channel
To inactivate the channel, go to the Channels page and turn off the Enabled toggle on the Facebook card.