Speech Resource Management and Governance
Druid Speech Resource Management enables system administrators to centrally configure, govern, and manage Speech-to-Text (STT) and Text-to-Speech (TTS) integration services across the platform. Rather than binding speech services directly within individual channel configurations, speech resources can be defined at the tenant level under Administration and reused across Druid Voice channels.
Supported Vendors and Requirements
Each speech vendor requires specific information to connect successfully. Use this quick reference table to find out what you need to prepare before setting up your connection:
| Vendor | Authentication | Required parameters |
|---|---|---|
| Azure | API Key |
ModelId, VoiceId, region. Take your region identifier from the Microsoft documentation. Take the voice identifier from the Microsoft documentation. |
| Deepgram |
API key |
ModelId, VoiceId. |
| Druid Voice |
The connection details you received from Druid. |
ModelId, VoiceId |
| ElevenLabs | API Key |
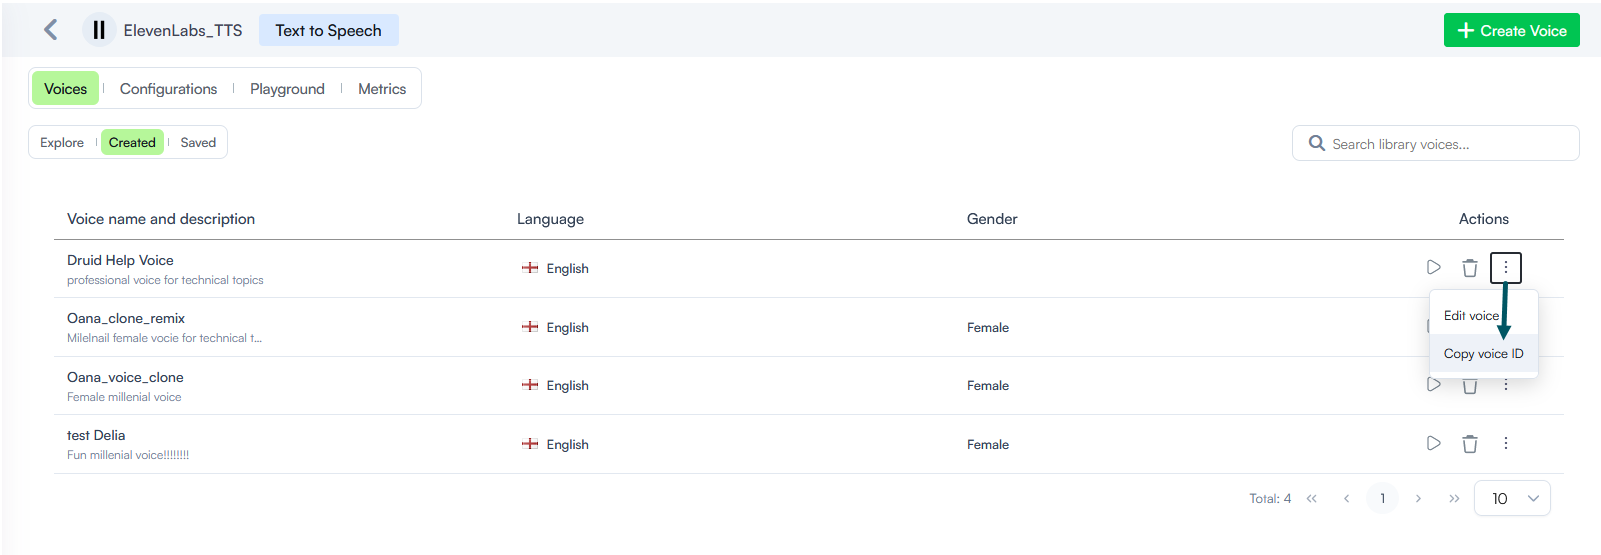
For STT, use as ModelId scribe_v2_realtime For TTS, use as ModelId any of the following models:
VoiceId is required only for TTS. Starting with Druid 10.1, you can retrieve the voice ID for an ElevenLabs resource by following these steps:
|
| Mistral | API Key |
ModelId VoiceId - a valid voice ID from your Mistral account. The selected voice determines the characteristics of the synthesized audio, such as accent, tone, and speaking style. Info: To obtain a voice ID, create or select a voice in your Mistral account and copy its identifier from the Mistral Voices API or voice management interface.
|
| Munsit | API Key | ModelId, VoiceId, region |
| Soniox | Access Secret | ModelId, VoiceId of the chosen Soniox voice. |
Add speech resources
To establish a governed connection to a speech provider, follow these steps:
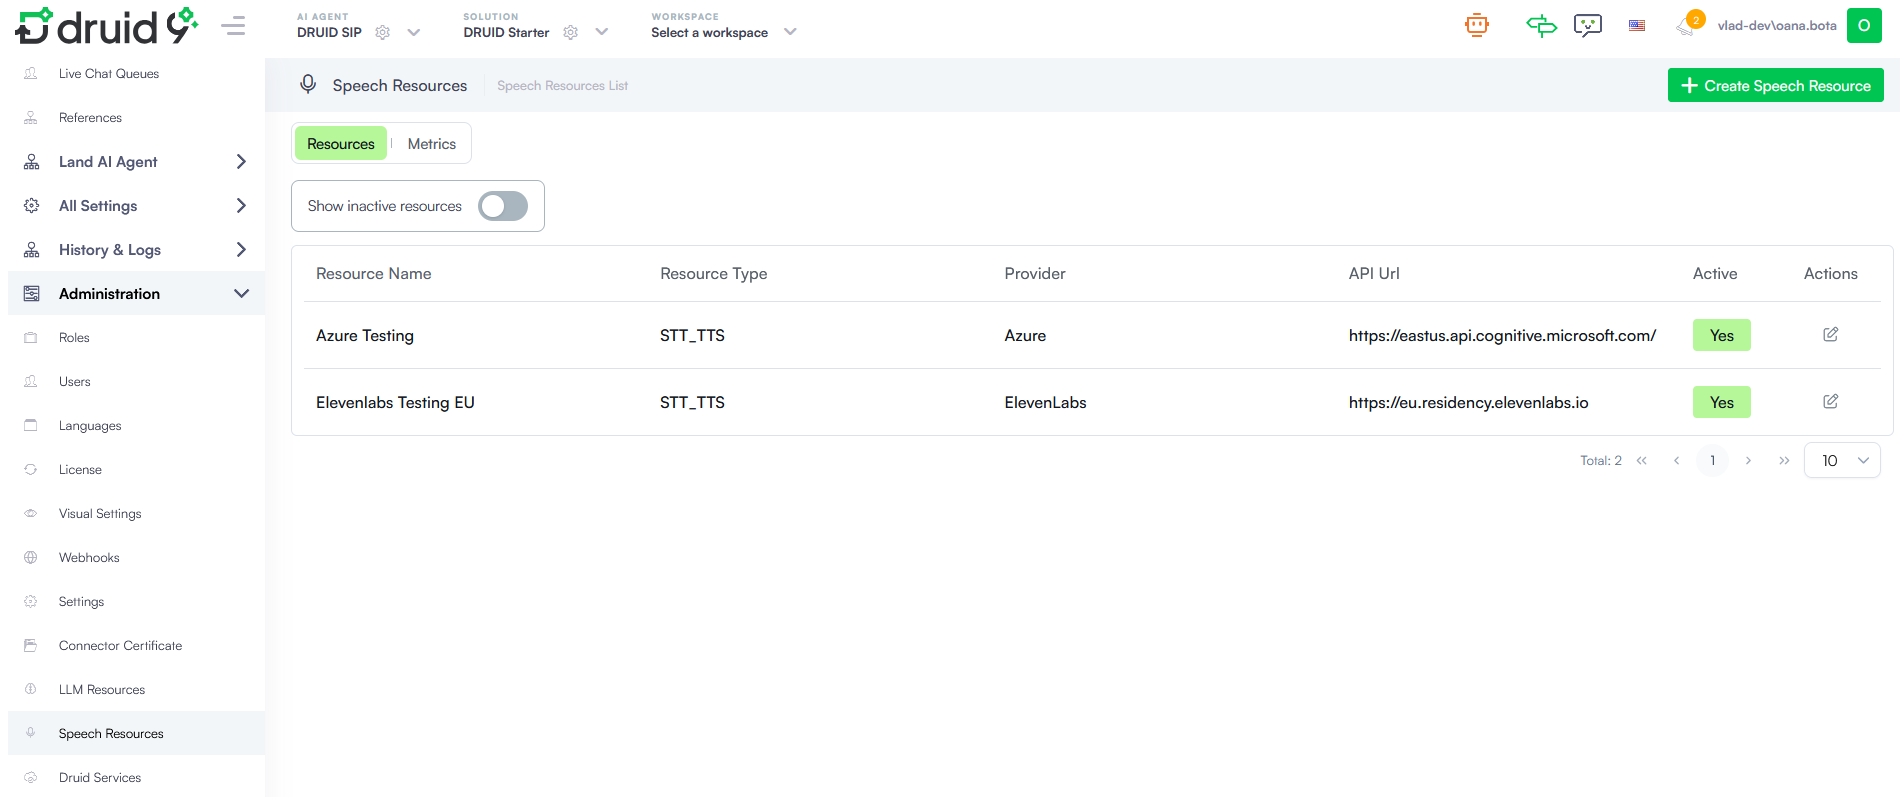
- Go to Administration > Speech Resources.
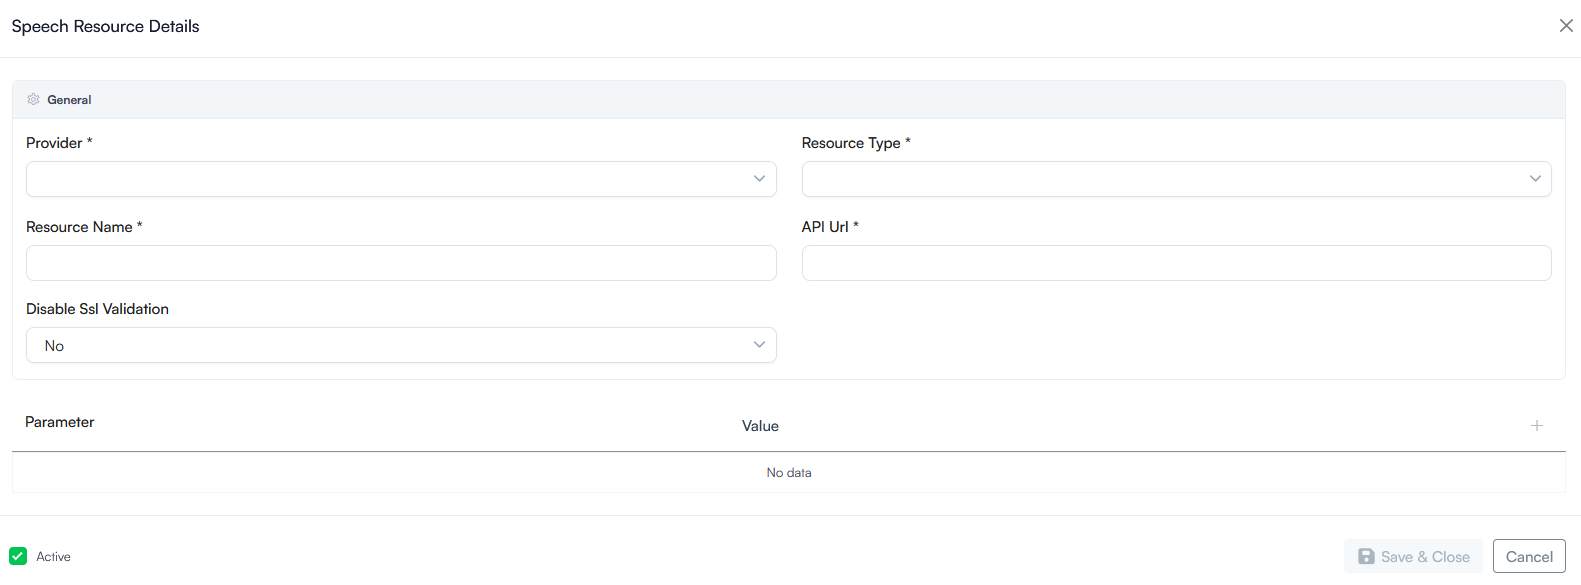
- Click the Create Speech Resource button. The Speech Resource Details modal appears.
- Configure the speech resource:
- Provider: Select the speech provider from the dropdown.
- Resource Type: Select the speech resource type:
- STT: Speech-to-Text (Voice Recognition / Transcription).
- TTS: Text-to-Speech (Voice Synthesis).
- STT_TTS: Combined Speech-to-Text and Text-to-Speech capability.
- API Url: Type or paste the web address endpoint provided by your vendor. For some providers, this field is automatically filled in.
- Disable Ssl Validation: Keep this set to No. Only change this to Yes if explicitly instructed by your internal IT support team.
- Enter the specific security credentials (API Key) provided by your AI vendor and set the required vendor-specific parameters. The platform automatically masks the credentials into dots to protect your security.
- Check the Active box to turn the model connection on and make it available for use.
- Click Save & Close.