WebChat
The WebChat channel is enabled by default in the Druid Portal. This allows you to quickly deploy your AI Agent to any web page using a pre-configured snippet.
Configure the WebChat Channel
The Druid web chat is comprised of two elements:
- web chat widget
- web chat landing page (expanded widget).
The Druid AI Platform provides you with a default web chat configuration you can embed into your website. You can further style the web chat to comply with your brand style guide.
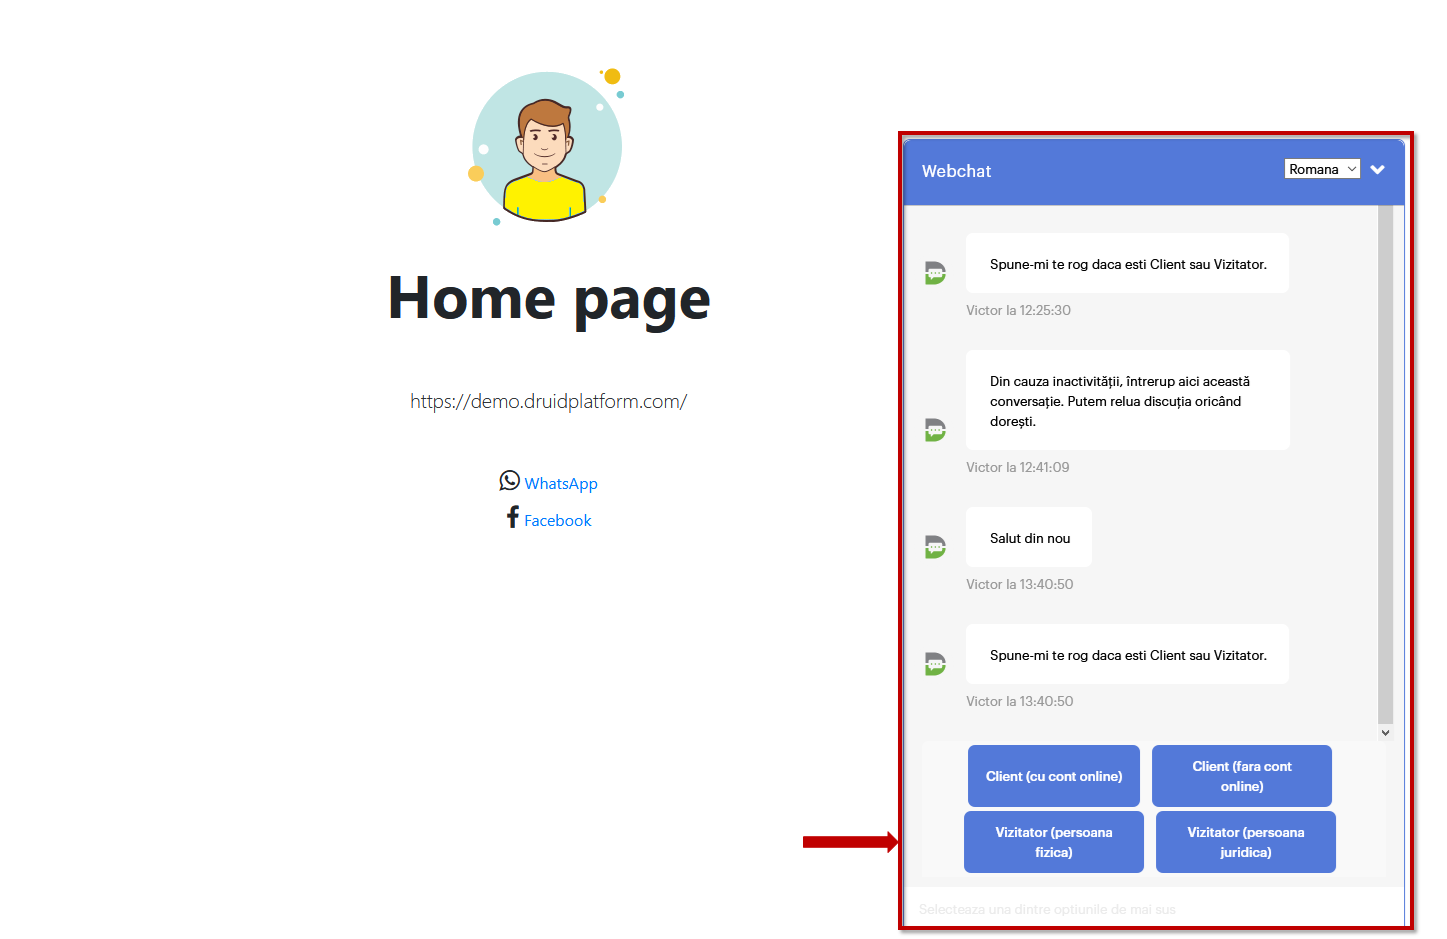
The default webchat configuration is illustrated in the figures below. By default, the web chat displays collapsed on the page hosting the webchat.
Figure: Collapsed web chat
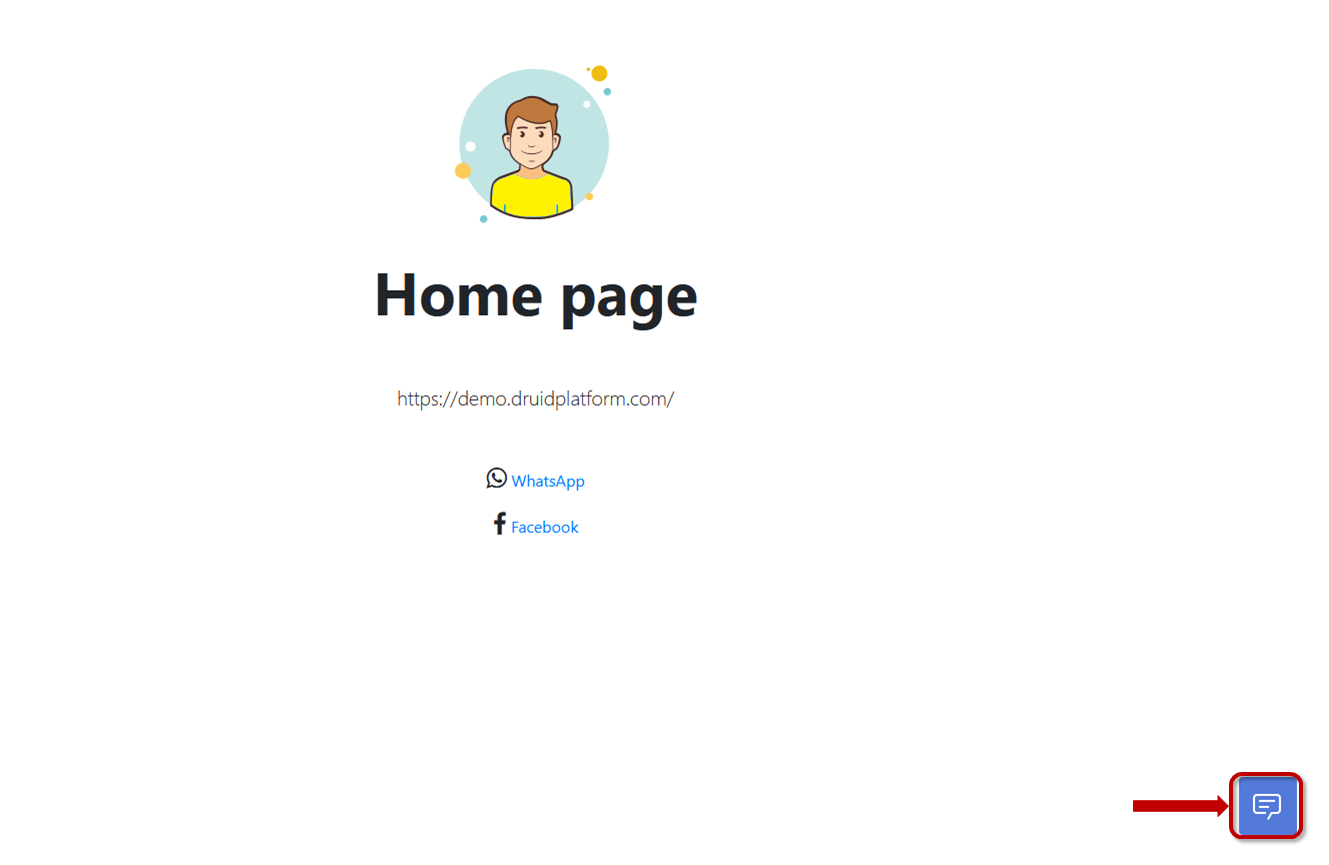
Clicking the collapsed web chat will expand it:
Figure: Expanded web chat
To configure an AI Agent for web integration, follow these steps:
- Go to the AI Agent settings.
- Click the Channels tab.
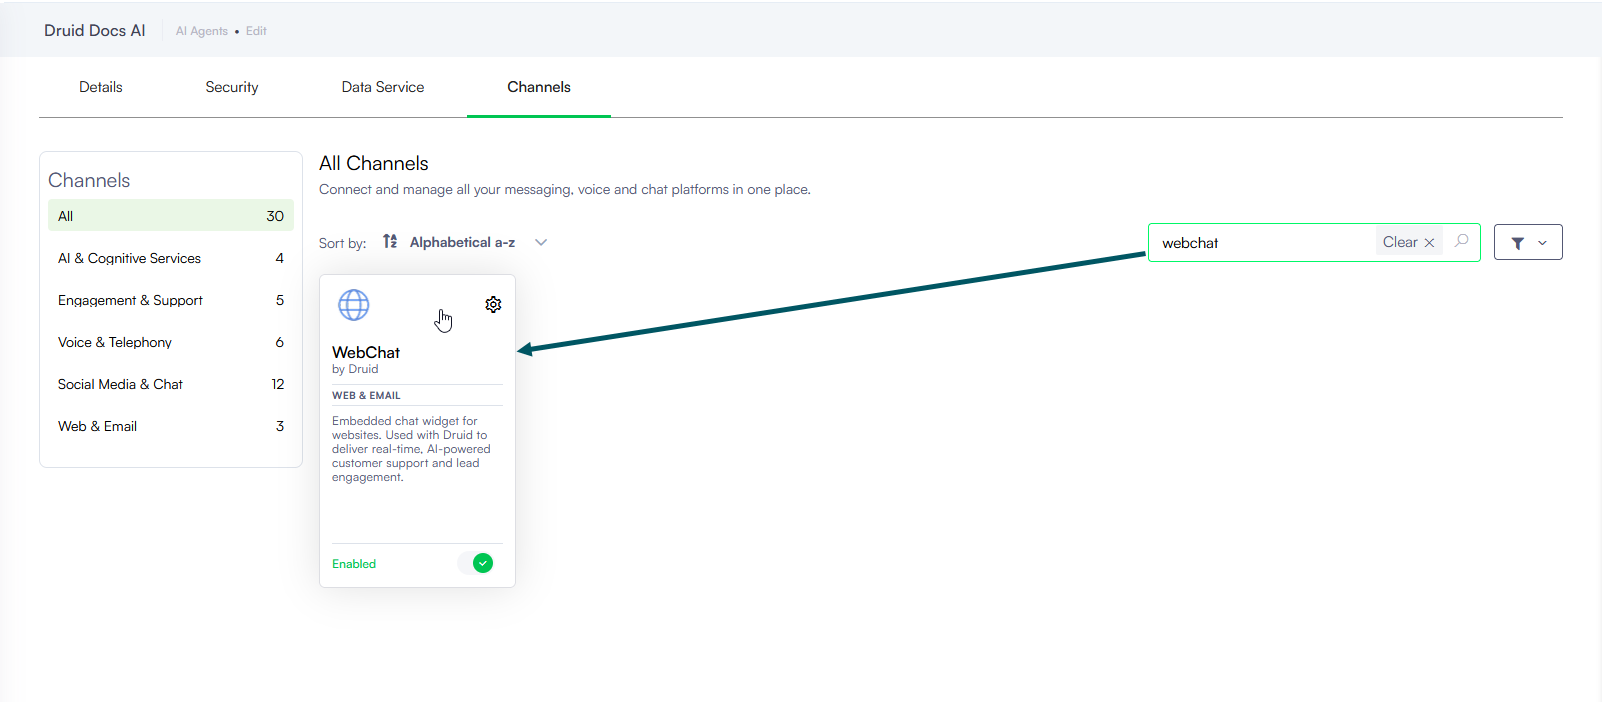
- In the Channels page, search for WebChat.
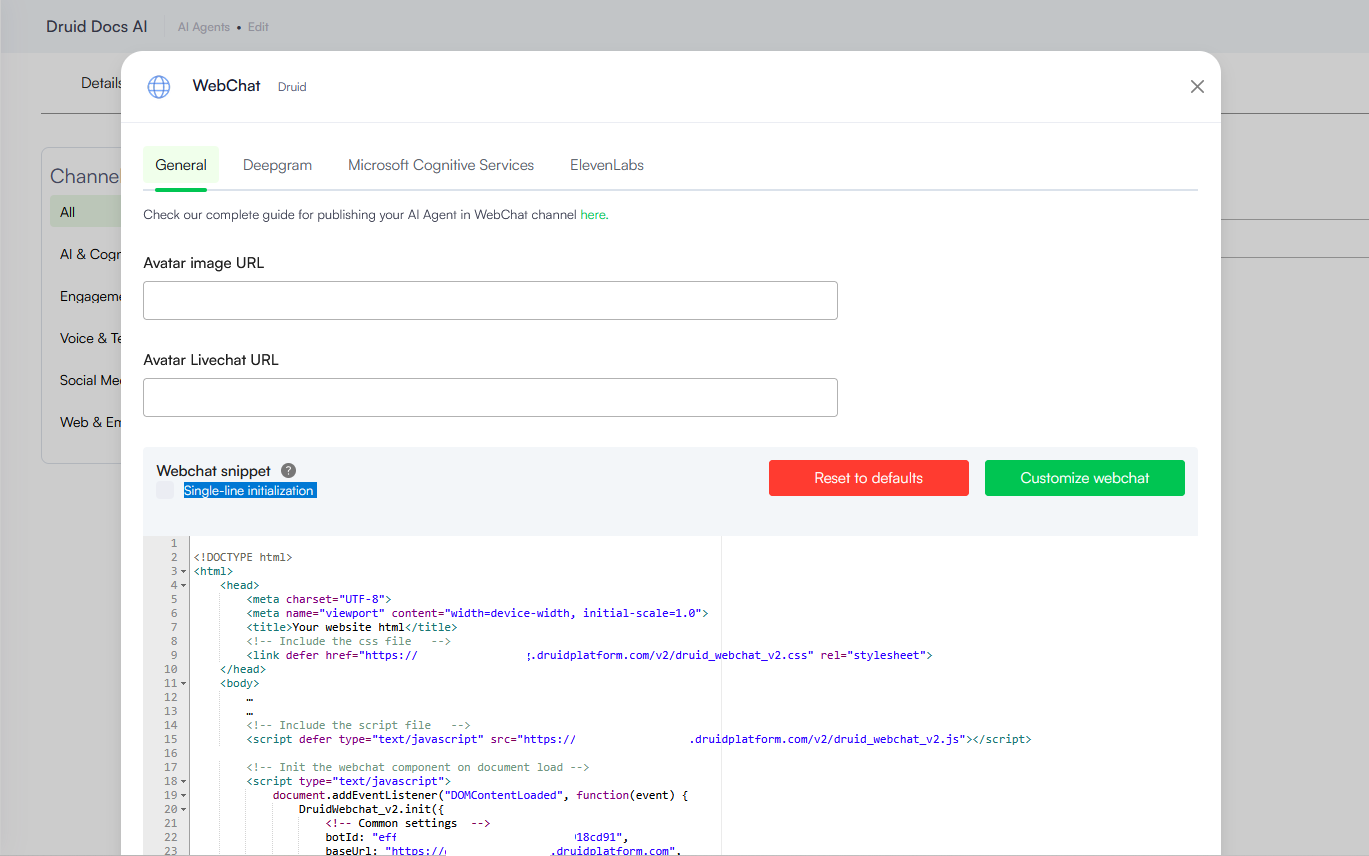
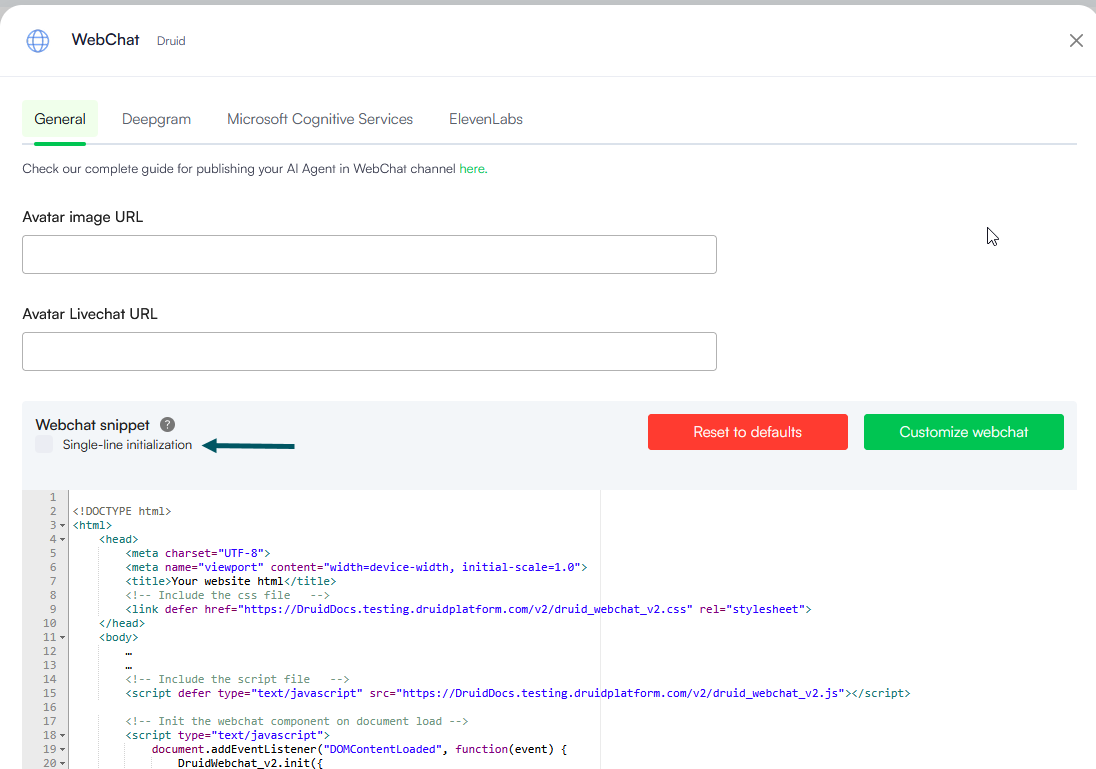
- Click the WebChat card to open the channel configuration modal.
- Optionally, in the Avatar image URL field, enter the URL for the custom AI Agent profile picture. This avatar will be displayed in the webchat header and for all messages sent by the AI Agent.
- Click the Customize webchat button and customize the WebChat styling and behavior parameters according to preference. For more information, see WebChat Common Styling and Behavior.
- Optionally, customize channel display settings as follows:
- Alias: Enter a clear, business-friendly display name (e.g., Interactive Messaging). This value is stored in[[ChatUser]].ChannelDisplayName, which appears in reporting tools like AI Agent Summary dashboard - Engagement KPIs and can also be referenced in flow business logic.
- Description: Enter a brief description. This is particularly helpful when using an alias, as it helps identify the channel's specific purpose within the Druid Portal.
- Channel Icon: Upload a custom icon to display on the channel card within the Druid Portal.
- Click Publish to activate the channel.
After the channel's activation, the following fields are available in Druid:
- [[ChatUser]].ChannelId = "directline"
- [[ChatUser]].ChannelDisplayName - Stores the Alias which is used in AI Agent Summary Dashboard > Engagement KPIs > Channel chart.
Deploy the WebChat Snippet
Once you have finalized the WebChat configuration, copy the code from the WebChat snippet field and embed it into the HTML of your website hosting the AI Agent. Ensure the script is placed within the appropriate tags of your HTML web page (<head> </head>and <body> </body> tags) to initialize the chat component.
The default snippet contains:
-
A css file which contains the layout of the webchat widget (under the <head> tag)
-
A script file which renders the webchat widget (within the <body></body> tags)
-
A script which initializes the webchat component on document load.



 Related Topics