Import Solutions
To import a solution, follow these steps:
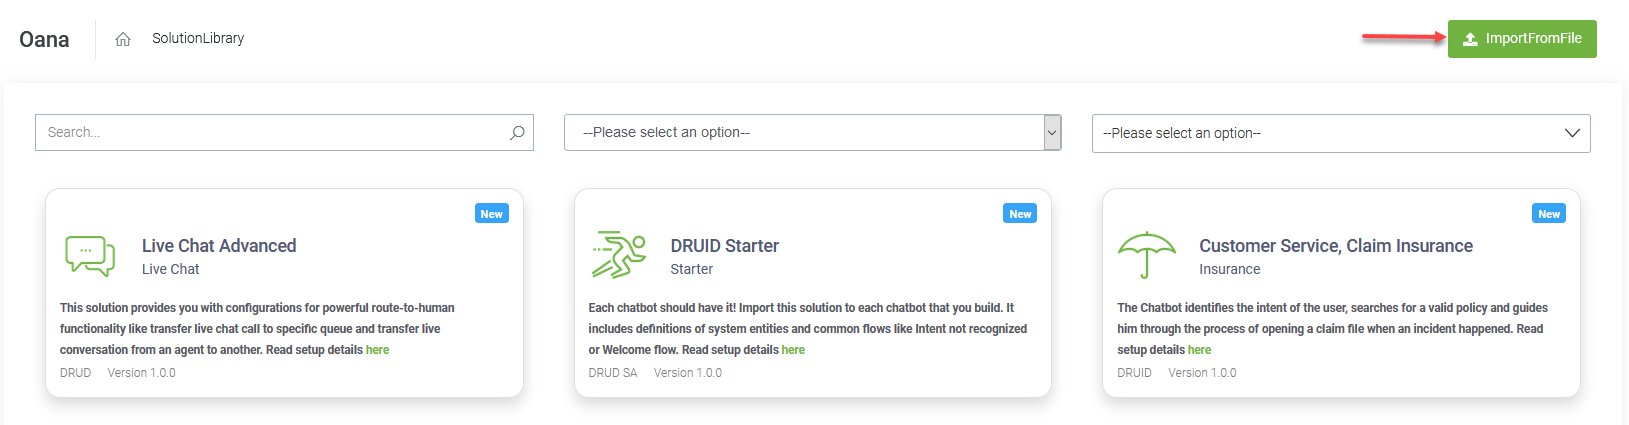
- In the Druid Portal, click the Solutions drop-down and select Import solution. The Solutions Library appears.
- At the top-right corner of the page, click the Import from file button.
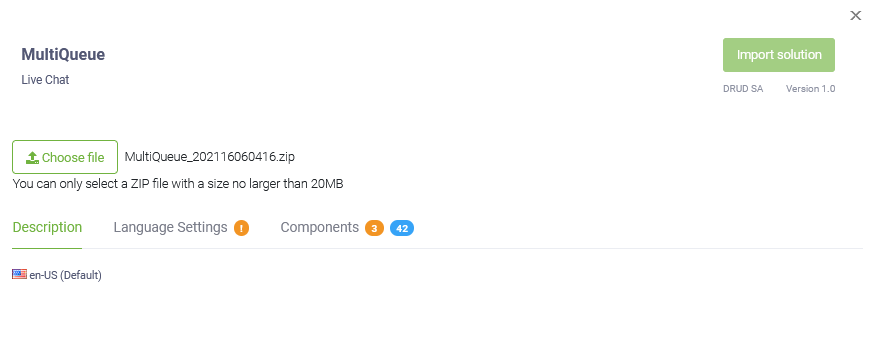
- Click the Choose file button, browse for your solution zip file and click Open. The solution details appear by default on the Description tab which provides you with the solution language(s).
- If not all language(s) defined on the destination AI Agent exist in the solution package, a warning icon (
 ) displays next to the Language Settings tab. In this case, click the Language Settings tab. The languages from the solution package that exist on the destination AI Agent display as read-only. Select which language from the solution to import for the non-matching language(s) of the destination AI Agent.
 - Check the content of the solution template by clicking the Components tab.
- Click the Import button.
- Click the Refresh button to view the import status (completed / success or pending) and update the counters in the Solution Contents menu.
The Import Solution pop-up appears.
If none of the languages on the destination AI Agent exist in the solution package, you have to select which language from the solution to import on each language of the destination AI Agent.
The orange label indicates the number of elements which will be updated by the solution template installation.
The blue label indicates the number of new elements which will be added on the AI Agent.
To see details about a specific element, click on it (e.g., Flows). The list of flows appears including new and existing flow which will be updated on solution import.
After importing a solution, a snapshot is automatically created and marked as a backup snapshot. You can view this snapshot under the solution details in the Solution Snapshots section.