UiPath ServiceNow Integration
Use this solution if you want to showcase Druid-UiPath ServiceNow integration.
Step 1: Download the UiPath Processes

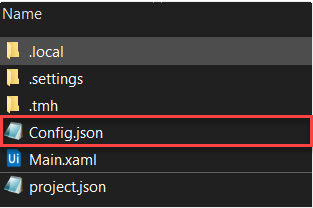
The archive contains the following files:
- add-servicenow-ticket.zip - used to showcase the creation of new tickets in ServiceNow.
- close-servicenow-ticket.zip - used to showcase the closing of a ticket in ServiceNow.
- get-servicenow-tickets.zip
- servicenow-instance-awakening.zip - used to awaken the ServiceNow instance from UiPath.
- update-servicenow-ticket.zip - used to showcase the updating process of a ticket in ServiceNow.
Unzip all files, you will need them during the processes setup.
Step 2: Set up the Processes
Prerequisites
- You need to have a ServiceNow instance. If you don't have one, go to https://developer.servicenow.com, get a free subscription and create your first instance ServiceNow instance.
Step 1: Create Orchestrator folder
Go to the UiPath Orchestrator and create a new modern folder where you will add the ServiceNow Ticket UiPath Processes.
Step 2: Define the UiPath Assets for ServiceNow
Under the folder created at Step 1, click the Assets tab.
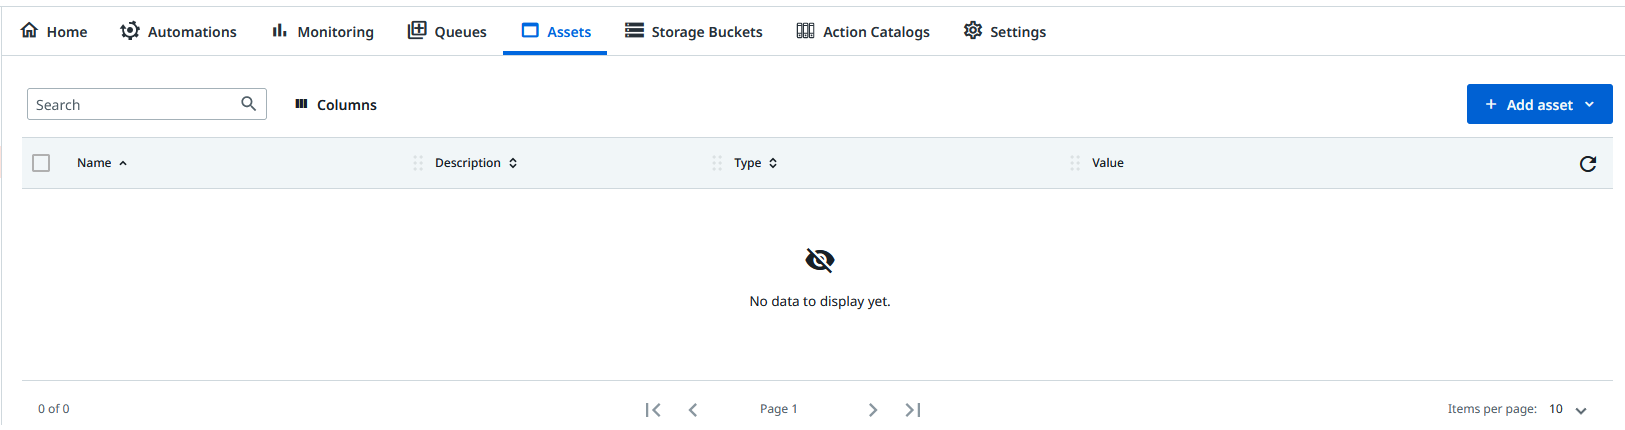
Add the following UiPath assets:
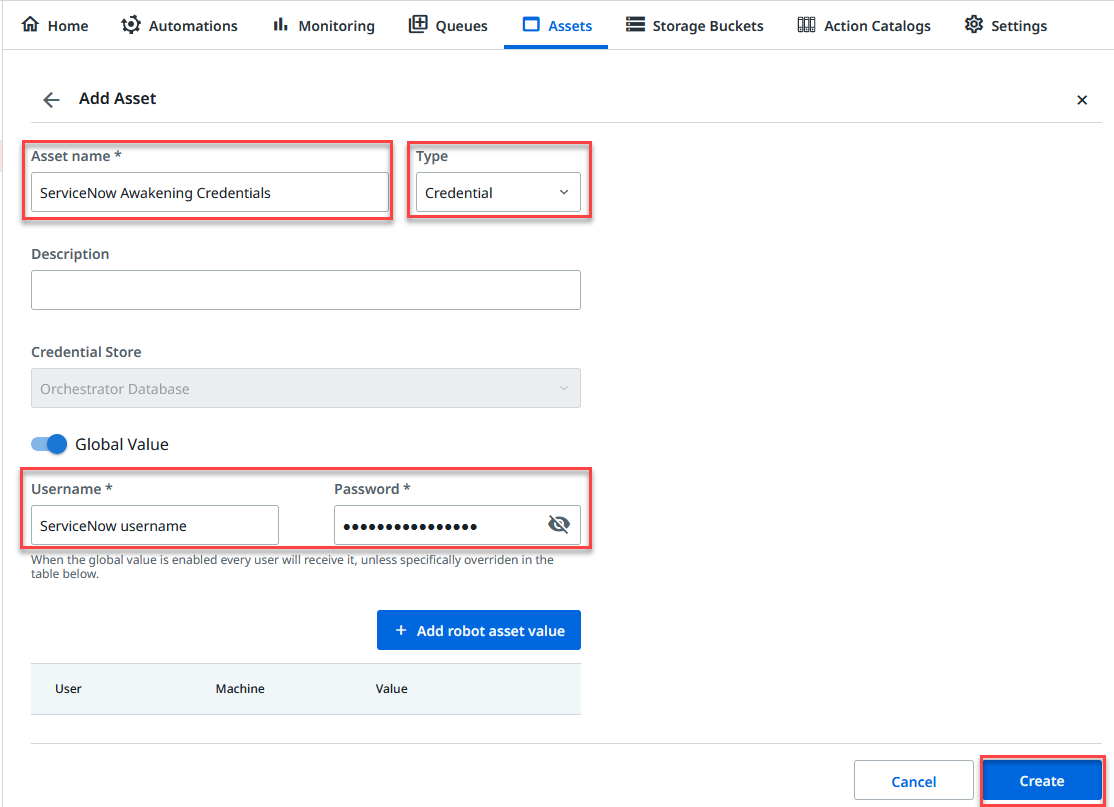
- ServiceNow Awakening Credentials
- Type: Credential
- Username& Password: your ServiceNow login credentials.
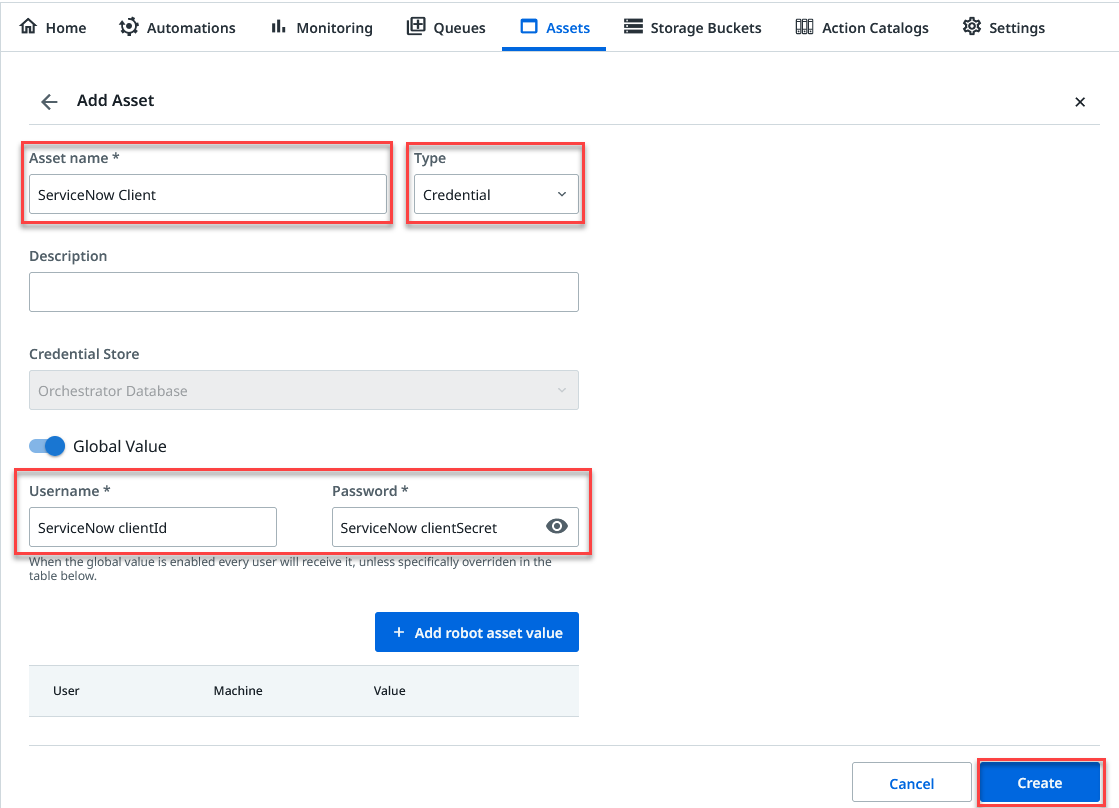
- ServiceNow Client
- Type: Credential
- Username: your ServiceNow Client Id
- Password: your ServiceNow Client Secret
-
ServiceNow Endpoint
- Type: Text
- Text: The endpoint URL of your ServiceNow instance. You usually receive the endpoint URL after you create your ServiceNow instance.

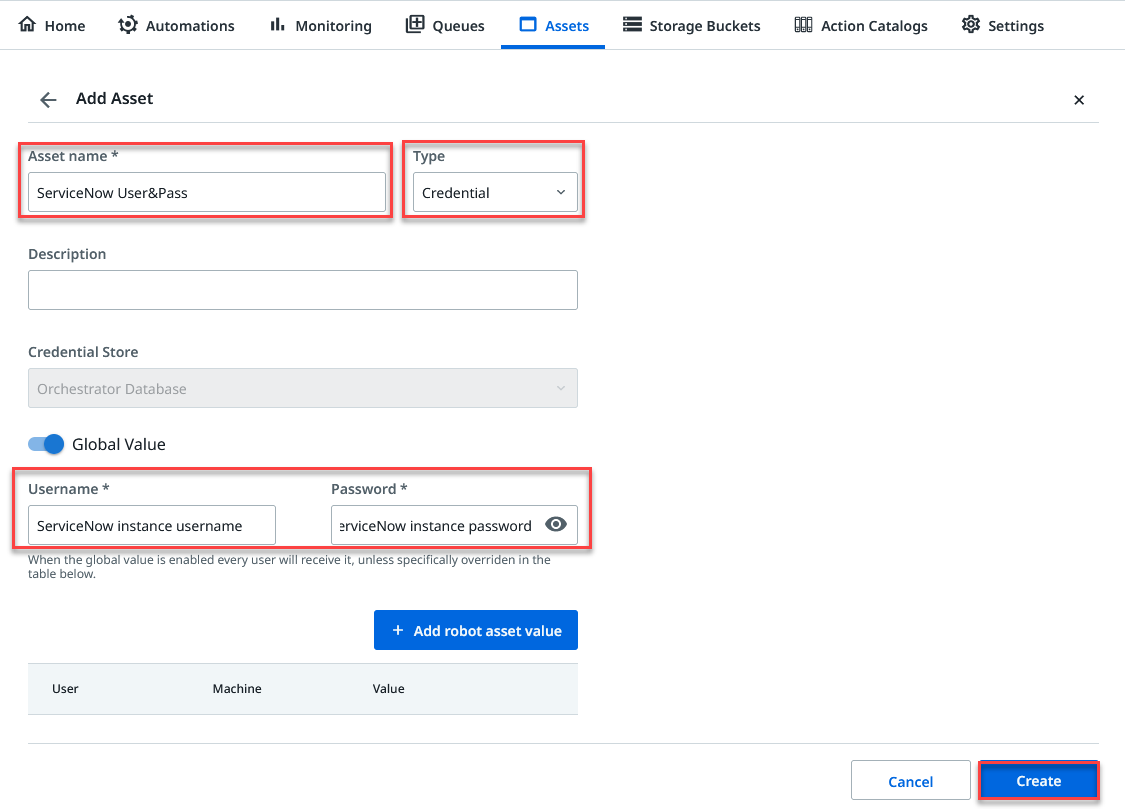
- ServiceNow User&Pass
- Type: Credential
- Username& Password: your ServiceNow instance credentials.
Step 3: Publish the ServiceNow Ticket UiPath Processes
3.1 For each of the following ServiceNow Ticket UiPath Processes: add-servicenow-ticket, close-servicenow-ticket, servicenow-instance-awakening and update-servicenow-ticket, follow these steps:
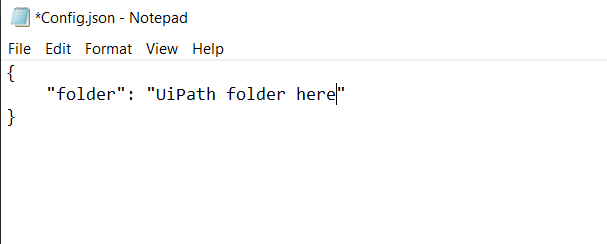
- Go to the Config.json file and open it.
- Set up the name of the folder where you will add the process.
- Go to the Main.xaml, open it.
- To publish the process in your orchestrator, click Publish.
3.2 Publish the get-servicenow-tickets process
To publish this process, follow these steps:
- Open UiPath Studio.
- Click Open a Local Project. Browse for the > get-servicenow-tickets folder (from prerequisites) and choose the project.json file.
- Right click on the process name and click Open Project Folder.
- Open the Framework folder, then the Config folder. There are two json files.
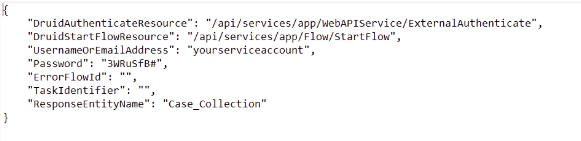
- Open DruidConfig.json. Complete all the fields as shown in the screenshot and save.
- Fill in the correct service account username or email address and the password for a service account, which has enough permissions to create a flow.
- Open UiPathConfig.json. Complete the folder name and the queue name you previously created.
- Switch to UiPath Studio. Click Publish.

Step 4: Set up Druid
- In Druid, go to Apps, search for ServiceNow UiPath and configure the connection string to your orchestrator following the procedure described in Creating the UiPath Connection Strings.
- Go to Integrations and configure each UiPath integration following the integration procedure as listed below:
- Go to the ServiceNow Flows, search for the my-open-tickets-response flow and copy the flow ID.
- Search for the my-open-tickets-trigger flow and open it. It contains only one step.
- Click the edit icon.
- In the Set Variables section, modify the variable [Case]].FlowId with the flowId taken from the my-open-tickets-response flow.
- Save the step.
- Open the AI Agent and run the flow that awakes the ServiceNow instance, by typing in the chat "setup-servicenow".
| UiPath Process | Integration Procedure |
|---|---|
| add-servicenow-ticket | Starting UiPath Unattended Processes |
| close-servicenow-ticket | Starting UiPath Unattended Processes |
| get-servicenow-tickets | Running Unattended Process using Orchestrator Queues |
| servicenow-instance-awakening | Starting UiPath Unattended Processes |
| update-servicenow-ticket | Starting UiPath Unattended Processes |