Set up UiPath Data Service Process
Prerequisite
Download the employment-workflow UiPath process by clicking on the Download button below.

Unzip the file, you will need the it later during the process setup.
Setting up UiPath Data Service Process
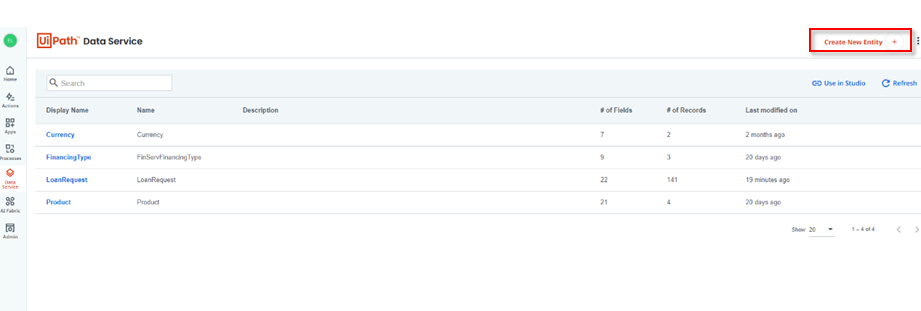
Log in https://cloud.uipath.com/, go to your orchestrator tenant/Data Service and create the Offer entity:
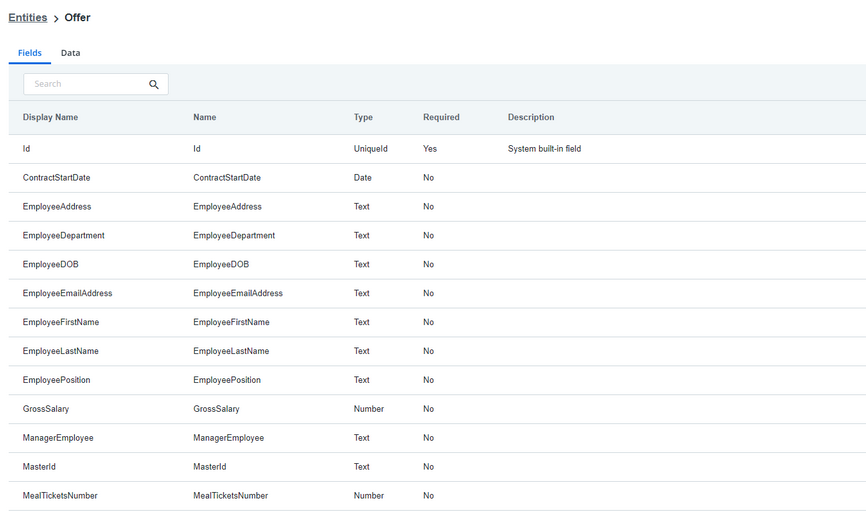
Add the fields as shown in the figures below:

Log in to your orchestrator account and click on the tenant used in the basic setup.
On the left on the navigation bar, click the folder you created when setting up the unattended process.
Click the Queues tab, click the Add icon and complete the fields for a new queue. We will use this queue for adding data to Data Service.
Write down the queue’s name, you will need it later.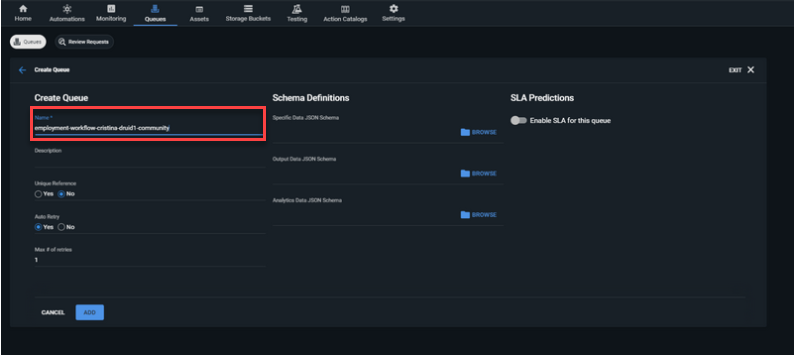
Open UiPath Studio.
Click Open a Local Project, browse for the Employment Workflow Process folder (from prerequisites) and choose the project.json file.
Right click on the process name and click Open Project Folder.
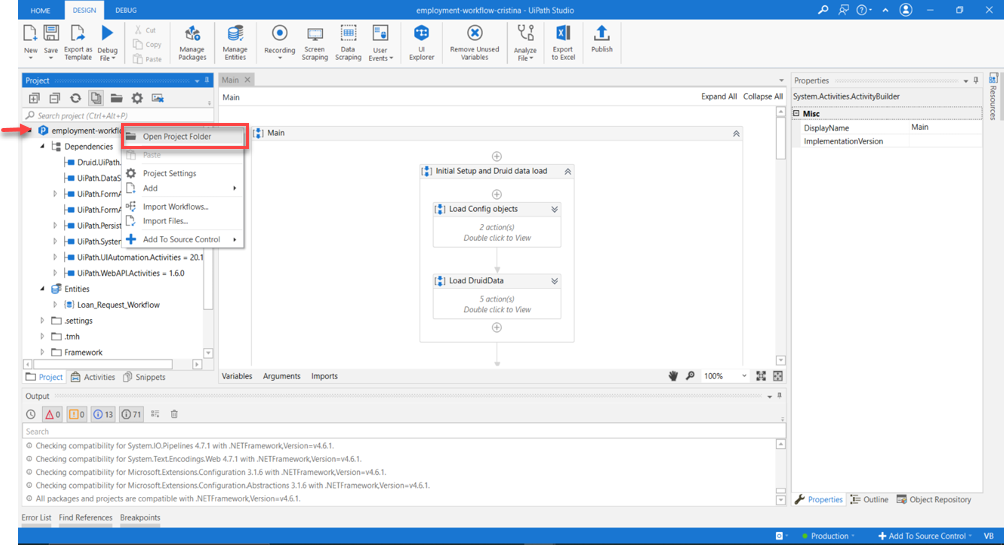
Open the Framework folder, then the Config folder. There are two json files.
Open DruidConfig.json. Complete all the fields in the file. Fill in the correct service account username or email address and password for a service account, which has enough permissions to create a flow.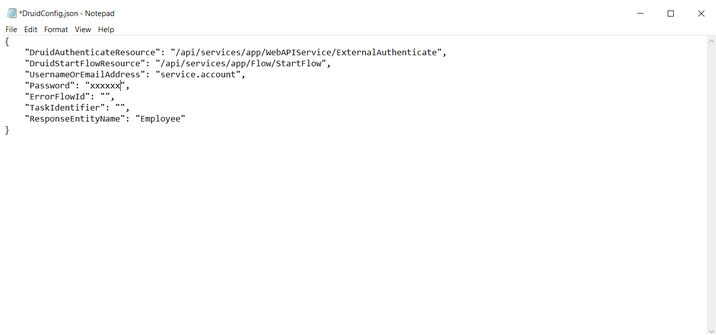
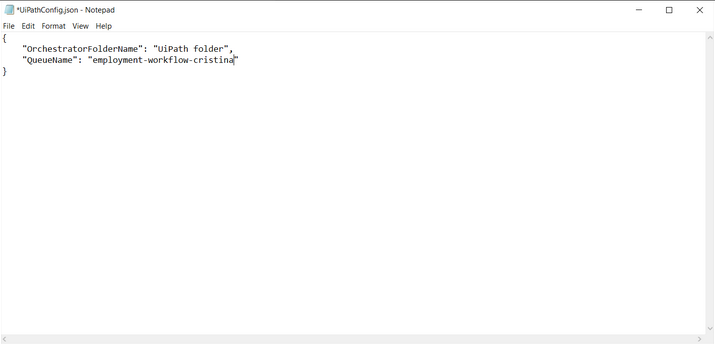
Open UiPathConfig.json. Complete the correct folder name (the one you created for the unattended process), and the queue name you created for the UiPath Action Center.
Save the file.
Switch to UiPath Studio.
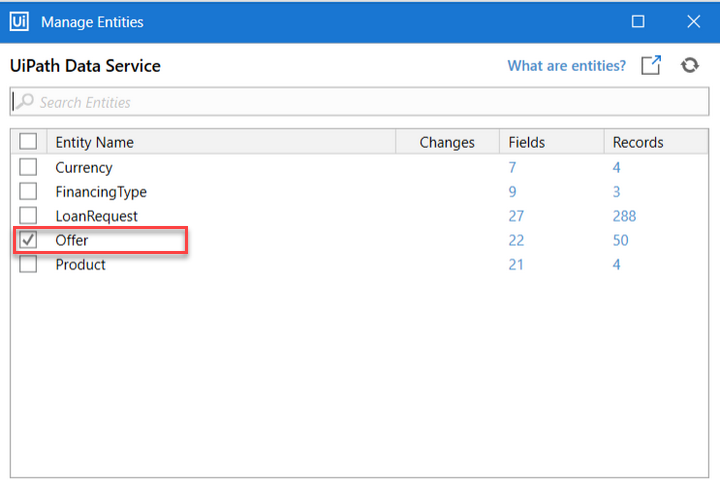
Click Manage Entities and choose Offer.
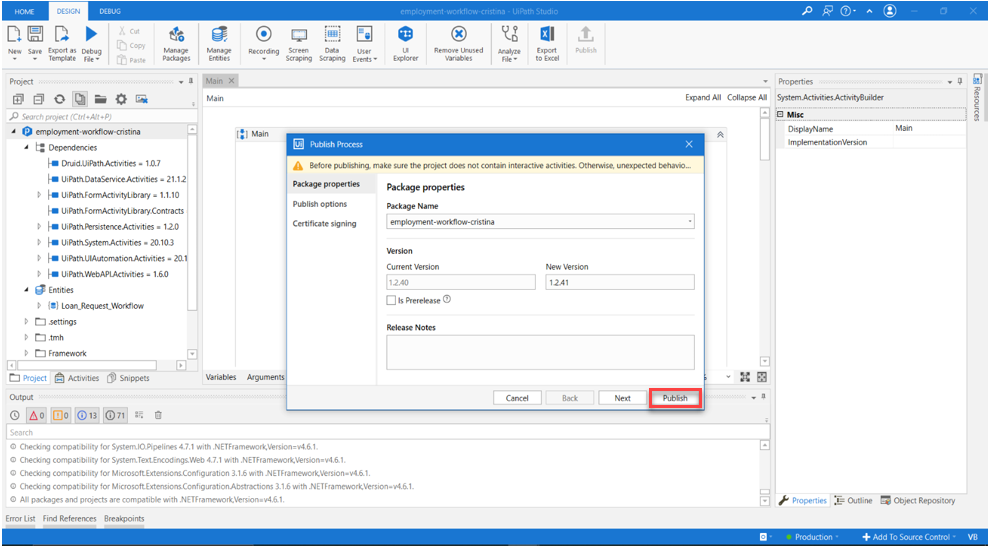
Click Save and then click Publish.
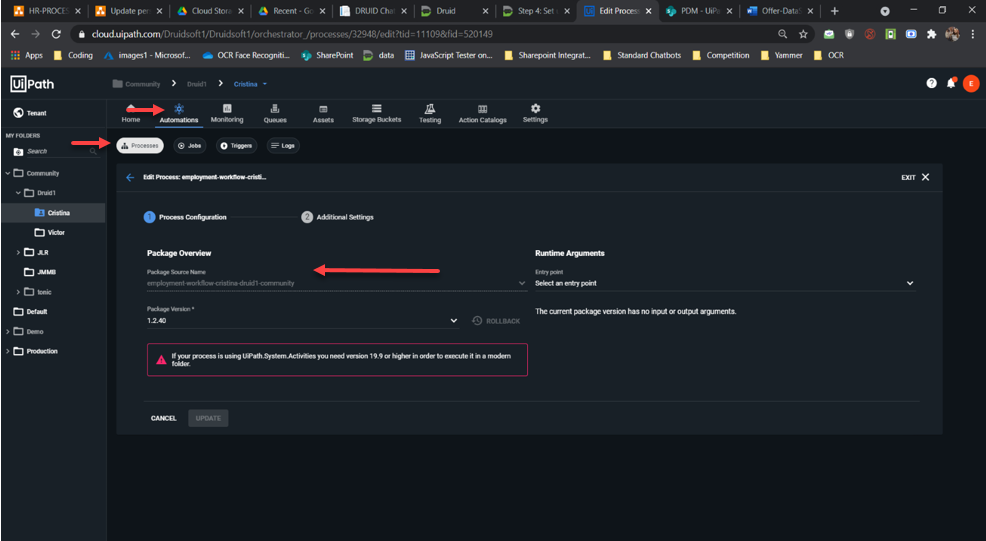
In your folder, click Automations > Processes and click the Add icon.
Choose the published package, enter a Process name (optional) and click CREATE.
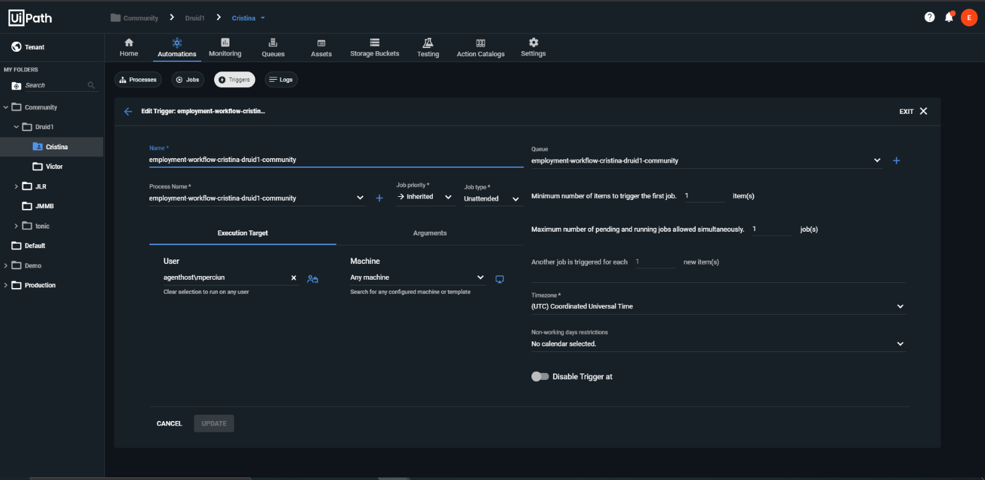
Click the Triggers tab and click the Add icon.
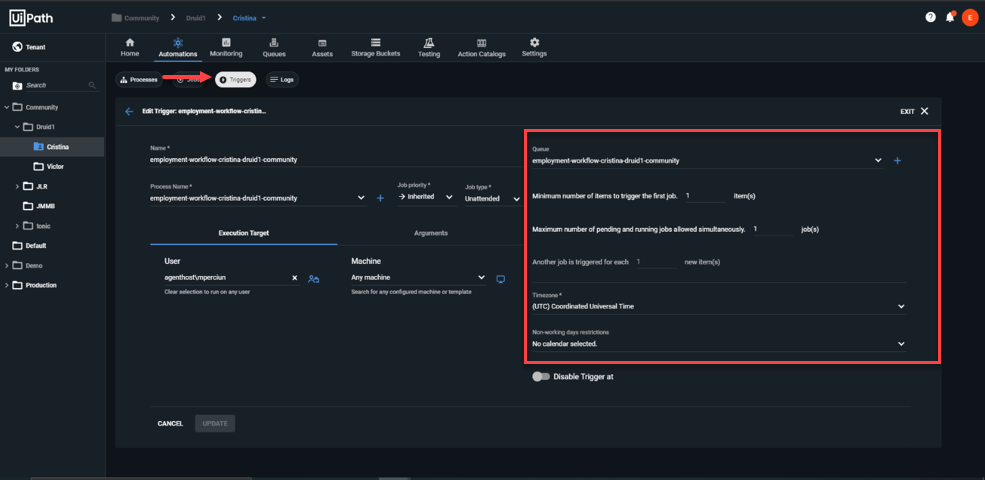
Click the Queue button, enter a trigger name, select the queue and the process you created previously and click ADD.
Switch to the UiPath Assistant. Search for the process you created, click the three dots on the right and click Install.
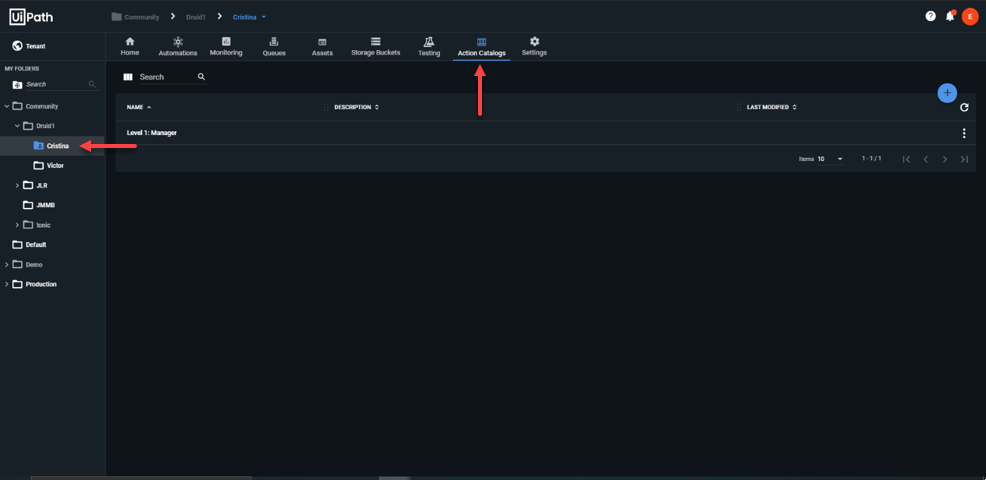
Go to your folder and click Action Catalogs and add "Level 1: Manager" action.
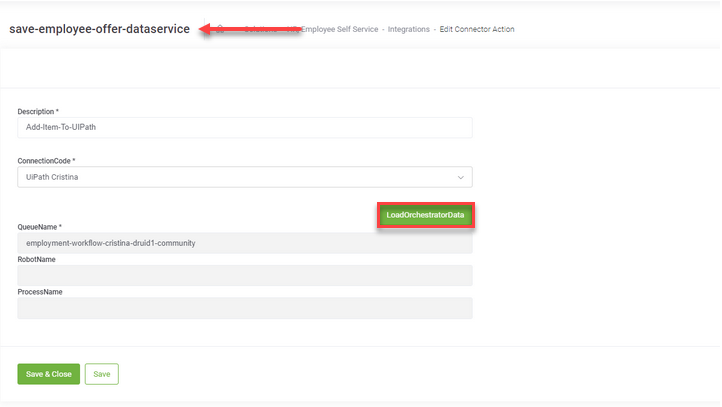
In the Druid Portal, go to the connector save-employee-offer-dataservice and load orchestrator data (click the LoadOrchestratorData button). Choose the queue name that you just created.