GPT Agentic Campaign Management
GPT Agentic Campaign Management is a powerful GPT-enabled application for managing campaigns. It allows users to create and run survey or interview campaigns using simple text scripts.
We recommend this solution for demos and proofs of concept (POCs). For production projects, please use Agentic Campaign Management version 2.0.
Key Components
The key components of this solution include:
- Backend Management - Define and manage Leads/Customers, Audiences, and Campaigns.
- Preloaded Sample Data - Preloaded sample data for Backend tables (Channels, Languages, Statuses, GPT prompts) and an automated setup flow that provisions these tables.
- Campaign Automation Flow - Automates the creation of campaign activities.
- Main GPT Agent - Runs survey flows based on scripts added to Campaigns. Summarizes discussions, notes next steps, and saves all information in the Backend. It operates in any language and follows user responses to the survey script.
Currently, the solution includes a GPT Agent for the Web Channel (Directline). Future updates will support additional channels, including SMS (via Twilio), WhatsApp, and Voice (via Audiocodes).
Prerequisites
- Tenant Druid community (open new tenant here) or Druid subscription.
- You should have a Druid bot. For information on how to create a bot, see Creating Druid Bots.
Configuring the Skill Template
To configure the skill template, follow these steps:
Step 1. Install the solution from the Solutions Library
Go to the Solutions Library, search for solution "Campaigneer" and import it following the instructions provided in section Installing Solution Templates.
Wait until the import status shows as “Success”.
Step 2. Set up the bot special flows
Go to the bot settings, Details page and click the Dialog management section header. The section expands. Select the following special flows:
|
Special Flow |
Select |
|---|---|
| Welcome flow | check-initial-setup |
|
Intent not found flow |
System_Intent not recognized |
Scroll down and click Save & Close.
Step 3. Configure the app connection
To configure the app connection, follow these steps:
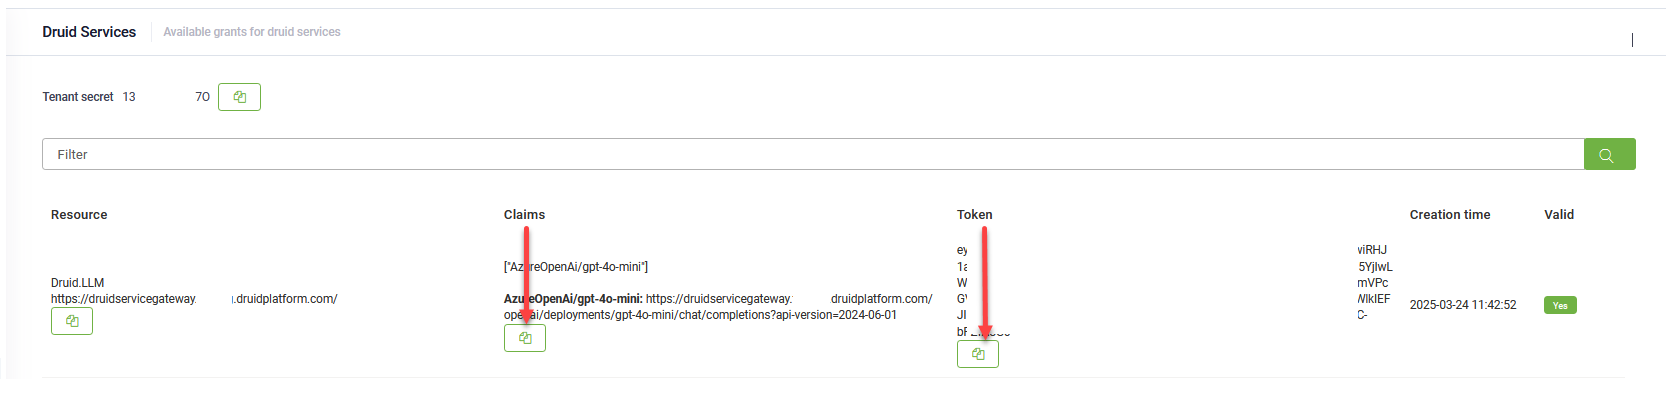
- Go to Administration > Druid Services.
- Copy the claims and token corresponding to the DRUID.LLM resource you want to use — you’ll need them to configure the app connection.
- Go to Solution Content > Apps and select the DRUID-LLM app.
- In the Base URL field, paste the claims value you copied at step 2.
- In the Variables table, enter the token you copied at step 2 as the key.
- Click Save to complete the configuration.
- Once the app is configured, click Publish.
Step 4. Run database setup flow
Open a chat window and type “db-setup” to initiate the database setup flow, which provisions all necessary tables with demo data.
Step 5. Verify Demo Data
Select the “Admin” workspace and review all demo data, including initial GPT prompts.
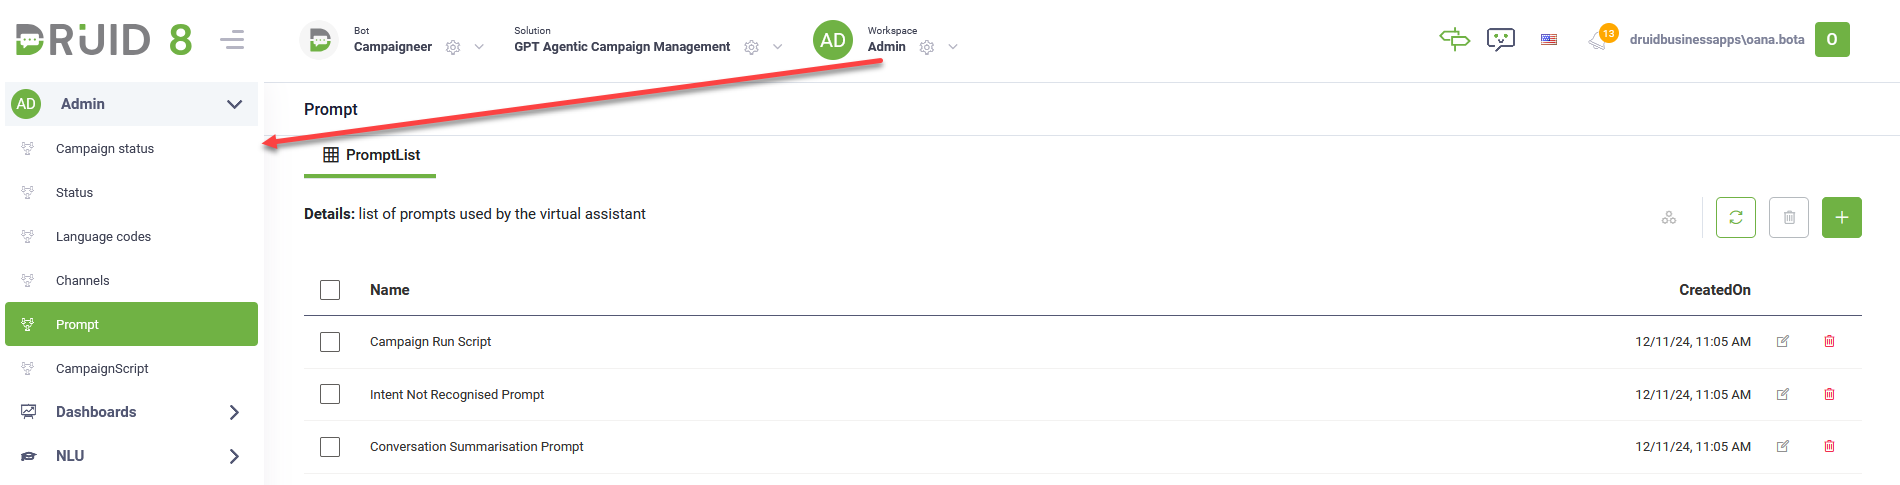
You can now build your first campaign.
Building your first campaign
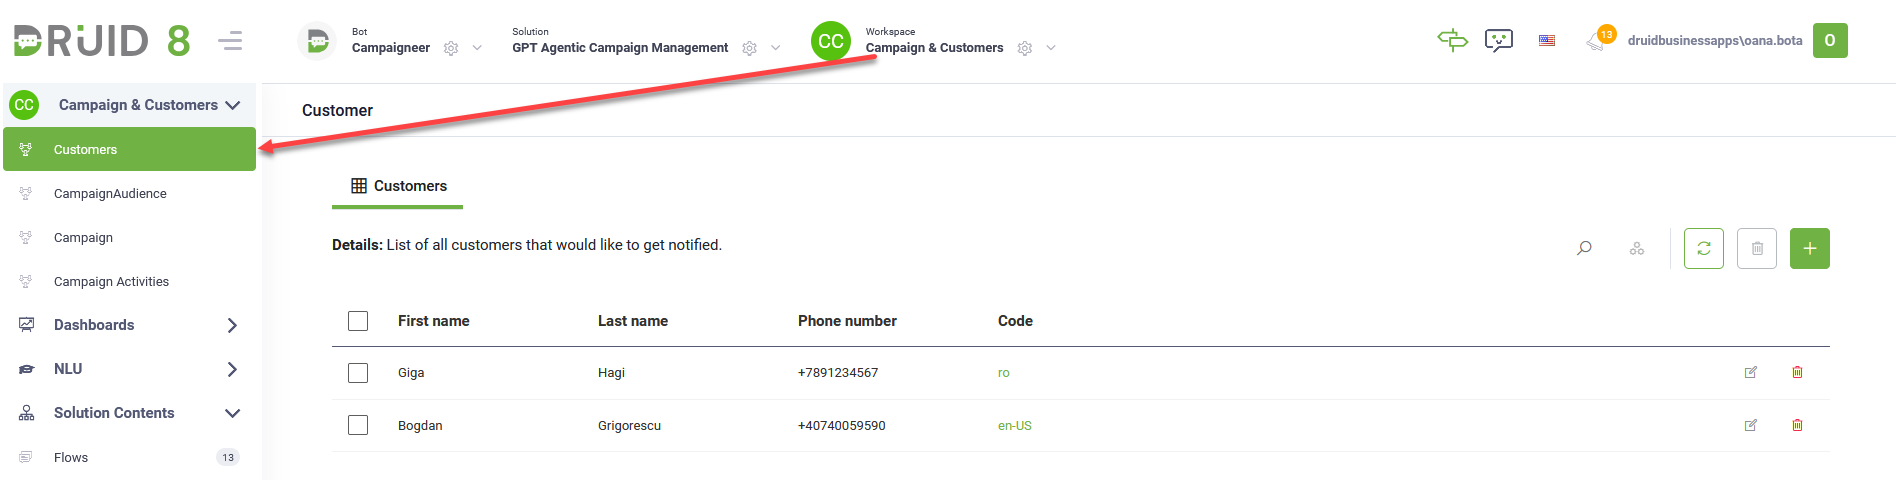
To build your first campaign, select the Campaign & Customers workspace and follow these steps:
Step 1. Add leads / customers
Click on Customers on the workspace menu, and add your target leads or customers.
Step 2. Create campaign audience
To build a list of leads that will be targeted by the campaign, follow these steps:
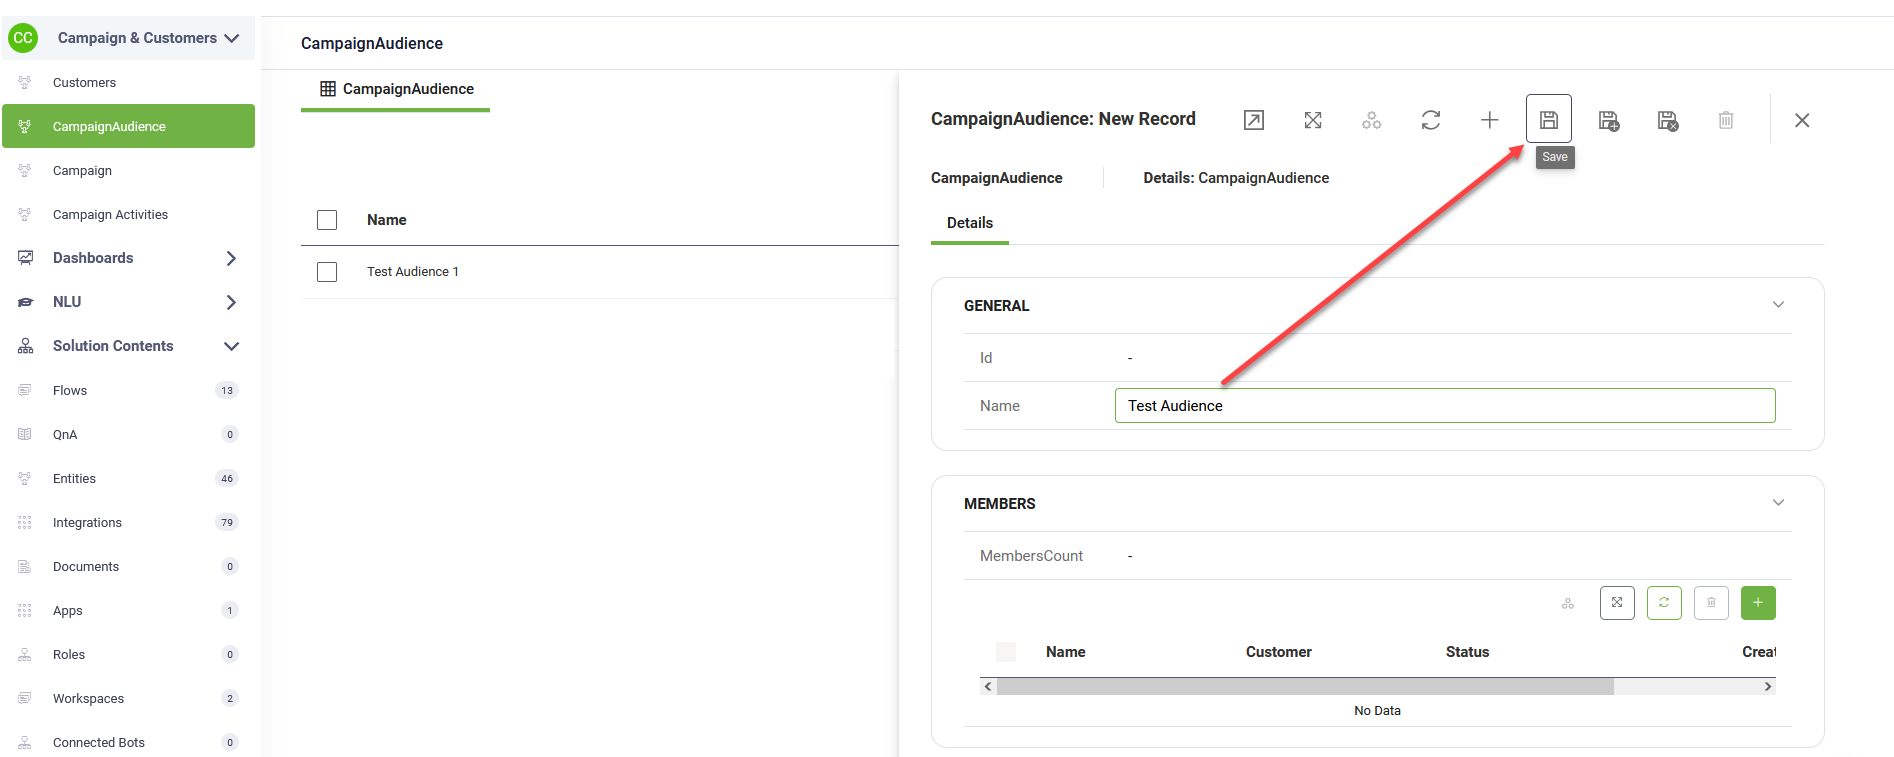
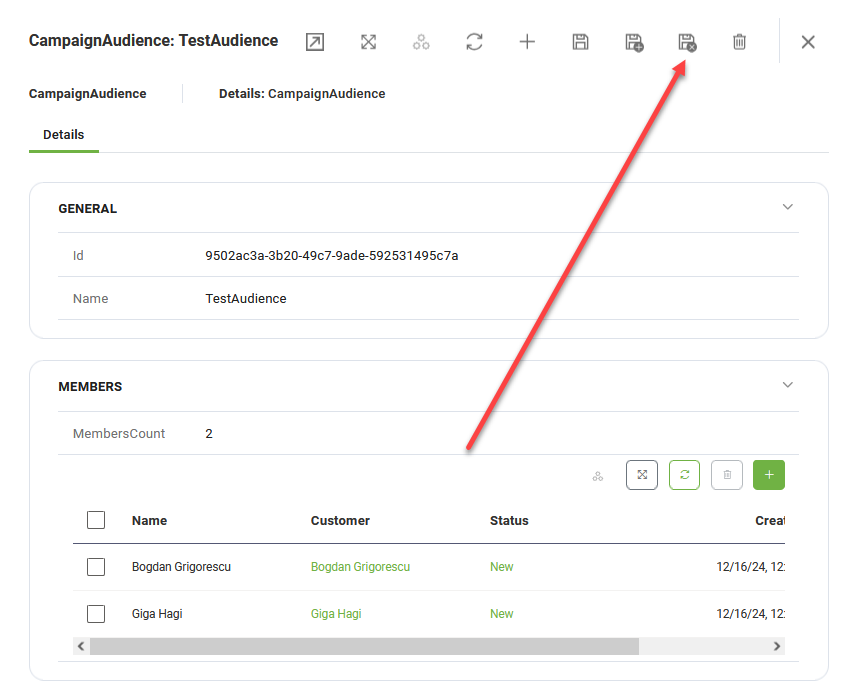
- On the workspace menu, click CampaignAudience.
- In the CampaignAudience page, click the New Record icon in the top-right corner. This opens the Campaign Audience creation page.
- Enter the campaign audience Name and click the Save icon to save the test plan details.
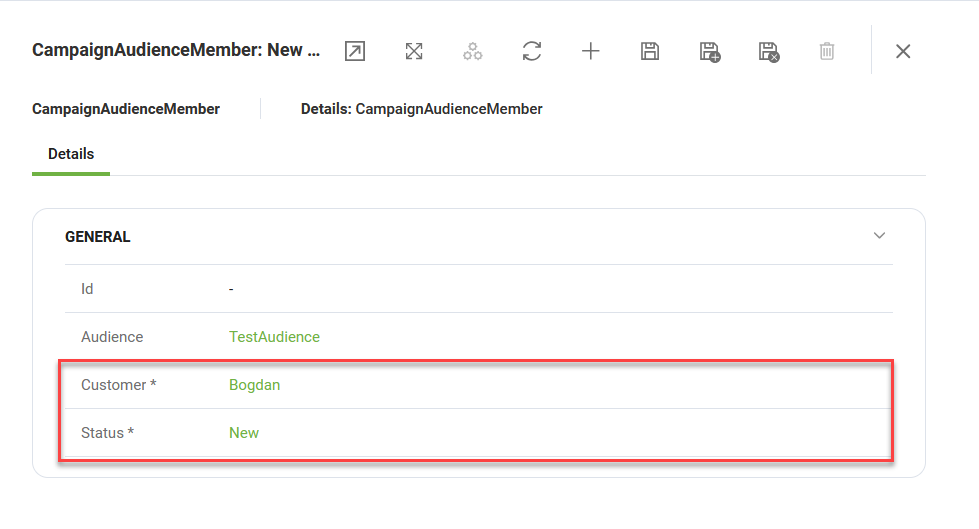
- In the Members section, add the leads/customers who will be targeted by the campaign. To add a lead/customer:
- Click the Add icon at the top-right corner of the Members table. The CampaignAudienceMember page appears.
- From the Customer field, select the desired lead.
- From the Status field, select New.
- Click Save & new if you want to add another lead or Save & close otherwise.
- After you finish adding the desired leads to the campaign audience, click Save & close to save the campaign audience and exit the configuration page.
Step 3. Define the Campaign
To define a campaign, follow these steps:
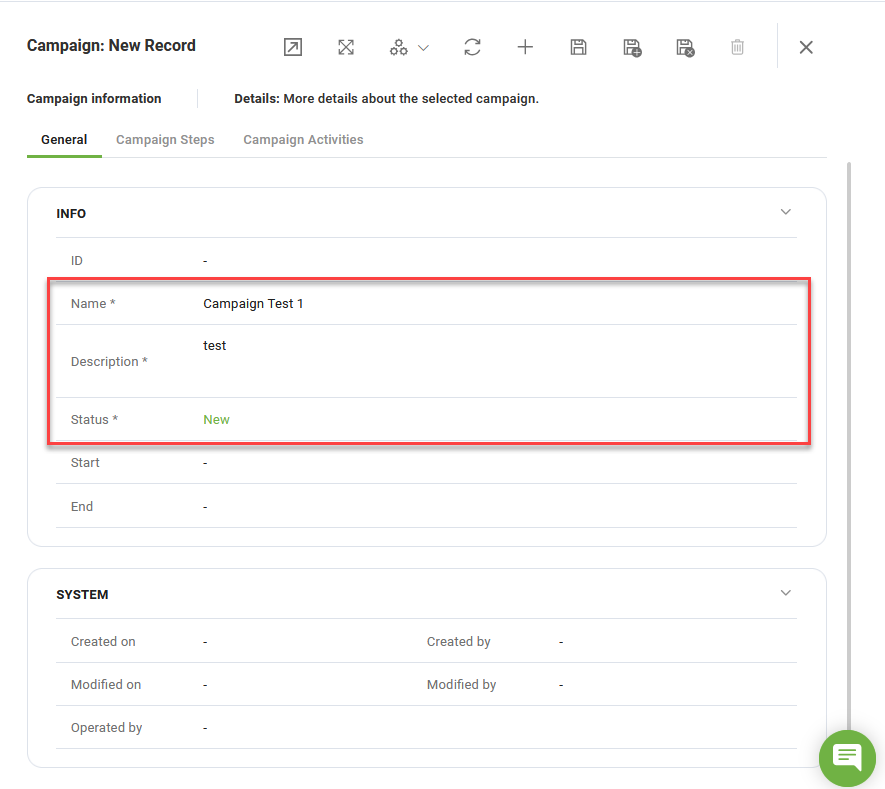
- On the workspace menu, click Campaign.
- Click the New Record icon in the top-right corner. This opens the Campaign creation page on the General tab.
- Add the campaign details (Name and Description) and select the campaign Status.
- Optionally, select the Start and End date.
- Save the campaign general details.
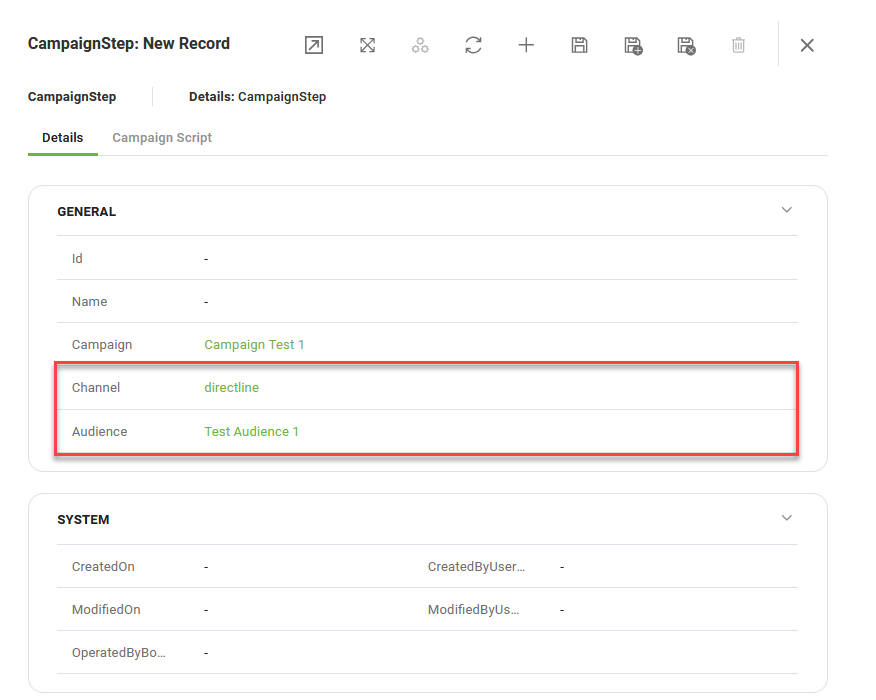
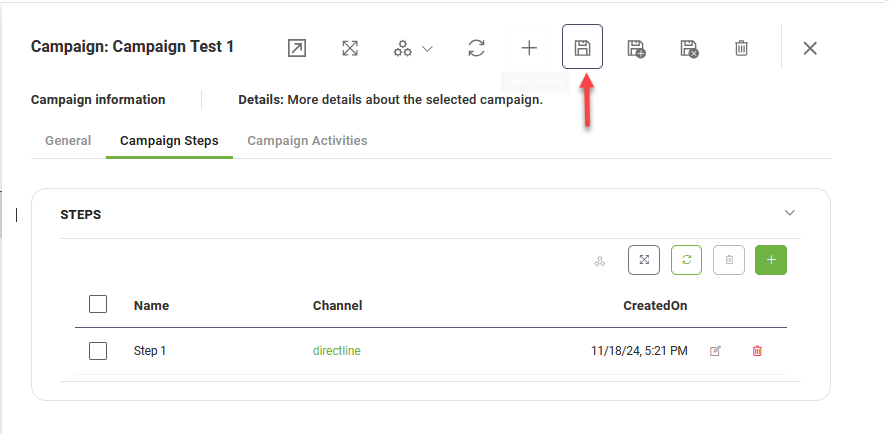
- Click on the Campaign Steps tab, and add one or more steps as best suits your needs. To add a campaign step, follow these steps:
- Click the Add icon. The CampaignStep configuration page appears.
- Specify the desired Channel (Directline is required for this solution).
- Select the target Audience created earlier.
- Click the Save icon.
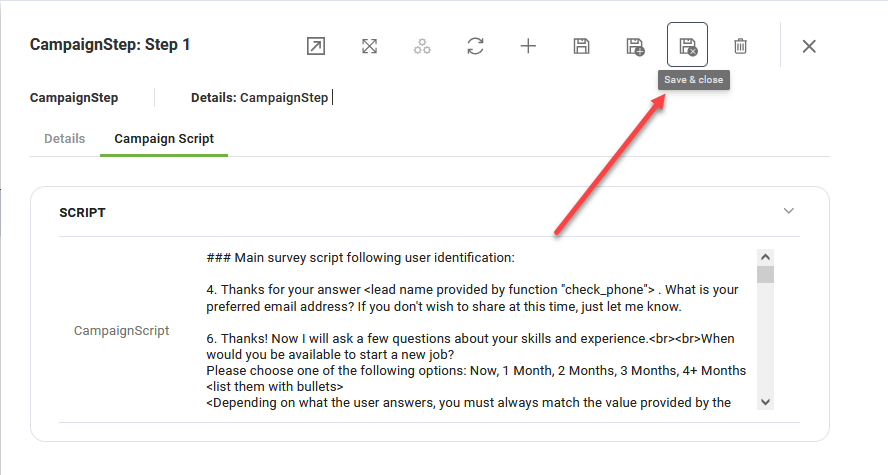
- Click the Campaign Script tab and write the script as a story.
- Click the Save& close icon.
- Click the Save icon to save the campaign.
You can now launch the campaign.
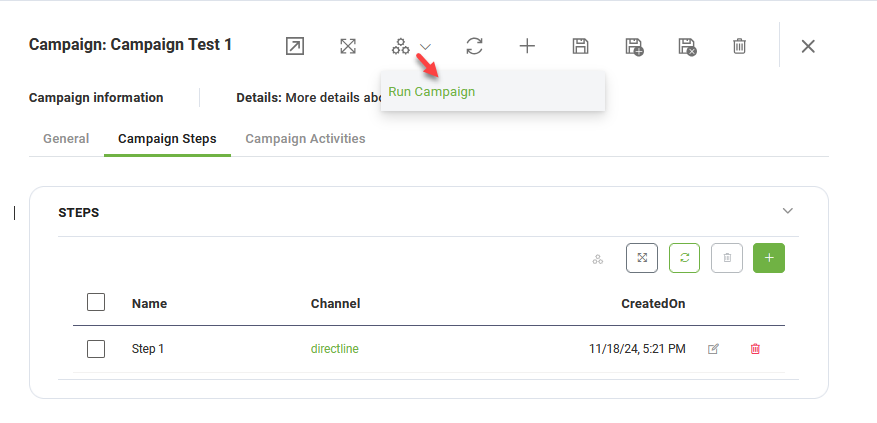
Step 4. Generate campaign activities
To launch the campaign, from the Automations drop-down, select Run campaign.
A chat window appears on the right-hand side of the screen, providing updates on the campaign launch.
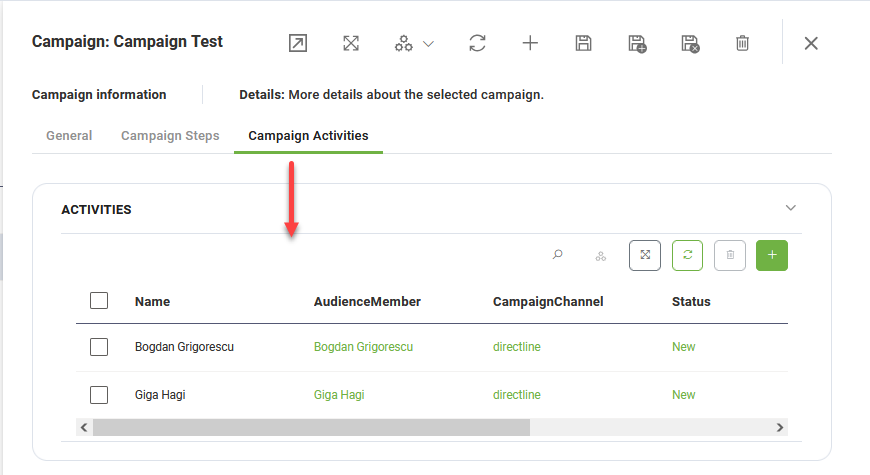
Close the chat window. Click on the Campaign Activities tab if you want to review the list of activities per lead.
Testing the GPT Survey Agent
Open a chat window. Interact with the GPT Survey Agent in any language.
At the end of the flow, check the backend for:
-
Updated status of the Campaign Activity.
-
Summary of the entire interview.
You’re now ready to create and manage powerful campaigns using the GPT Agentic Campaign Management solution!