Setting up the Add ServiceNow Ticket UiPath Process
Step 1: Create Orchestrator folder
Go to the Orchestrator and create a new modern folder where you will add the Add ServiceNow Ticket UiPath Process.
Step 2: Publish the Add ServiceNow Ticket UiPath Process
Unzip the add-servicenow-ticket file (it contains the Add ServiceNow Ticket UiPath Process) and go to the Config.json file.
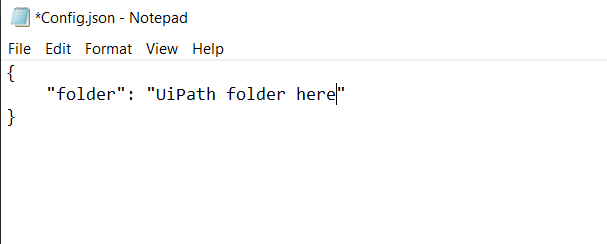
Open the Config.json and setup up the name of the folder where you will add the process (the one from step 1).
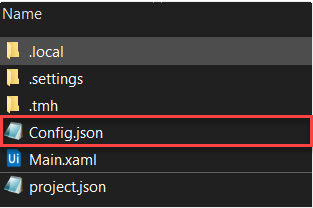
Go to the Main.xaml, open it.
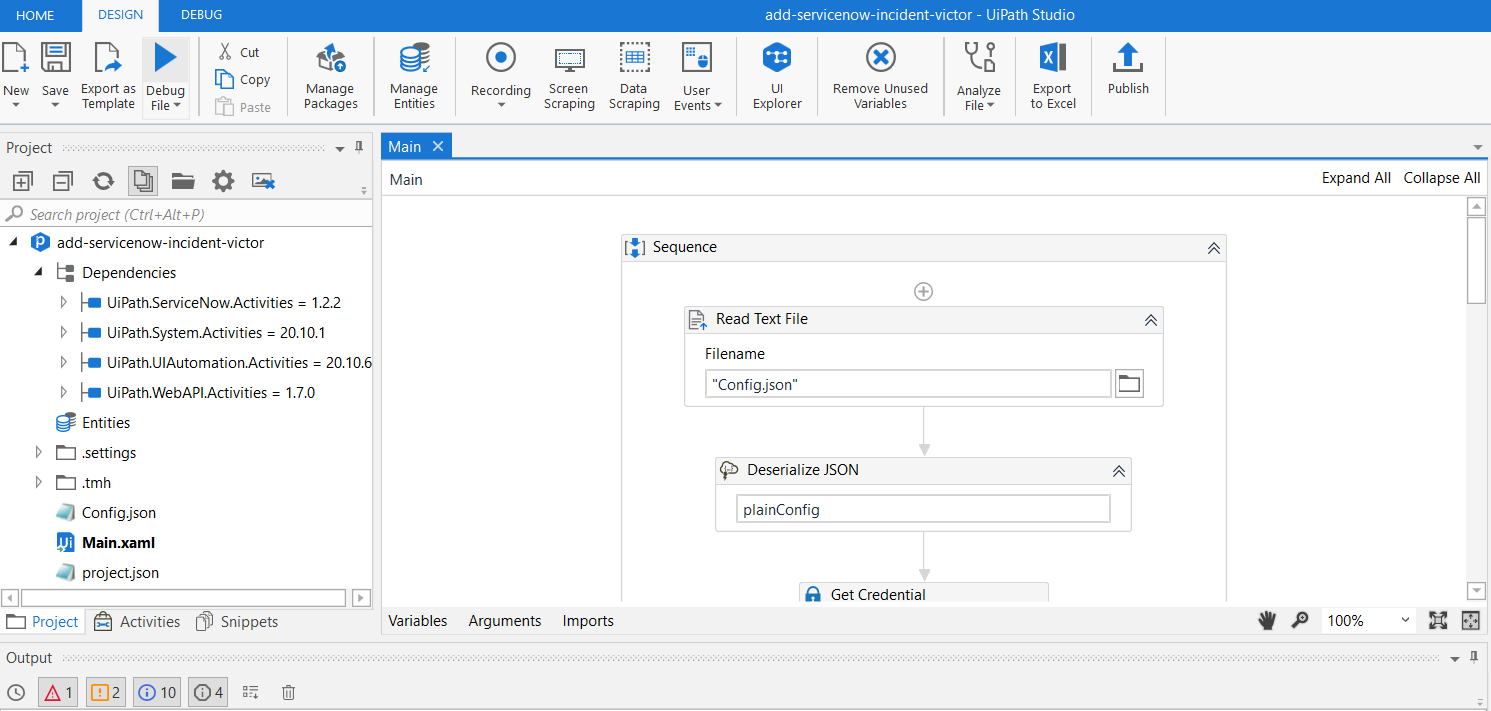
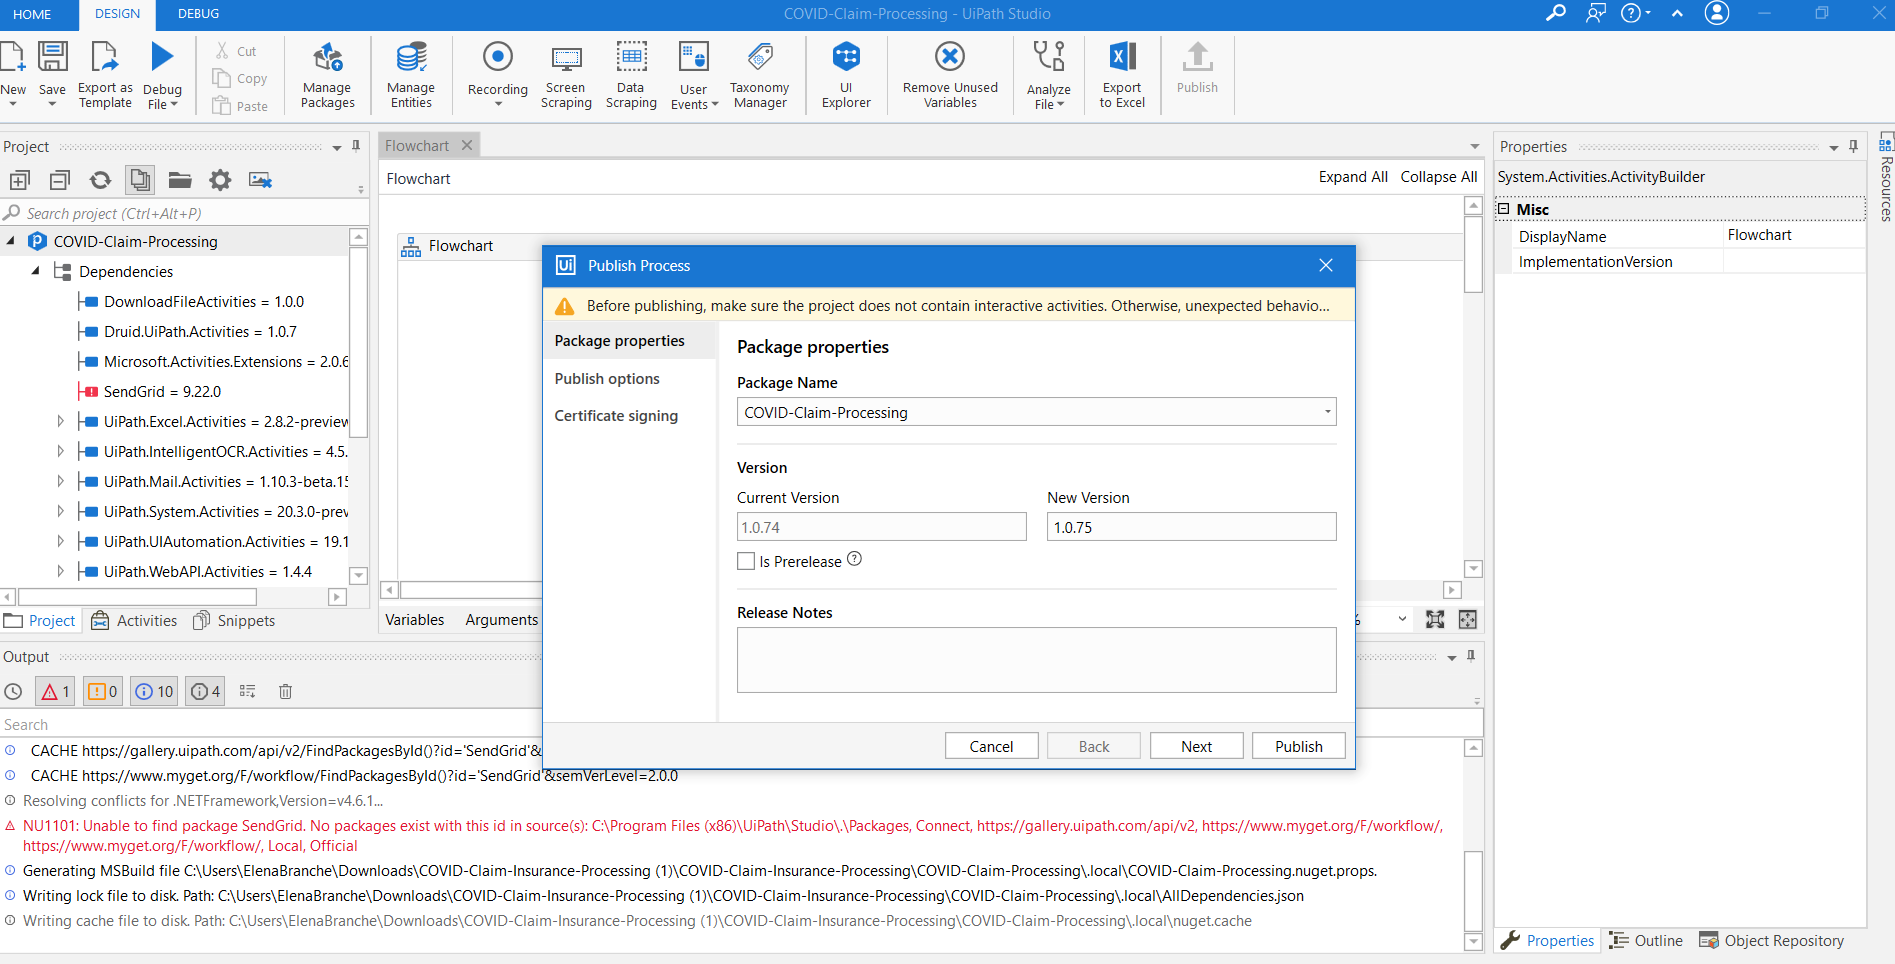
To publish this process in your orchestrator, click Publish.
Step 3: Add new process in orchestrator
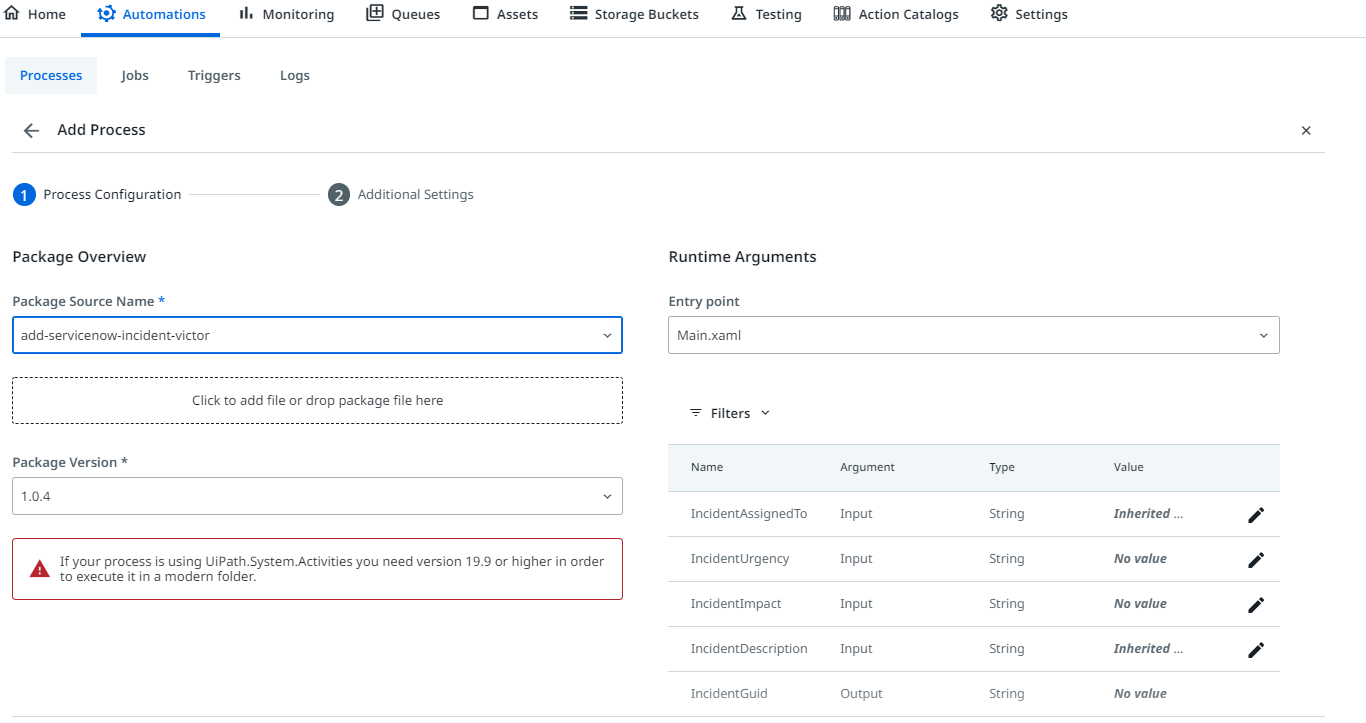
After the folder is created, click on it, go to Automations > Processes, and click Add Process.
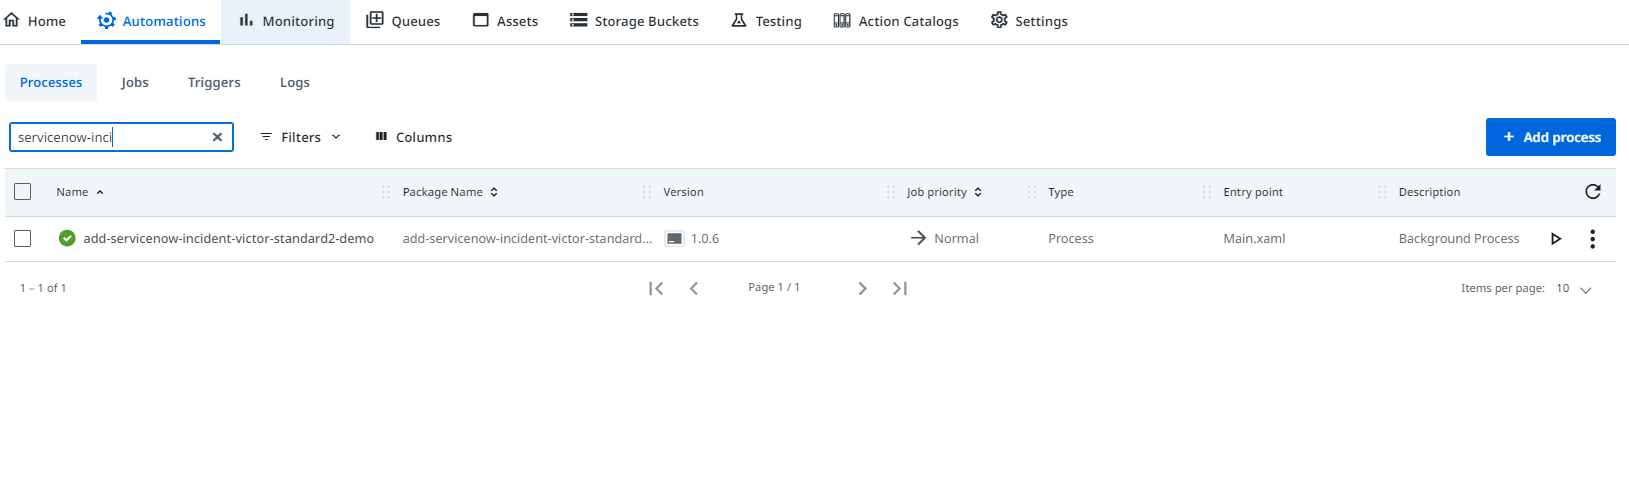
Select the Package name published from step 2, and click Continue.
The process runs asynchronously, so you need to define what happens after the job completes. The process needs to call back Druid.
To do so, in Orchestrator, click Tenant, and from the top menu, click Webhooks.
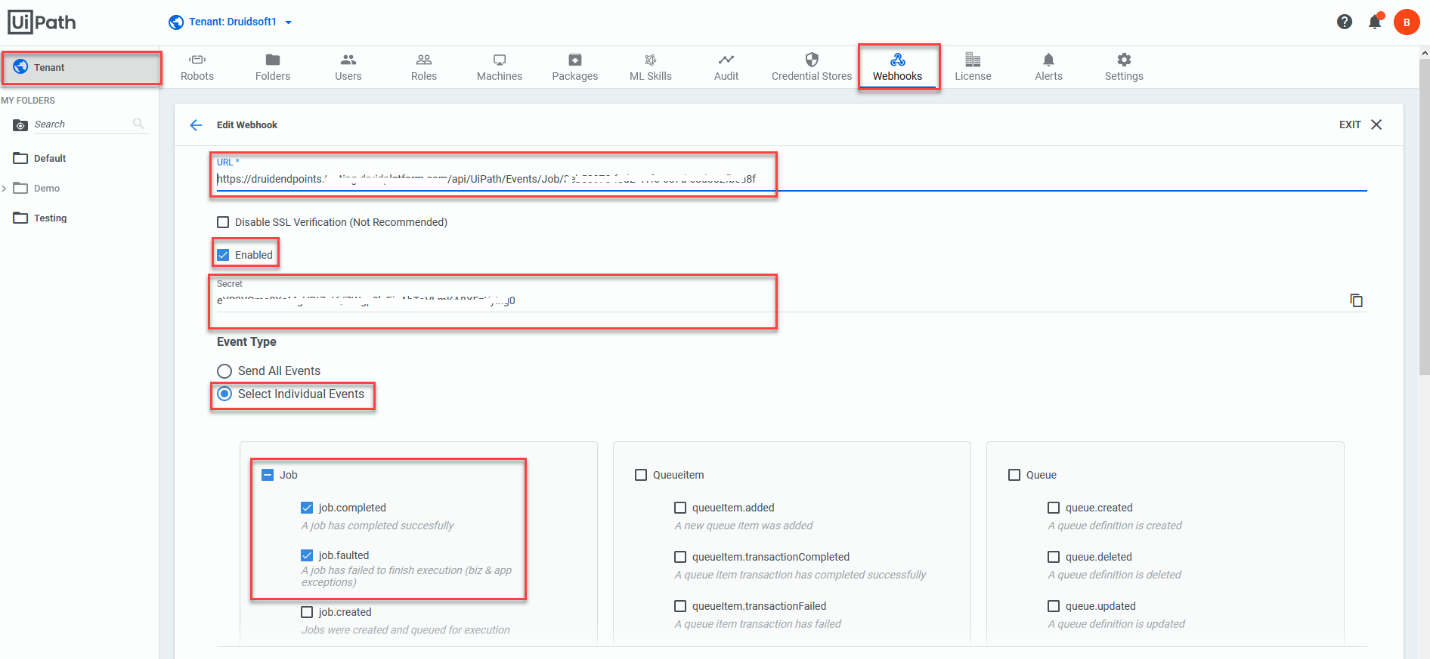
In the URL field, paste the value of the Druid Endpoint URL and in the Secret field, paste the value of the Druid Endpoint Secret.
Tick Enabled.
Select Individual Events as Event Type, select Jobs and from the list, select the first two jobs:
- Job completed. A job has completed successfully. The event is linked to the UiPath child flow step After Job Complete (Success).
- Job faulted. A job has failed to finish execution (incl. app exceptions). The event is linked to the UiPath child flow step After Job Complete (Error).
- We recommend you to select only these two types of events, as at this moment, the Druid AI Platform will ignore all other events. In new Druid versions, we will add support for more orchestrator events.
- As the Orchestrator allows setting Webhooks on a tenant level, it will send all events on all processes existing in all folders on the tenant, including the ones that are not set up in Druid; however, Druid will ignore the events transmitted by the Orchestrator, which are not related to processes Druid started.
Click the UPDATE button to save the Webhook configuration.
Now your UiPath setup is completed.
Step 4: Set up Druid
- In Druid, go to Apps and create a new UiPath connection. For information on how to do that, see Creating the UiPath Connection Strings.
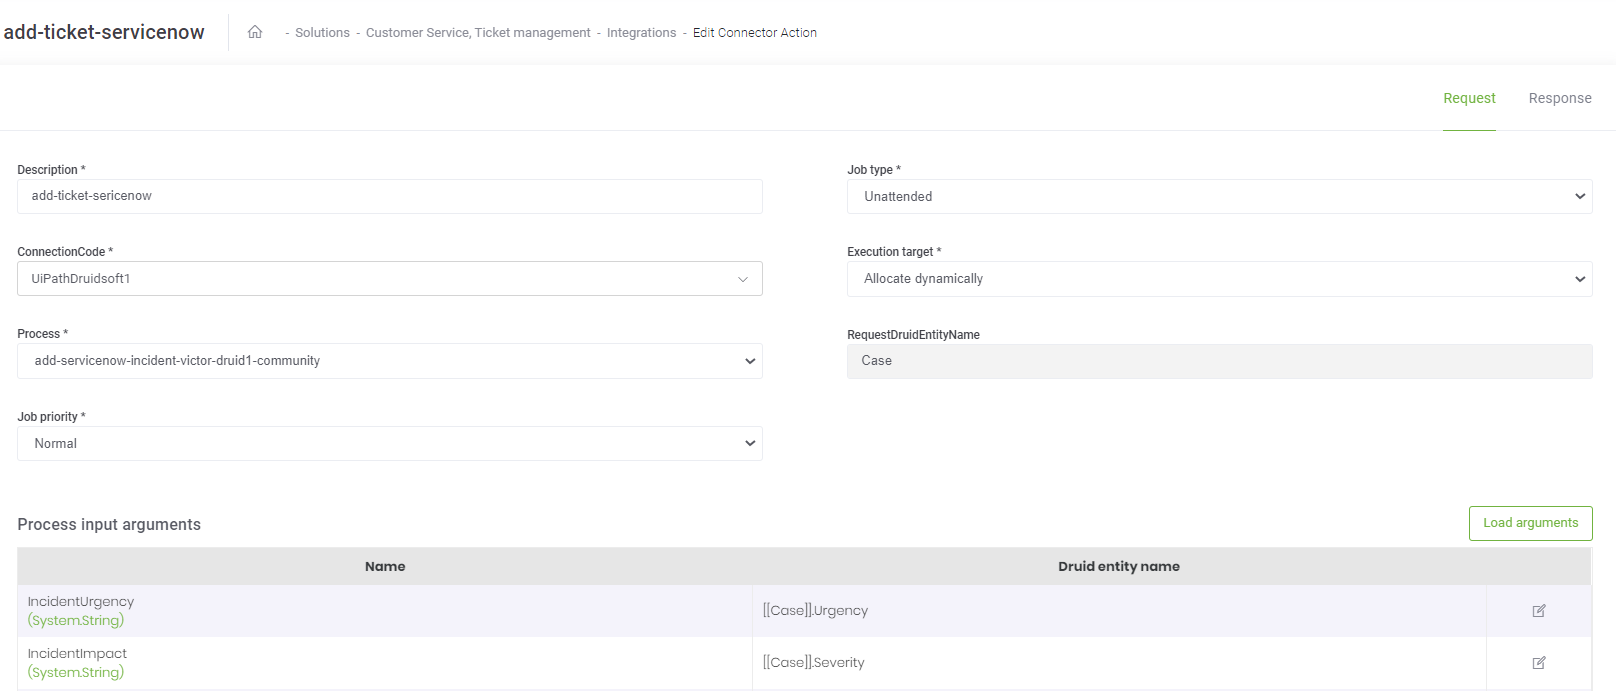
- Go to integrations, on the connector action called uipath-covid-claim-process.
- Click on the process and choose your process just published in UiPath.
- Set up your connection code.
- Select job type Unattended.
- Publish the connector.