Setting Up the Contract Termination UiPath Attended Process
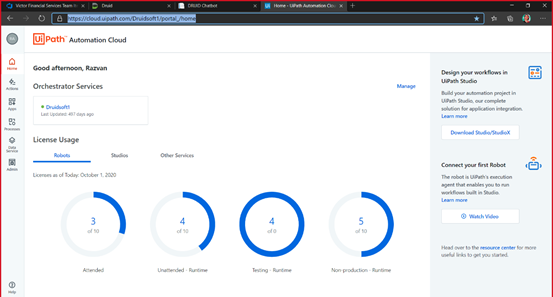
Go to https://cloud.uipath.com.
Log in to your orchestrator account.
Download the UiPath Studio (if you don’t have it already).
Install UiPath on your PC.
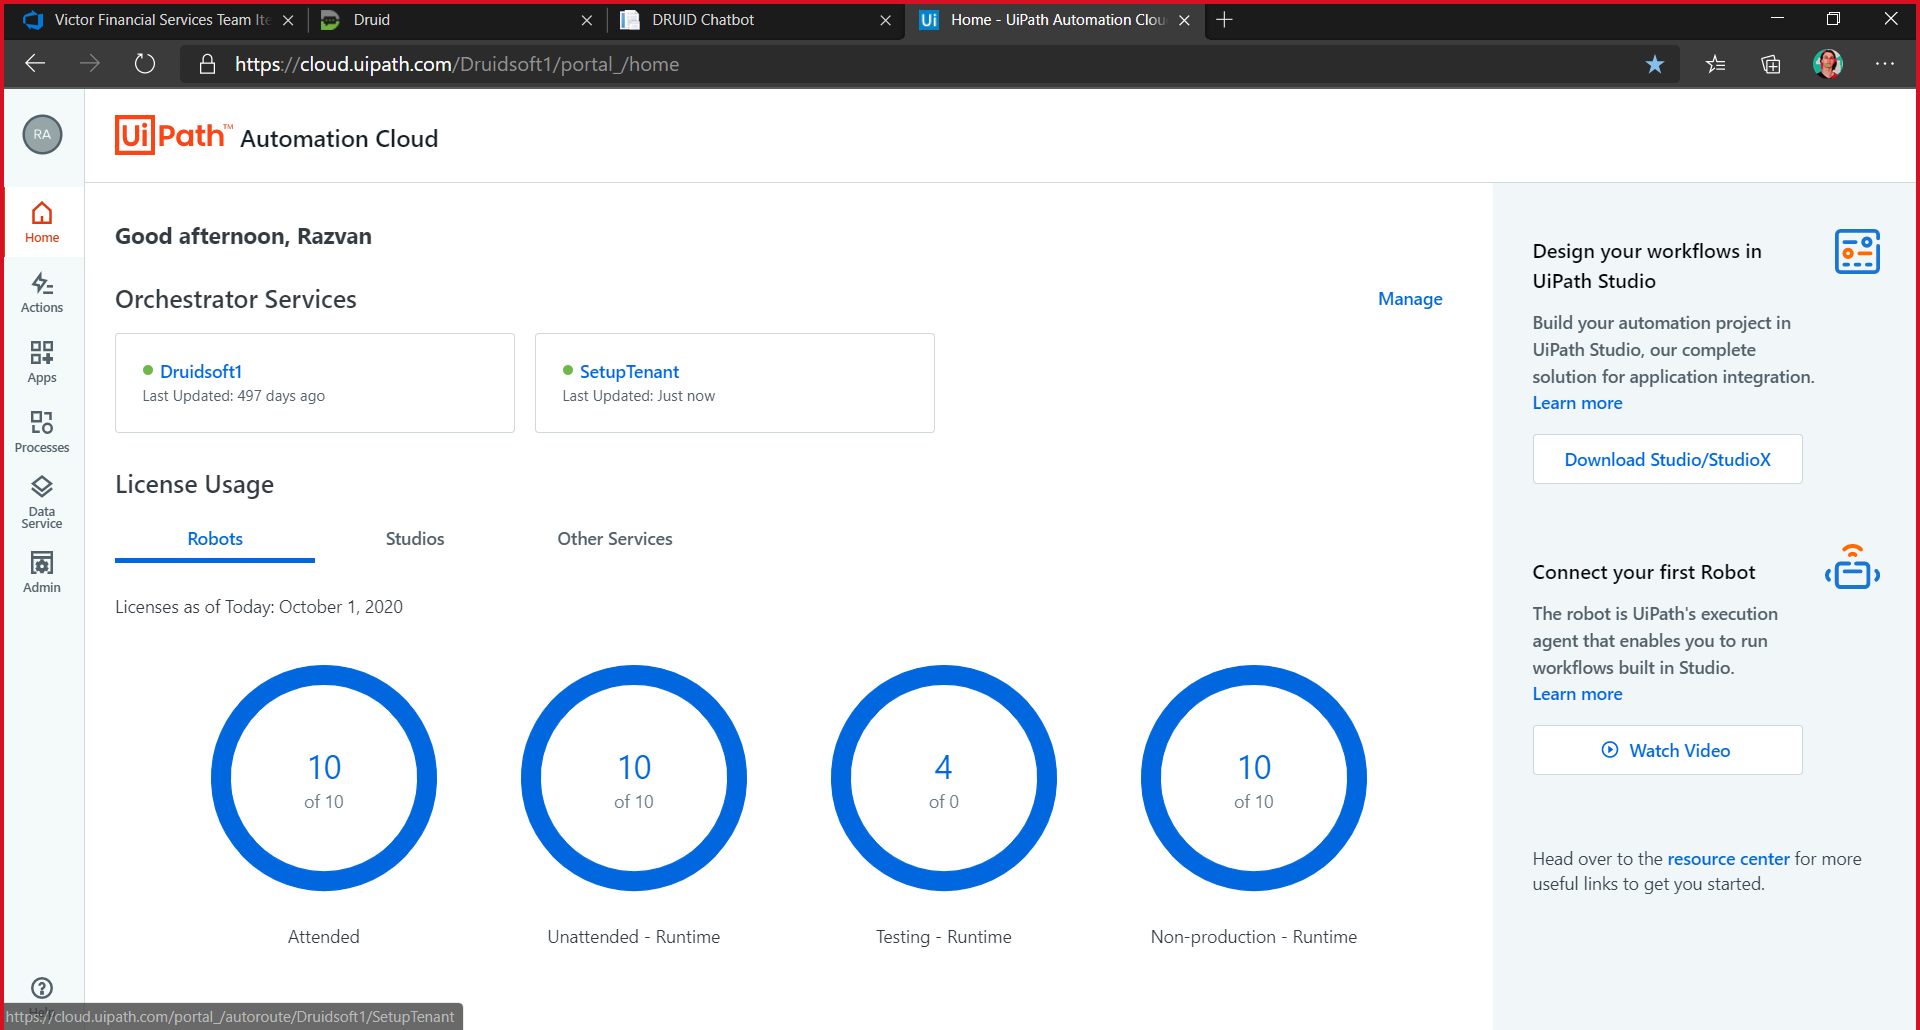
Click on the desired tenant (we will use SetupTenant).
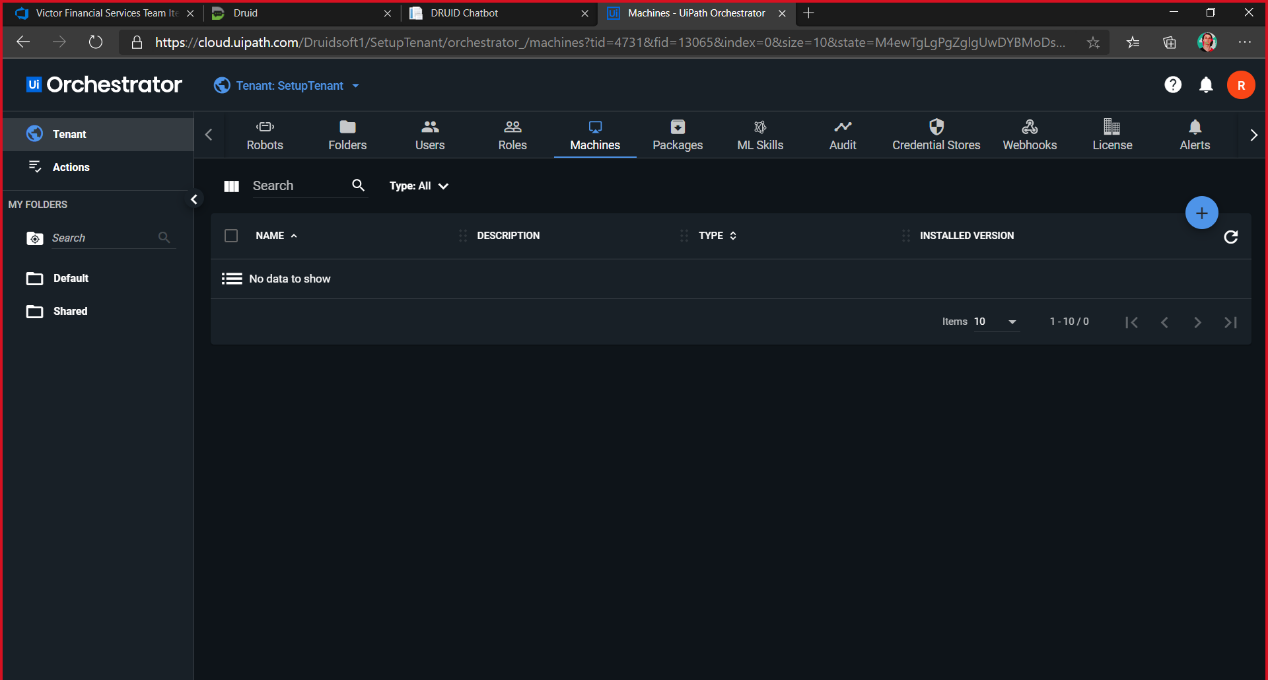
Go to Tenant(1), Machines(2) and click Add(3).
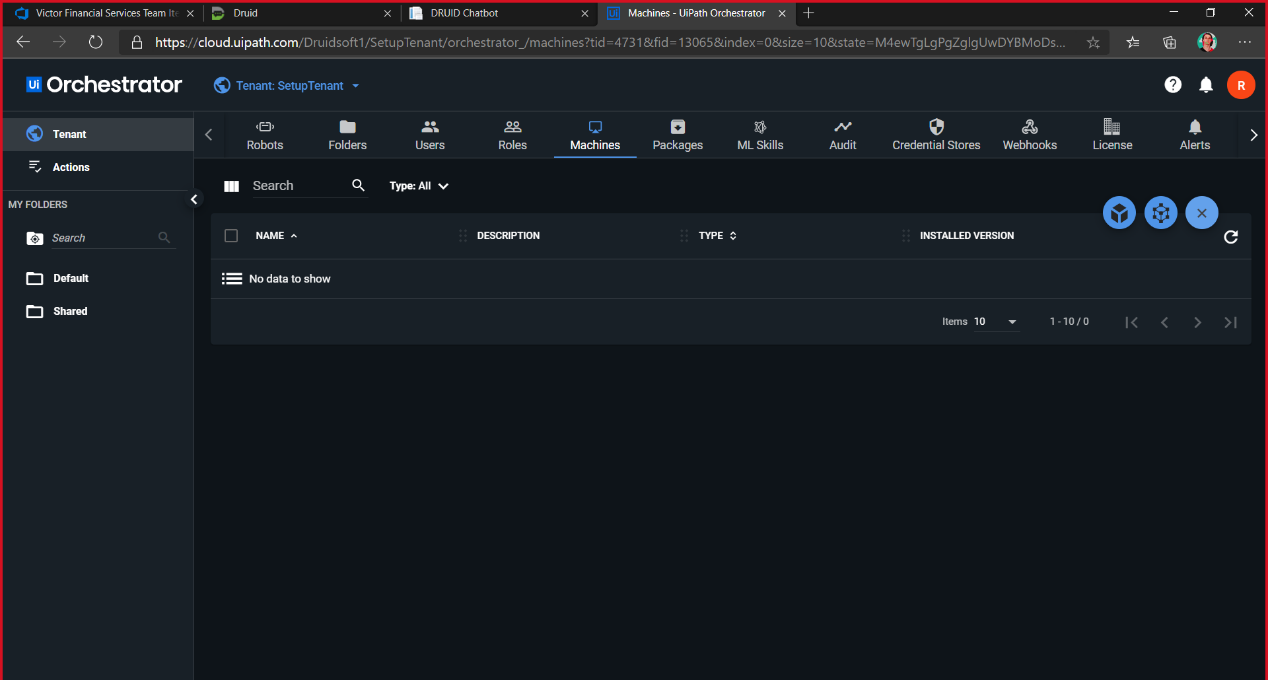
Choose Standard Machine.
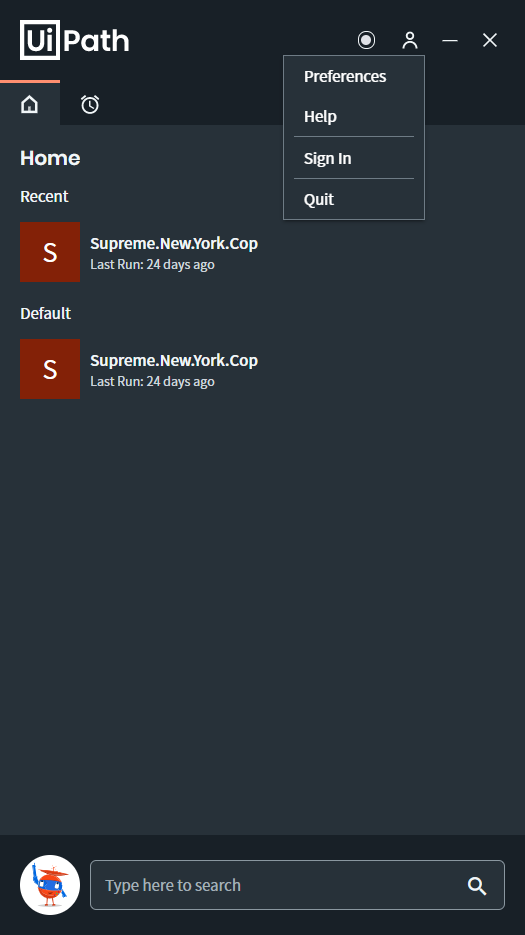
Open the UiPath Assistant app.
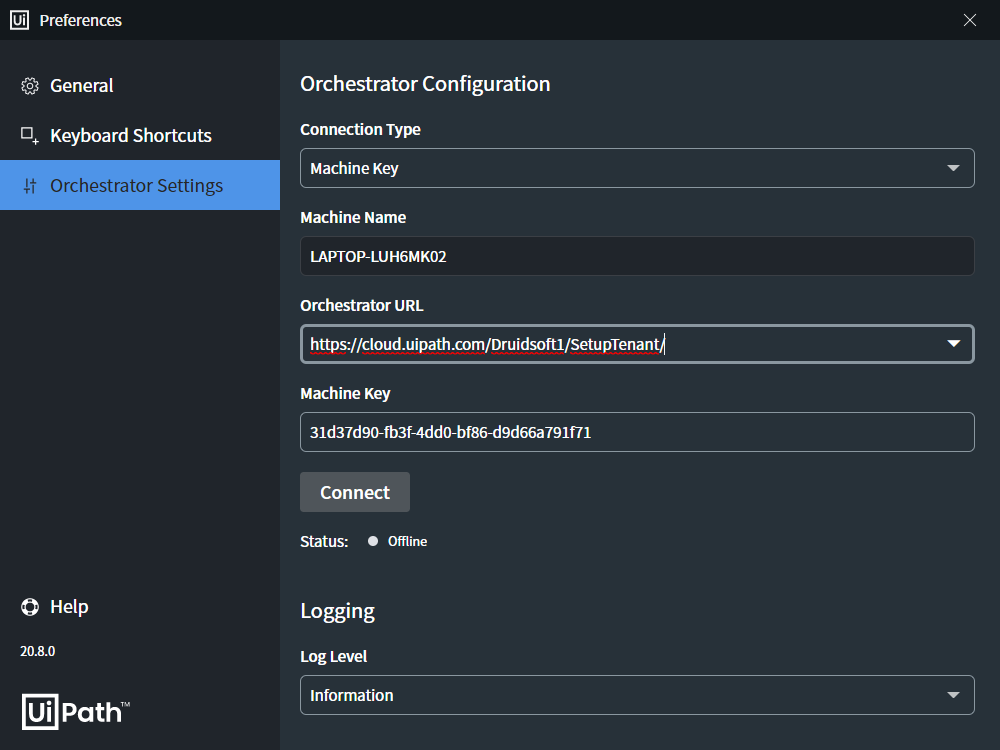
Click on Preferences (1,2).
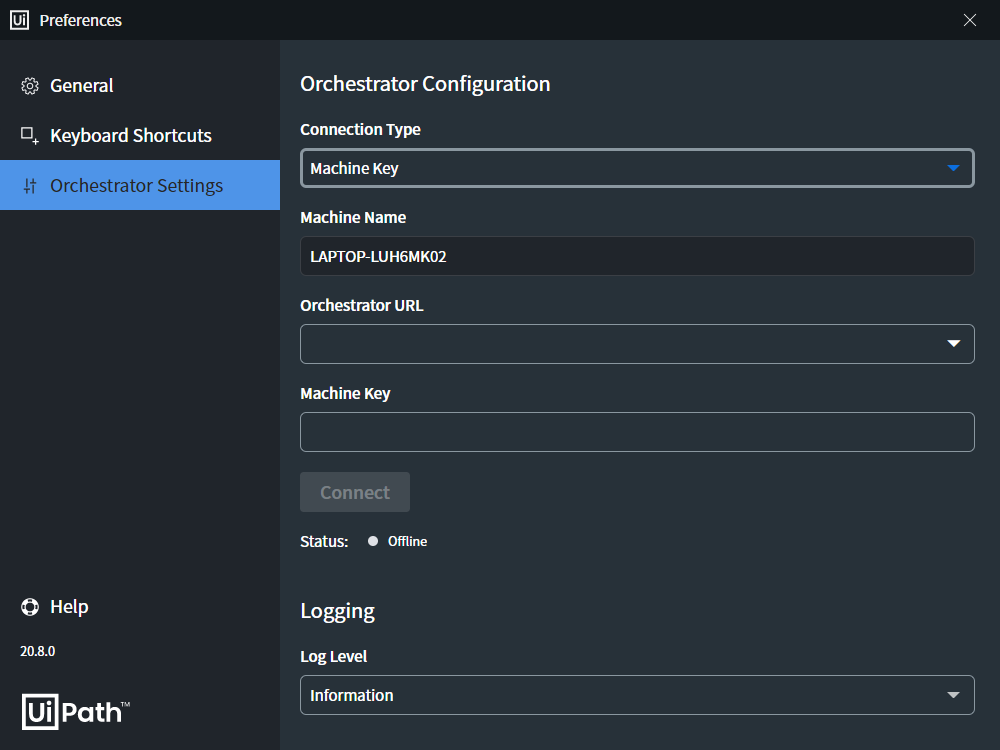
Go to Orchestrator Settings(1), choose Machine Key(2) and copy the Machine Name(3).
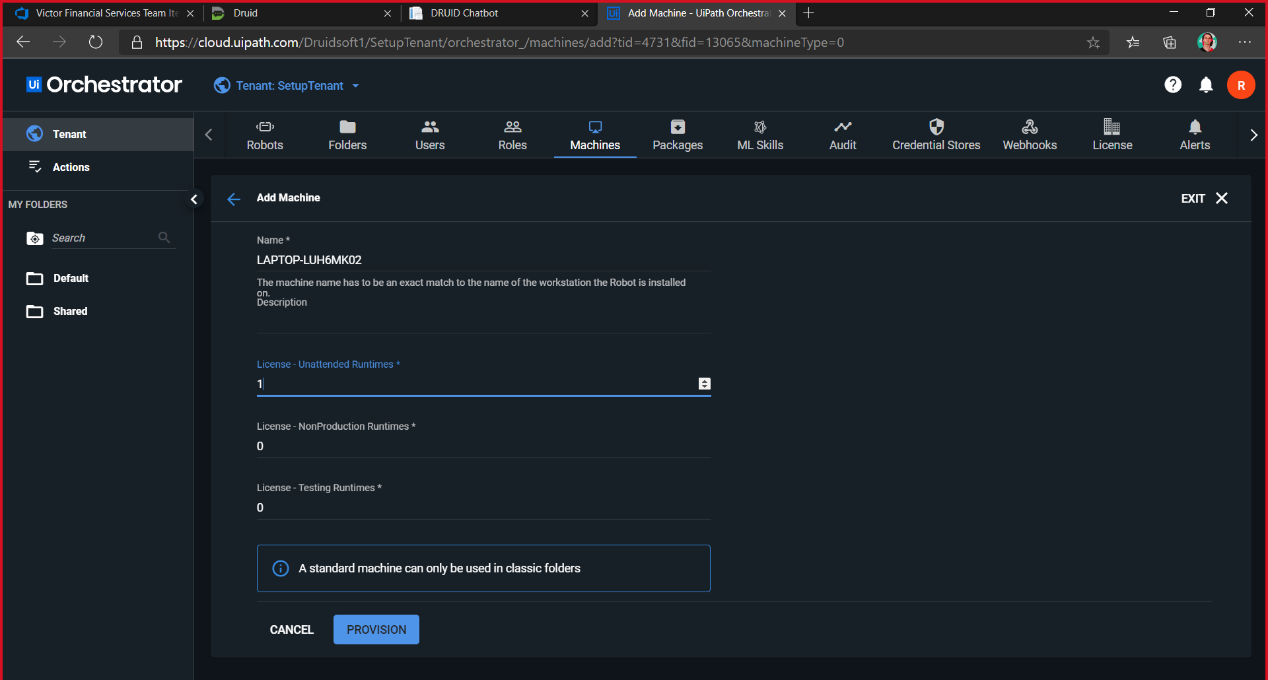
Switch back to Orchestrator, paste in the Name field(1), add an attended license(2) and click PROVISION.
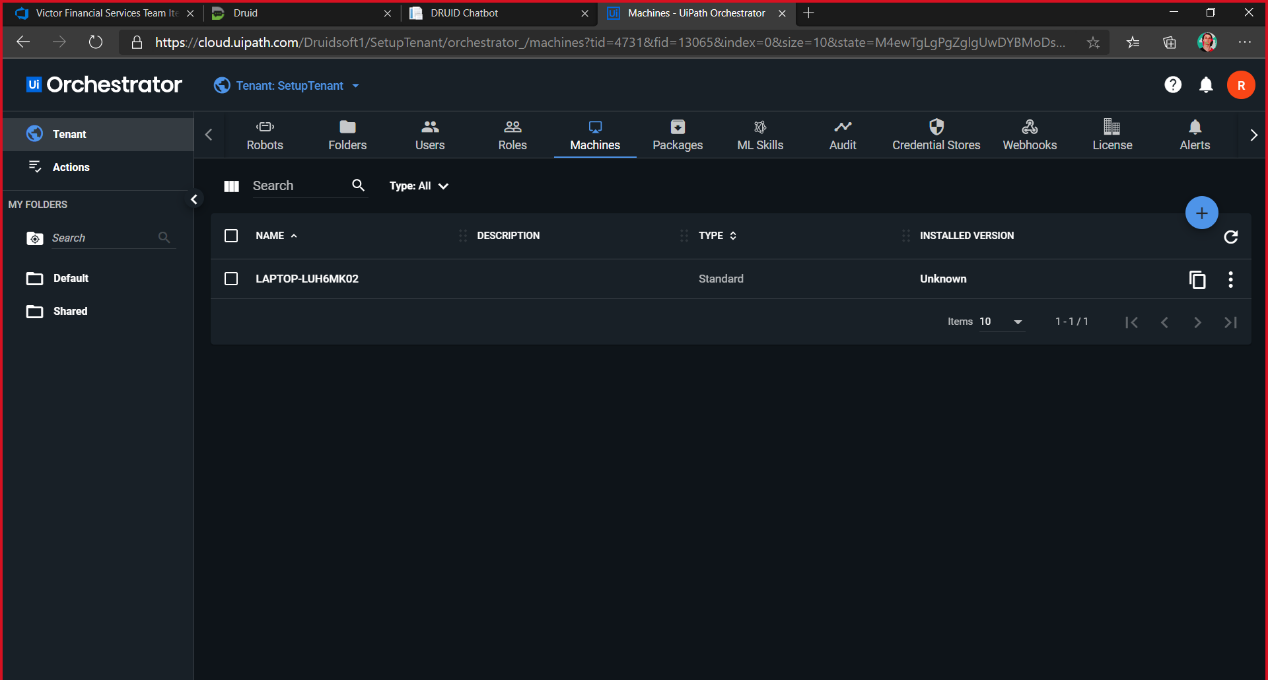
Click Copy Machine Key to Clipboard, store it and the extended URL (in our case, https://cloud.uipath.com/Druidsoft1/SetupTenant/).
Switch to UiPath Assistant, paste the Machine Key and Orchestrator URL and click Connect .
After clicking Connect, the status should be “Connected, Licensed”.
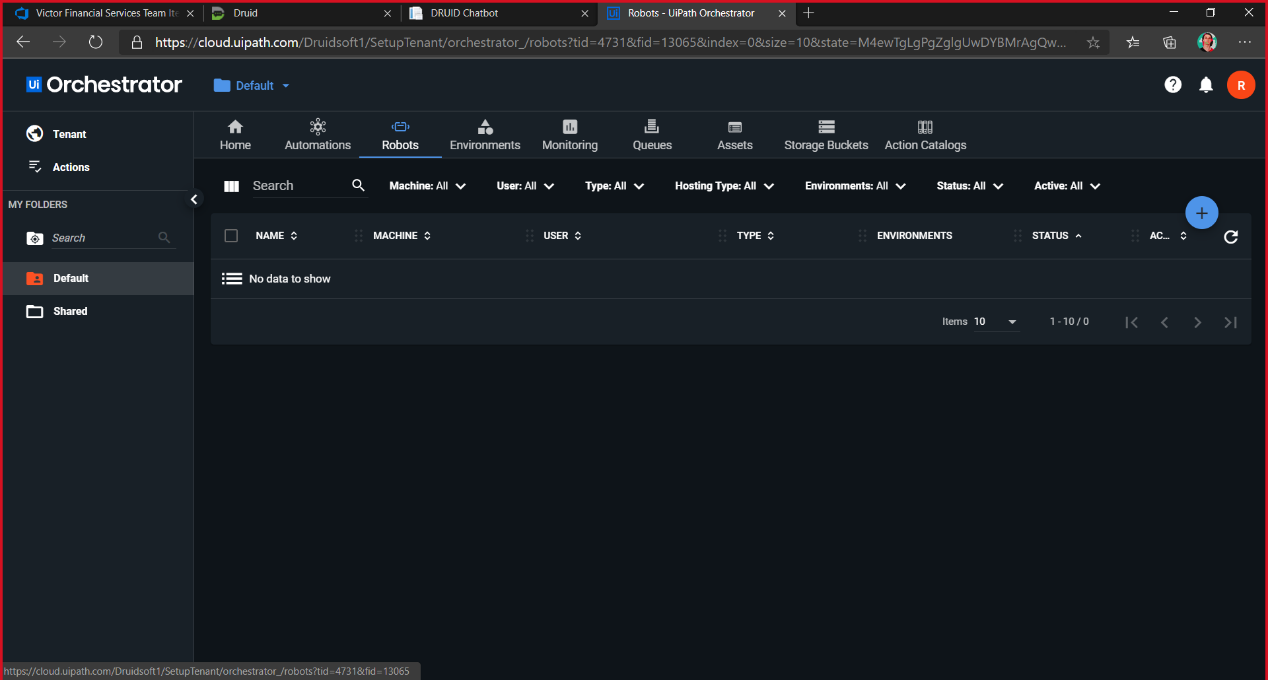
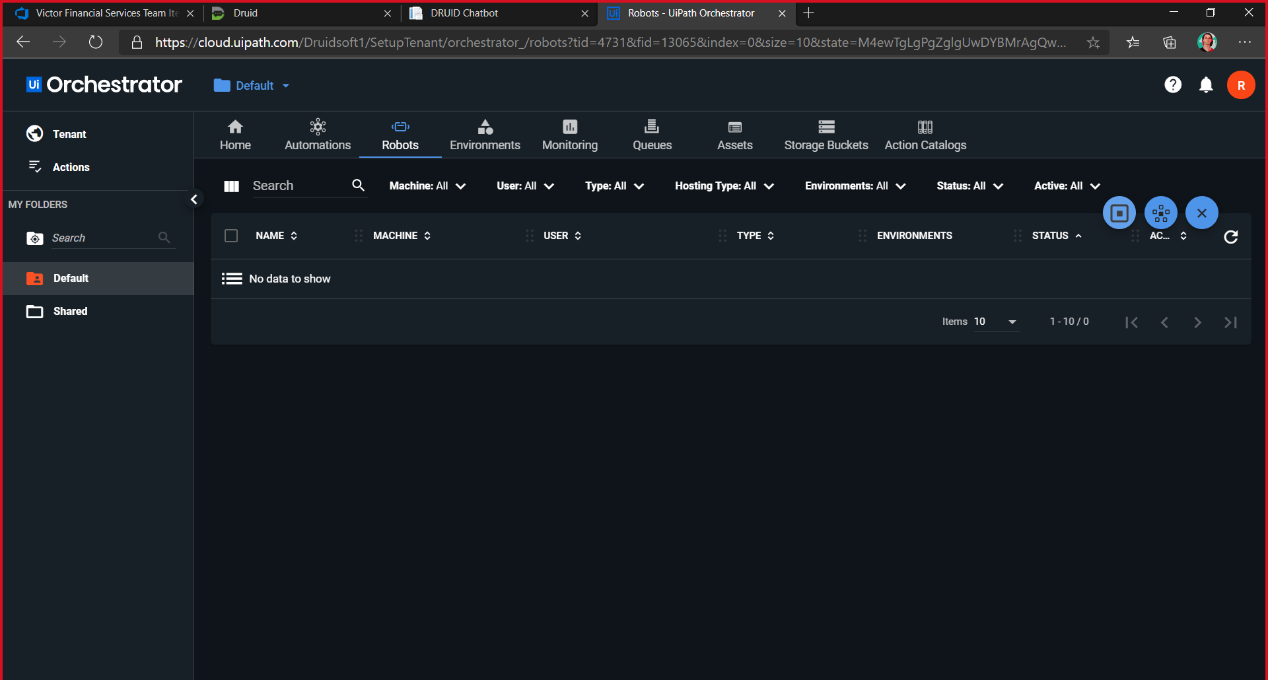
Go to the Default(1) folder, click Robots(2) and Add(3).
Add a Standard Robot.
Choose your machine, enter a name, add a description, select the attended type, enter your Windows user password, and click CREATE.
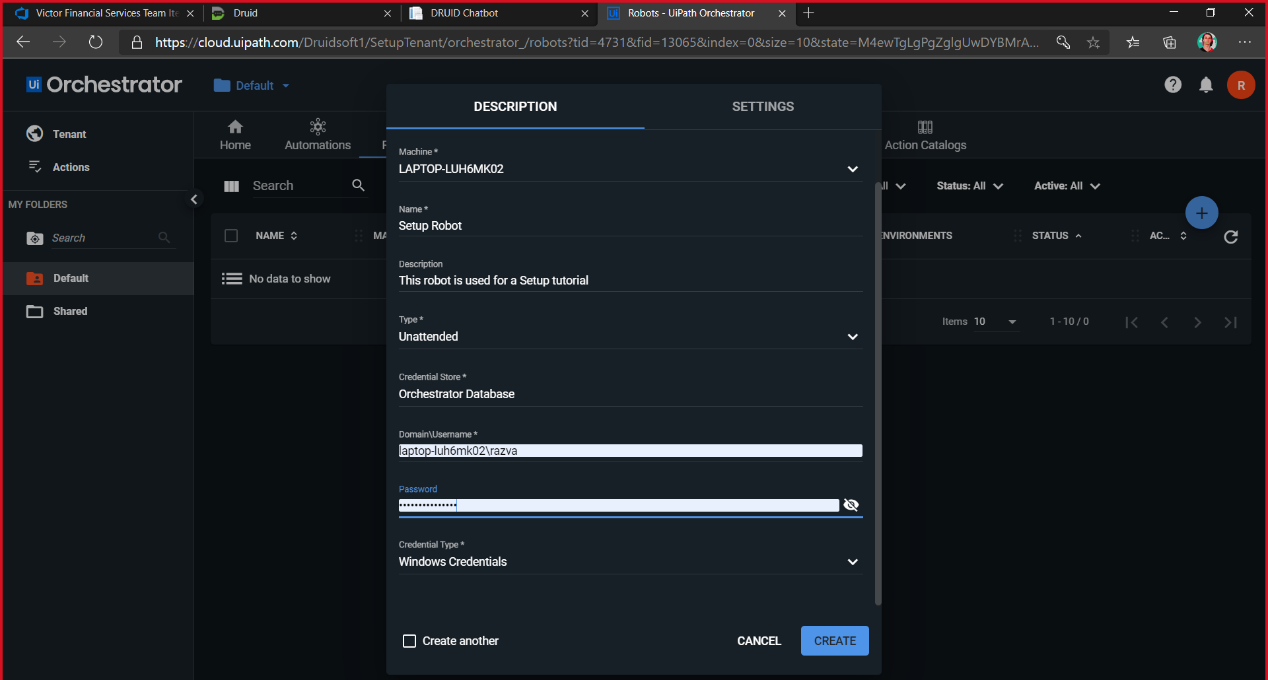
It should look like this:
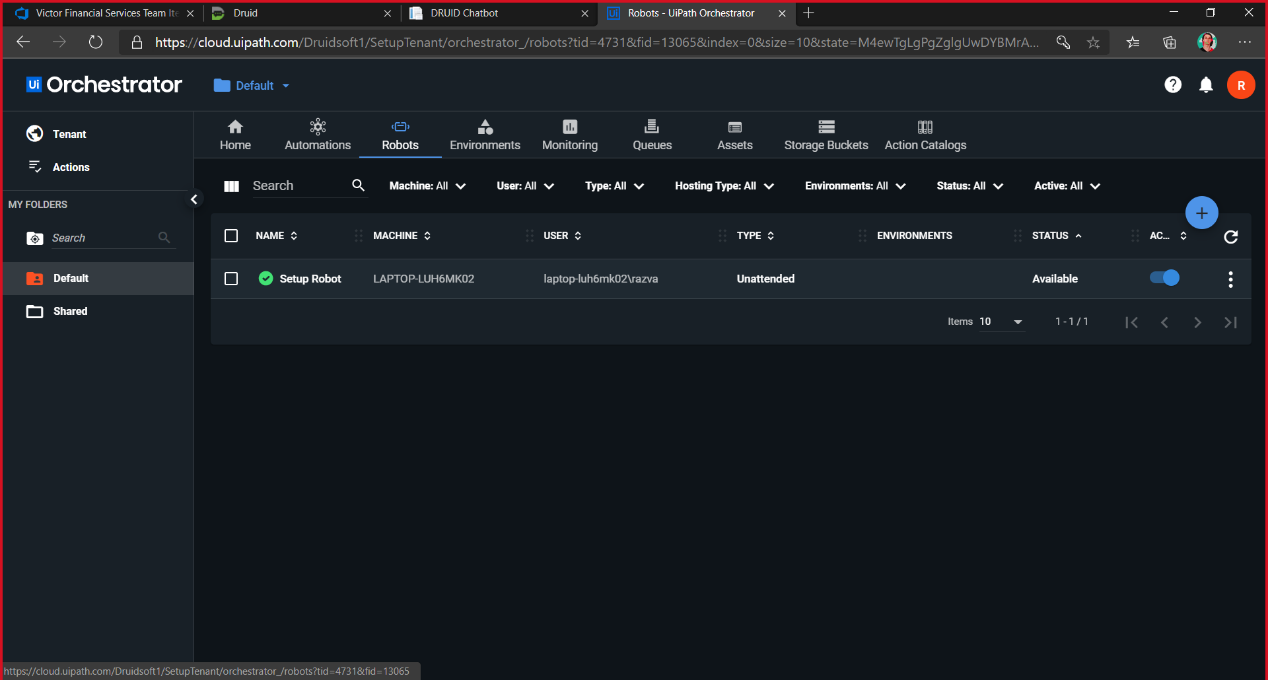
You have created an attended UiPath robot.
Unzip the terminate-contract-victor zip file (it contains the UiPath process).
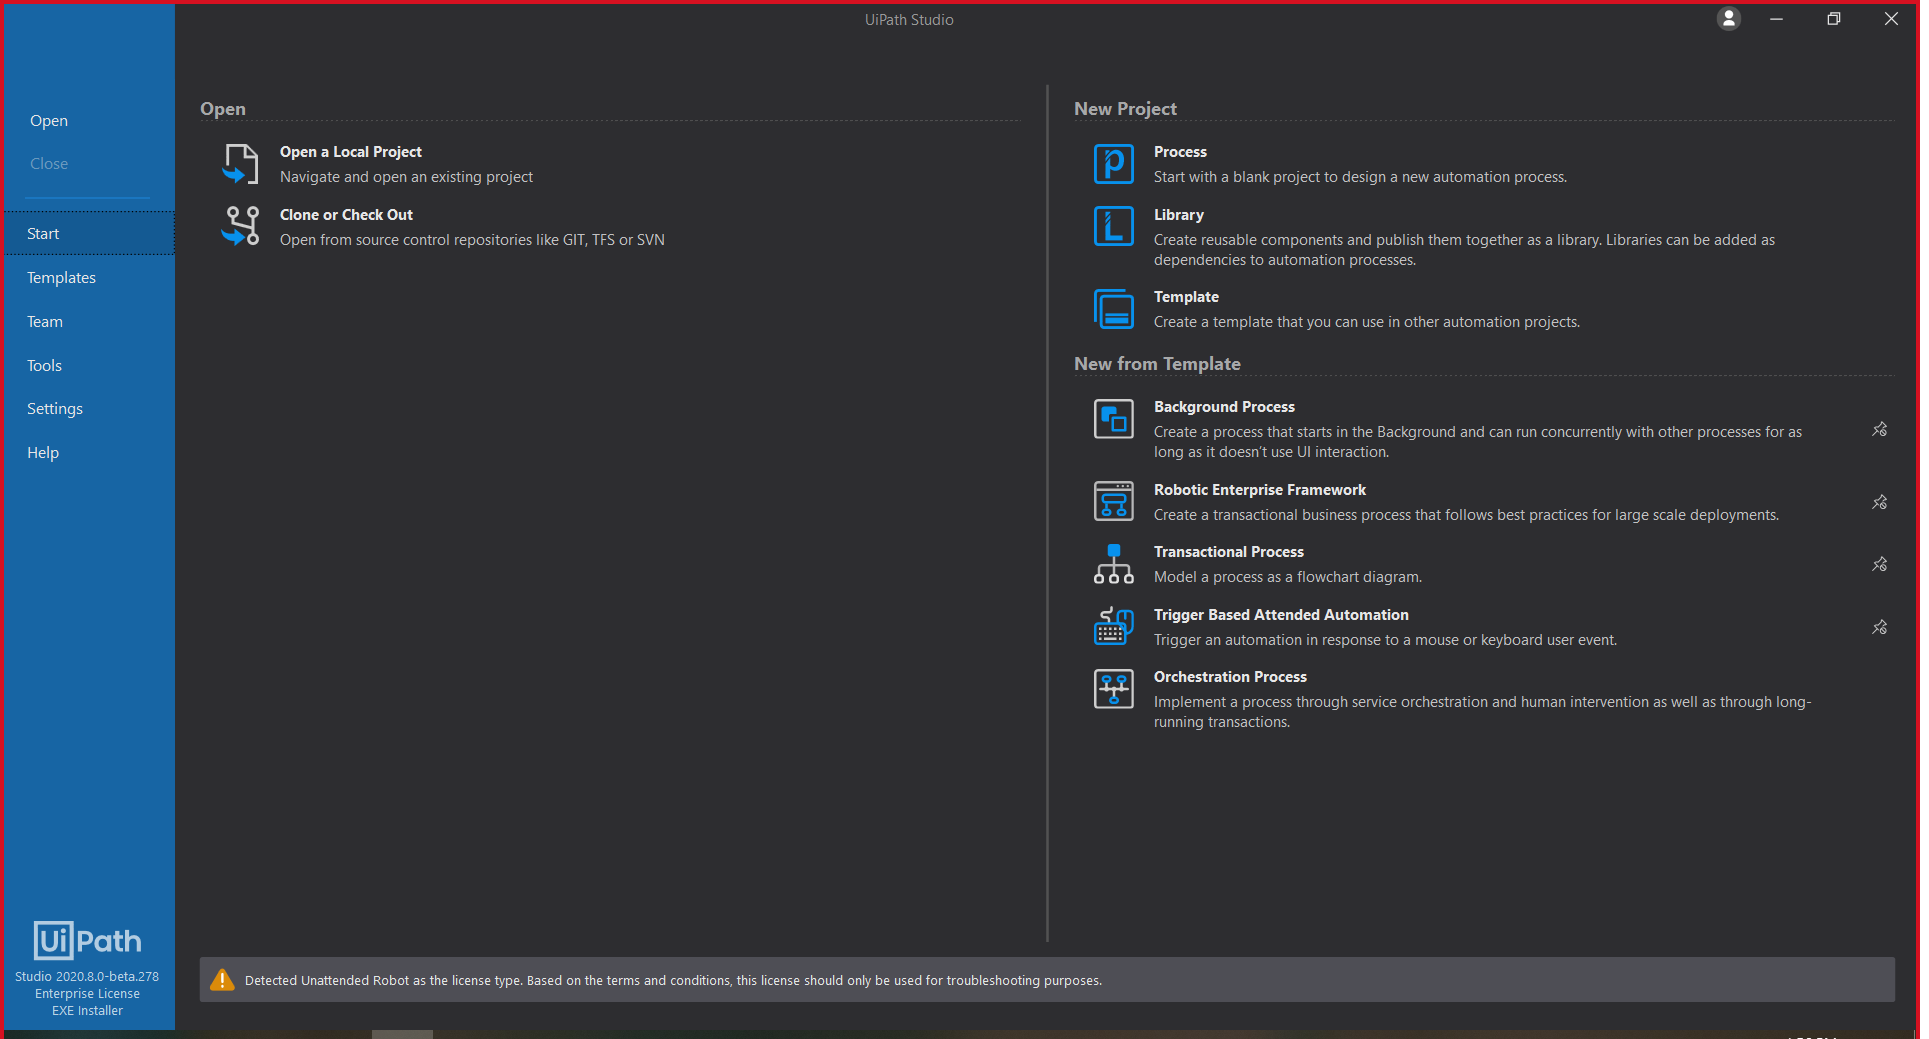
Open UiPath Studio.
Click Open a Local Project and choose the project.json file from the unzipped folder
Switch to UiPath Studio. Click Publish.
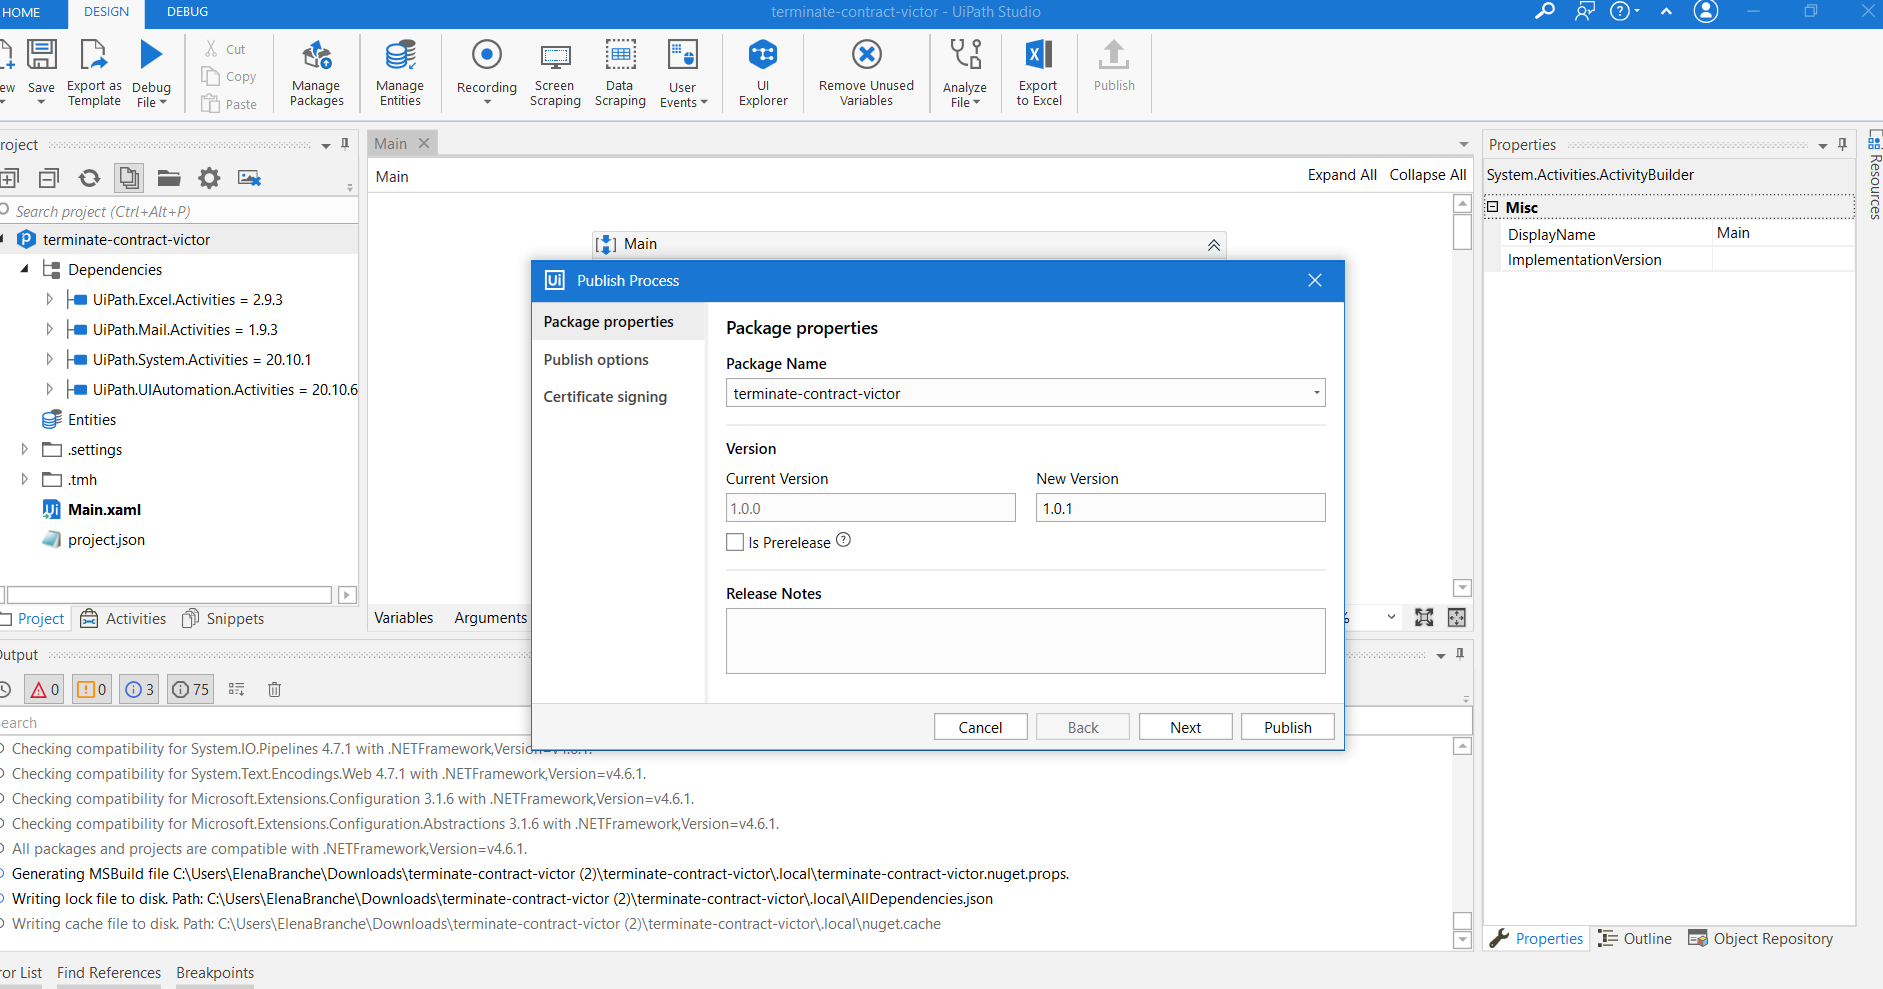
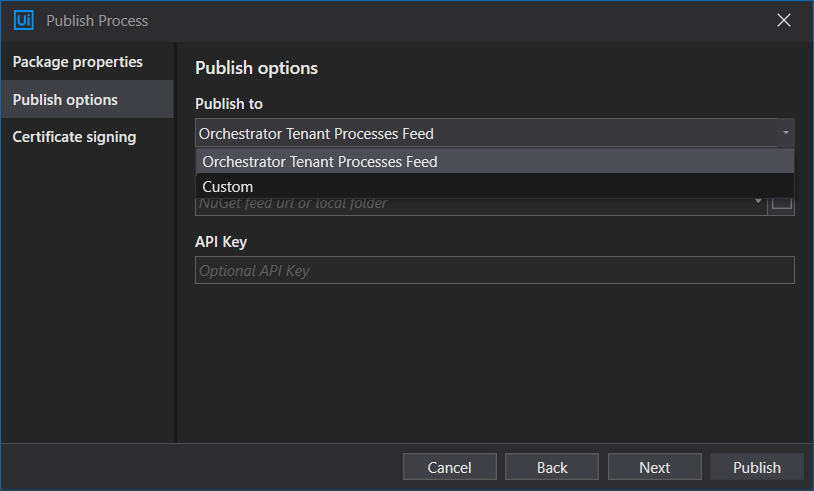
Click Next, select Publish to Orchestrator Tenant Process Feed and click Publish.
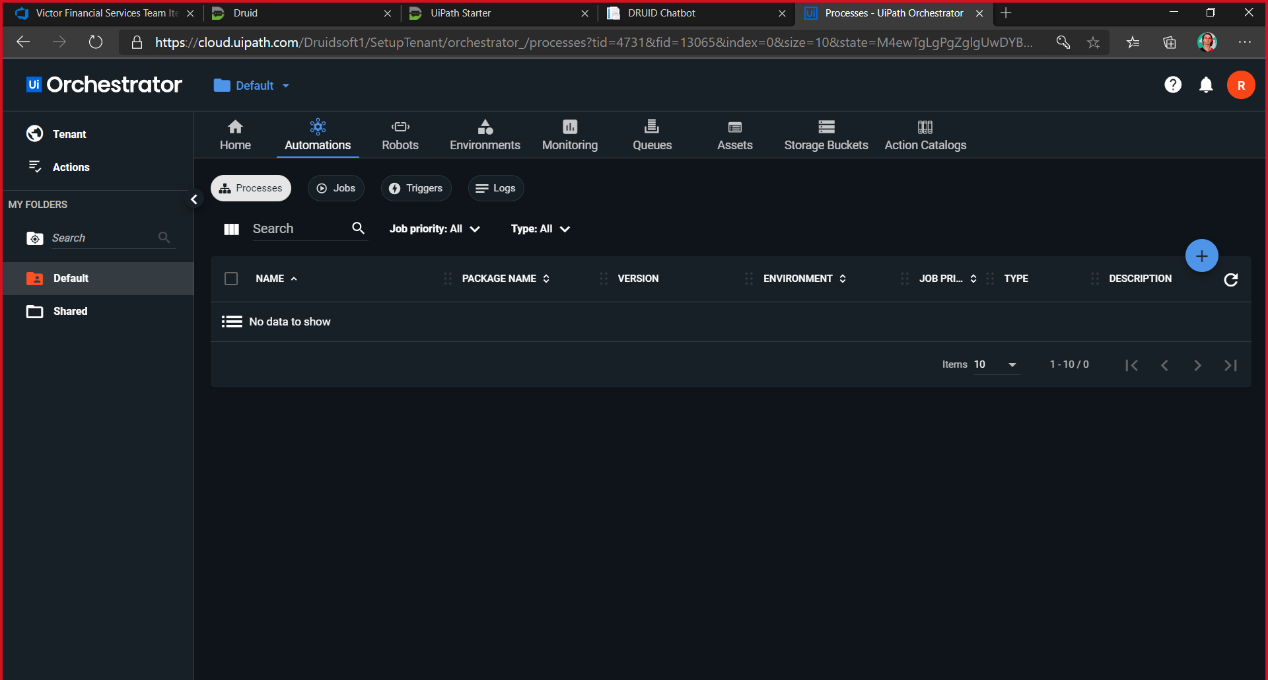
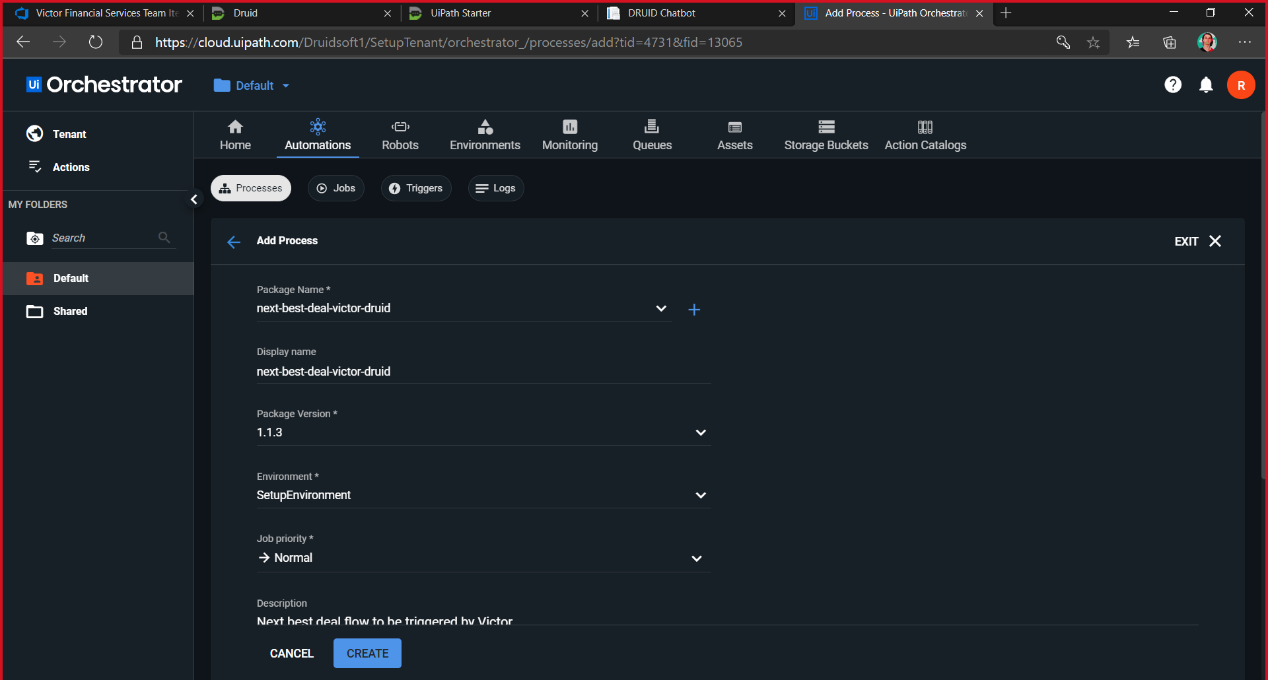
Go to Automations > Processes and click Add.
Choose the published package, enter a Process name and choose your environment.
Switch to UiPath Assistant. Find your process (the one waiting for install), click the three dots in its right and click Install.