Enhance KB Answers with KB Metadata
Adding metadata to your Knowledge Base (KB) can greatly improve the relevance and accuracy of responses generated by the conversational engine. Metadata serve as connections between business objects and KB data sources or data source elements, enabling more meaningful interactions with users.
Using KB Metadata
In DRUID, metadata are managed through Conversational Business Applications (CBA), specifically within the entity KBMetadata. This allows for seamless linking between KB elements (such as KBDataSource or KBWebsitePage) and your business objects.
By leveraging KB Metadata, you can categorize KB data sources using metadata applied at various levels within the data source hierarchy.
To use the KB metadata, follow these steps:
Step 1: Import the KB Toolkit Solution
- Navigate to the Solution Library.
- Search for the 'KB Toolkit2' solution template and import it.
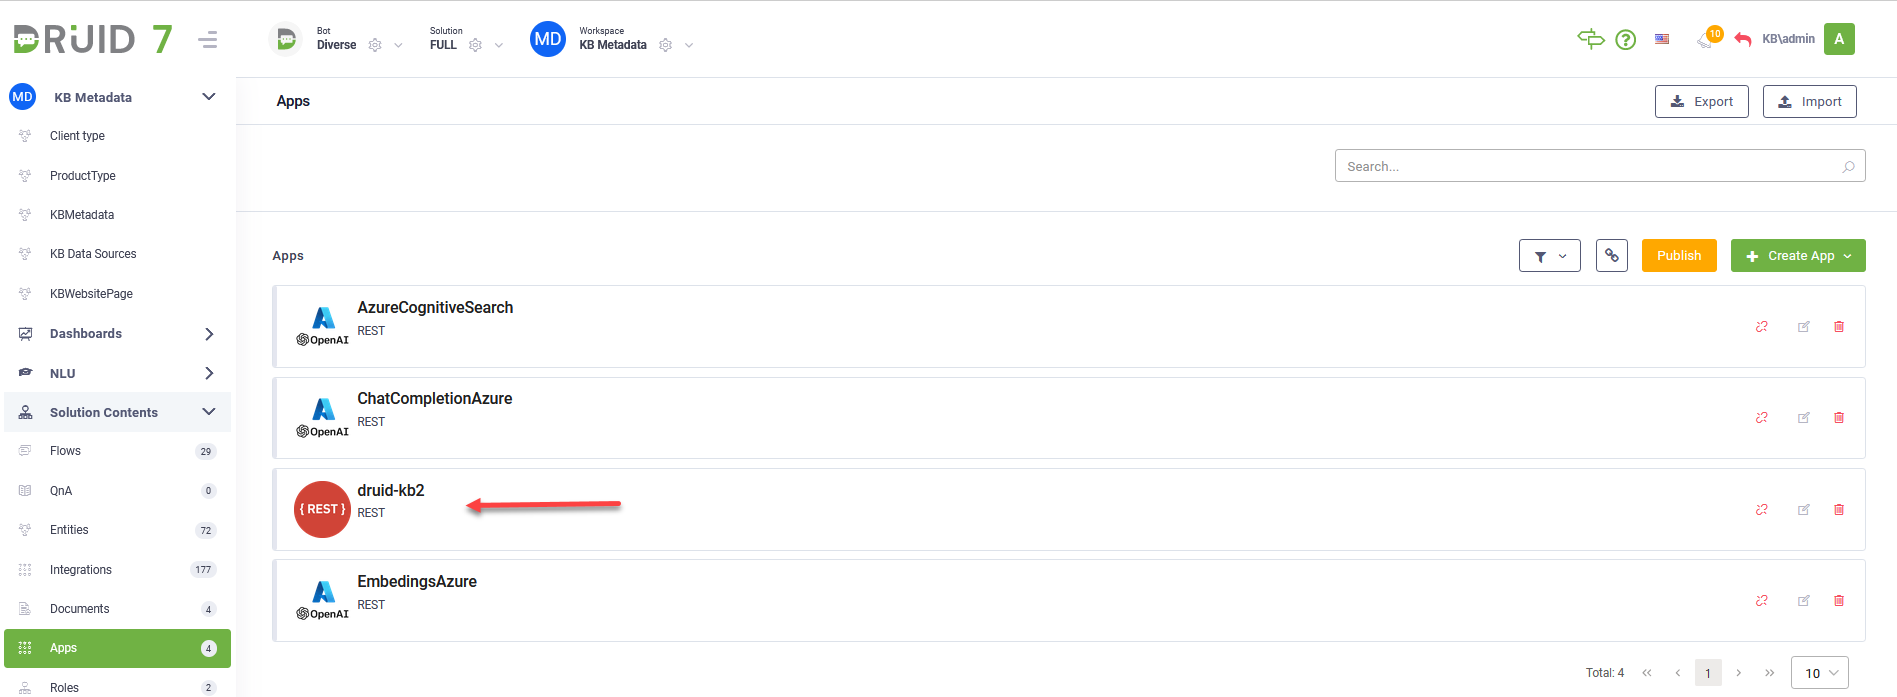
- Go to Apps and click on the druid-kb2 connector app.
- In the Base URL field, provide your tenant URL.
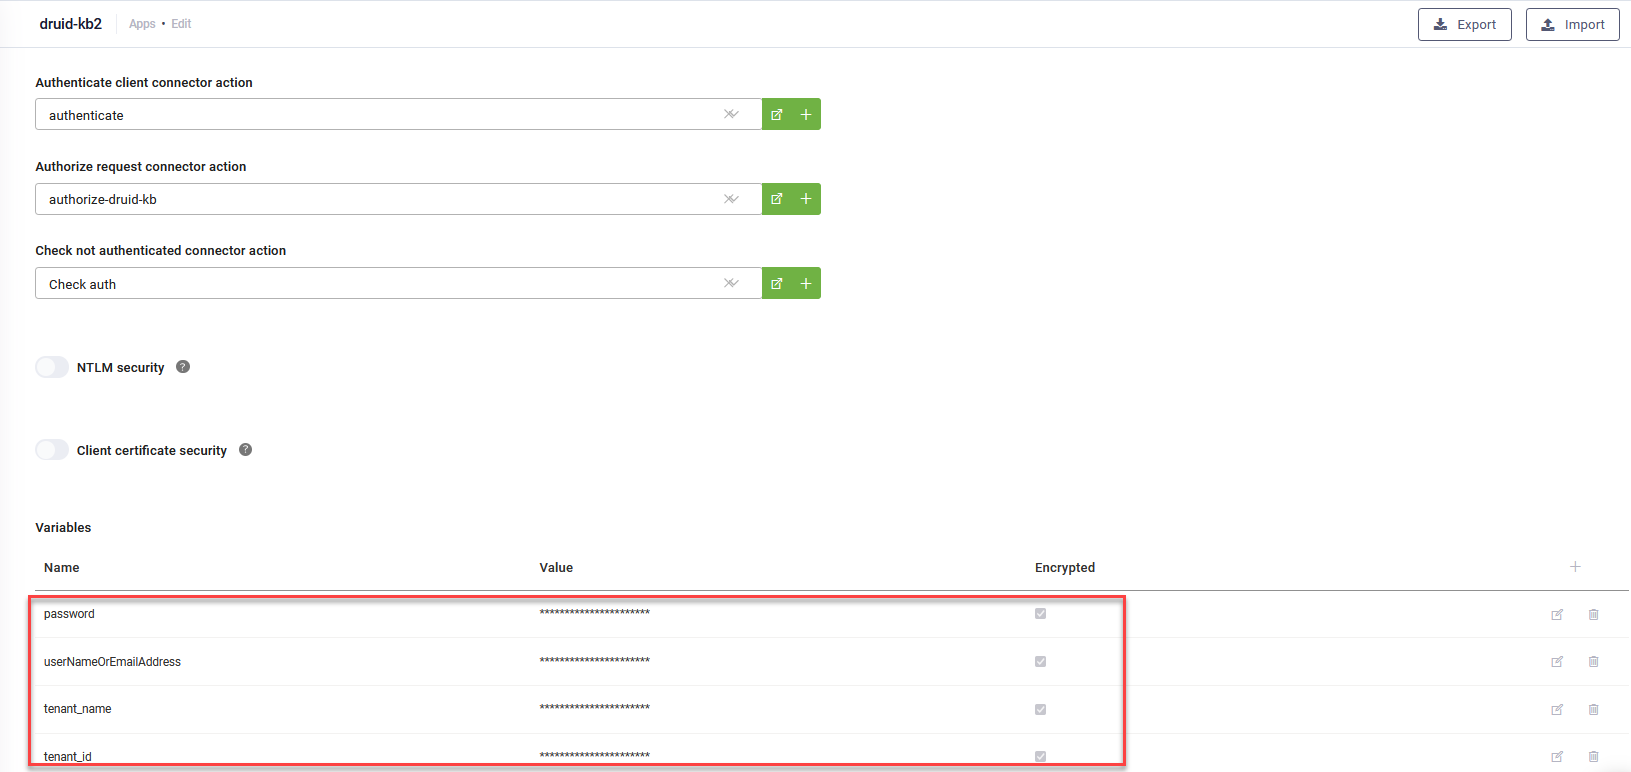
- Set the necessary connection strings for the druid-kb2 connector app.
In the variable table, set the password, userNameOrEmailAddress, tenant_name and tenant_id.
Step 2: Establish Nomenclature
You can add either tags (simple string metadata) or nomenclature metadata to your KB data sources / elements. However, relying solely on string metadata (tags) may not always be the most effective approach, especially when dealing with multiple nodes or leafs. Instead, consider using metadata nomenclature linked to existing business entities within CBA, such as product lists, for more accurate categorization.
Establishing nomenclature within your Knowledge Base (KB) is crucial for linking specific business objects and enhancing the relevance of your content:
- Add the desired business objects (entities) in the 'KB Toolkit 2' solution. They will serve as KB metadata nomenclatures.
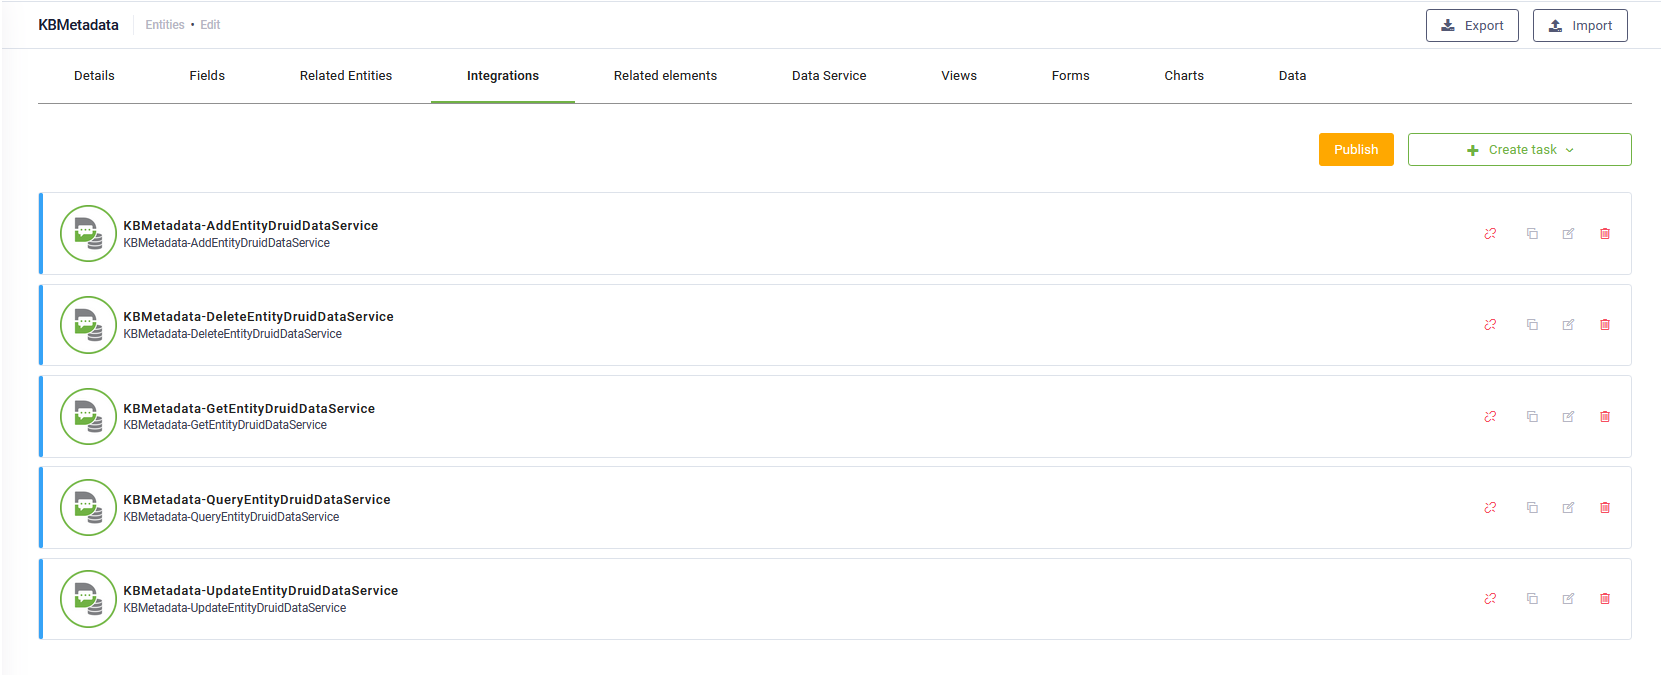
- Create web views and forms for the business objects and add the views to the KB Metadata workspace.
- Add these views to the KB Metadata workspace.
- Add fields of type Entity in the [[KBMetadata]] entity referring to the desired business objects.
- Adapt the [[KBMetadata]] default web view and form to include the business objects as well. This will provide you with relevant insights when viewing the KB Metadata view in the workspace.
Step 3: Add KB Metadata
- Navigate to the desired KB data source and select the relevant node, leaf, or root.
- Click on the Metadata tab and then on the form, click the Metadata tab.
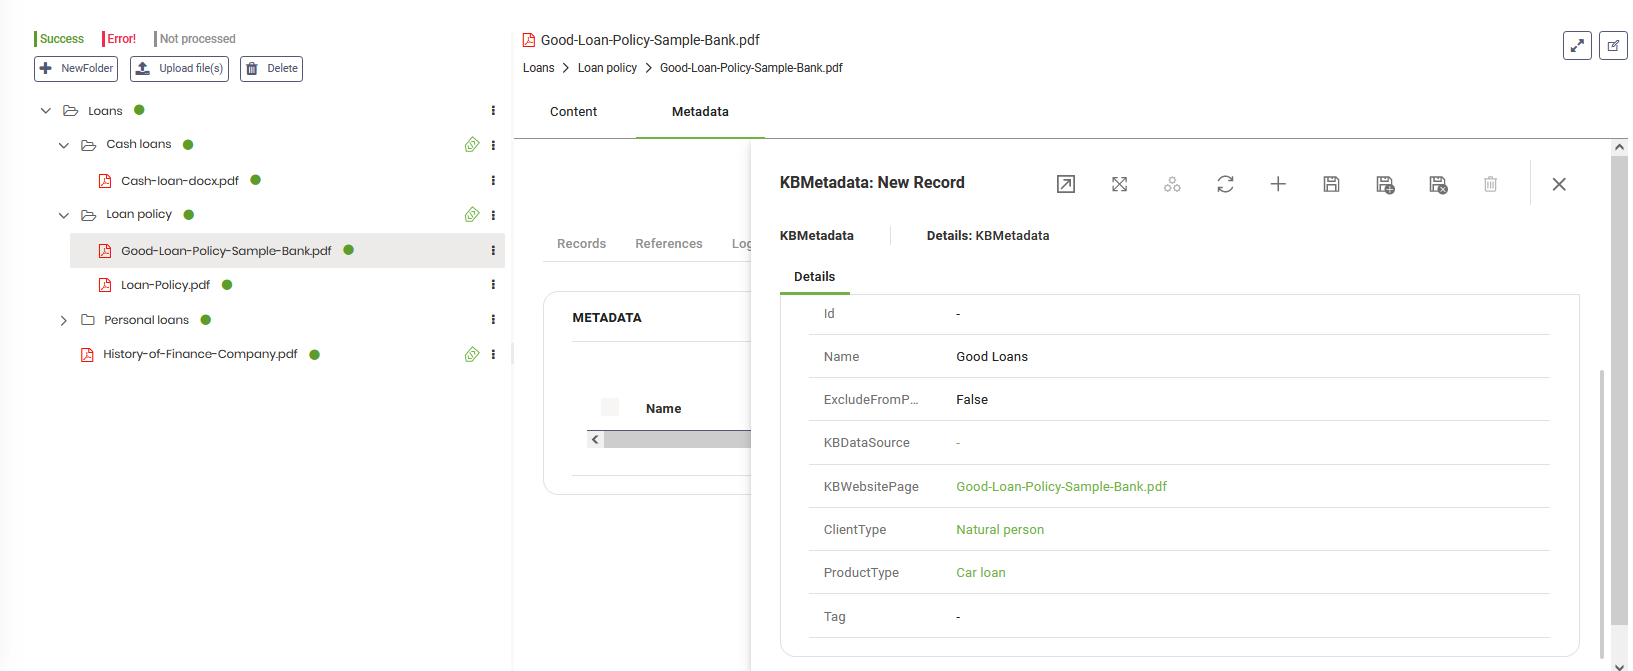
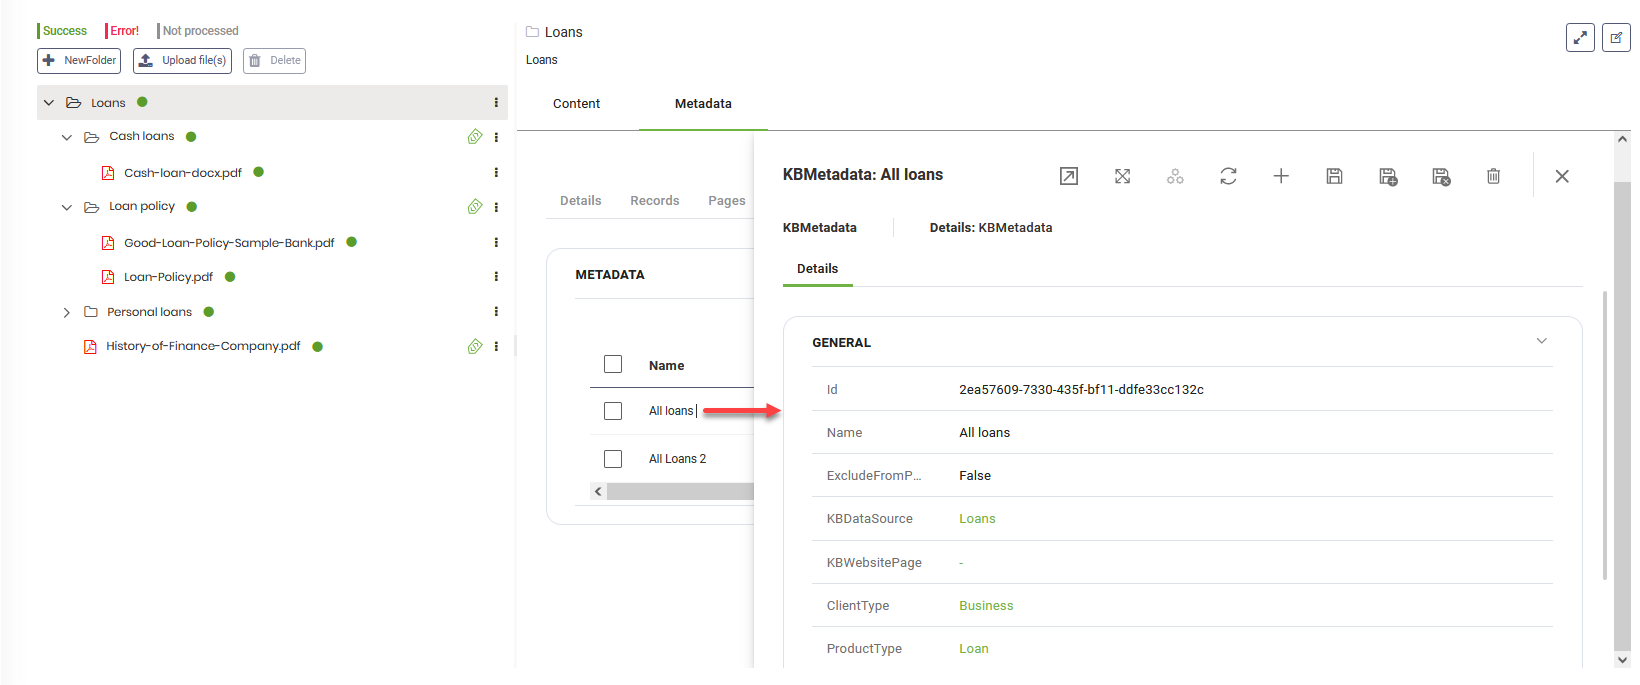
- Click the add icon to create a new metadata record.
- Enter details such as name, exclusion preferences, business objects, and tags:
- Save the metadata record.
|
Parameter |
Description |
|---|---|
|
Id |
DRUID automatically generates the record ID upon saving, so leave this field empty. |
|
Name |
Enter a descriptive name for the KB metadata record. |
|
Exclude From Predict |
Toggle this option to exclude the content from the selected node/leaf during KB prediction. You can enable or disable this option at any time or include the excluded KB data in prediction by using the internal action GetIntentMatching. |
|
KB Data Source |
If you selected the root, the root name is automatically populated. Leave this field empty if you selected a node or leaf. |
|
KB Website Page |
If you selected a node or leaf from the data source structure, its name is automatically displayed. Leave this field empty if you selected the root. |
|
Business objects |
Select the desired business object value to link KB content with. These values are sourced from the DRUID Data Service. |
|
Tag |
Enter a value here if you want to add string metadata (e.g., "loans"). NOTE: Tags are case sensitive, so ensure consistent usage across data source elements and sources to prevent inconsistencies. Leave this field empty if you are using nomenclatures.
|
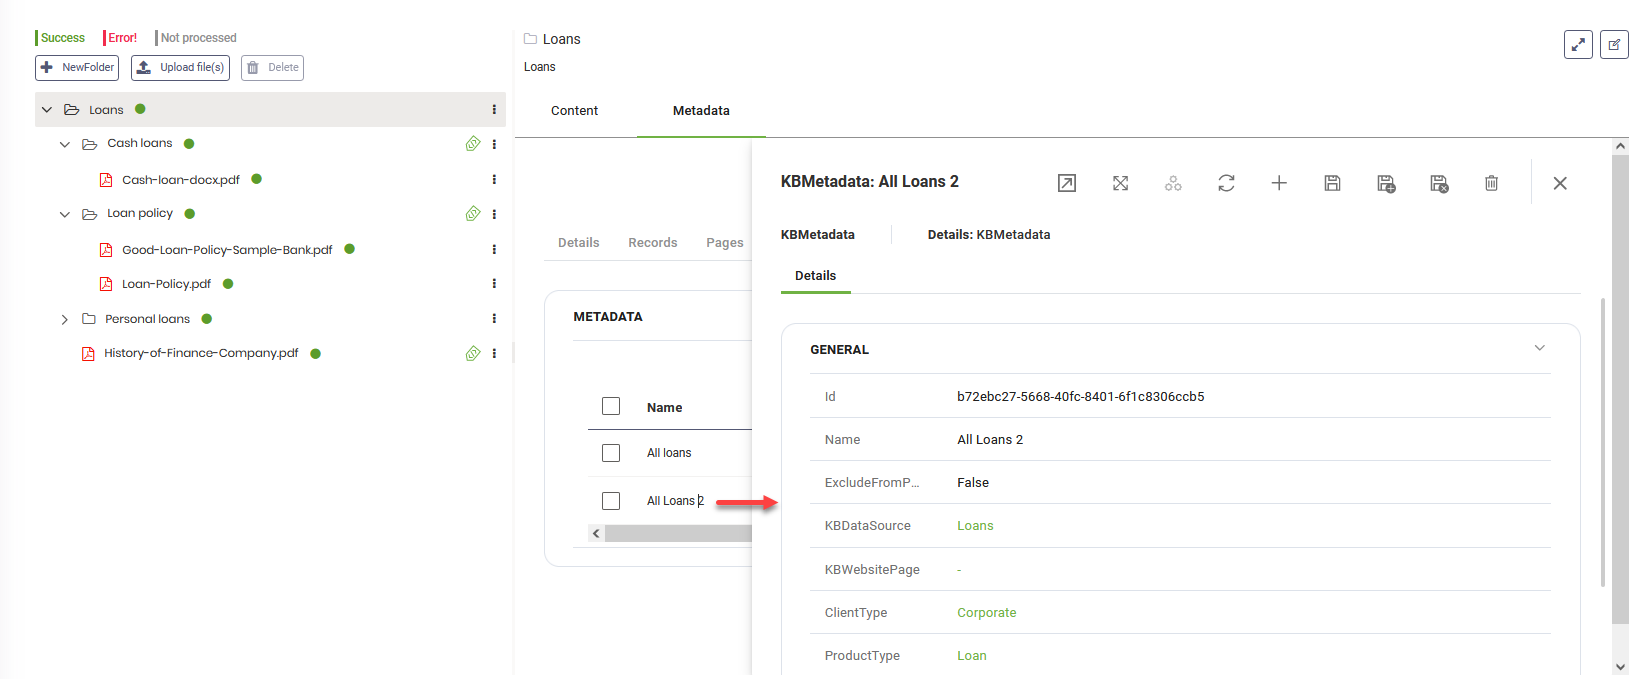
You can add multiple metadata records to the same data source, node, or leaf based on your business needs. For example: If you want specific content within a data source to be taken into consideration based on different client type and product type, add multiple metadata records.
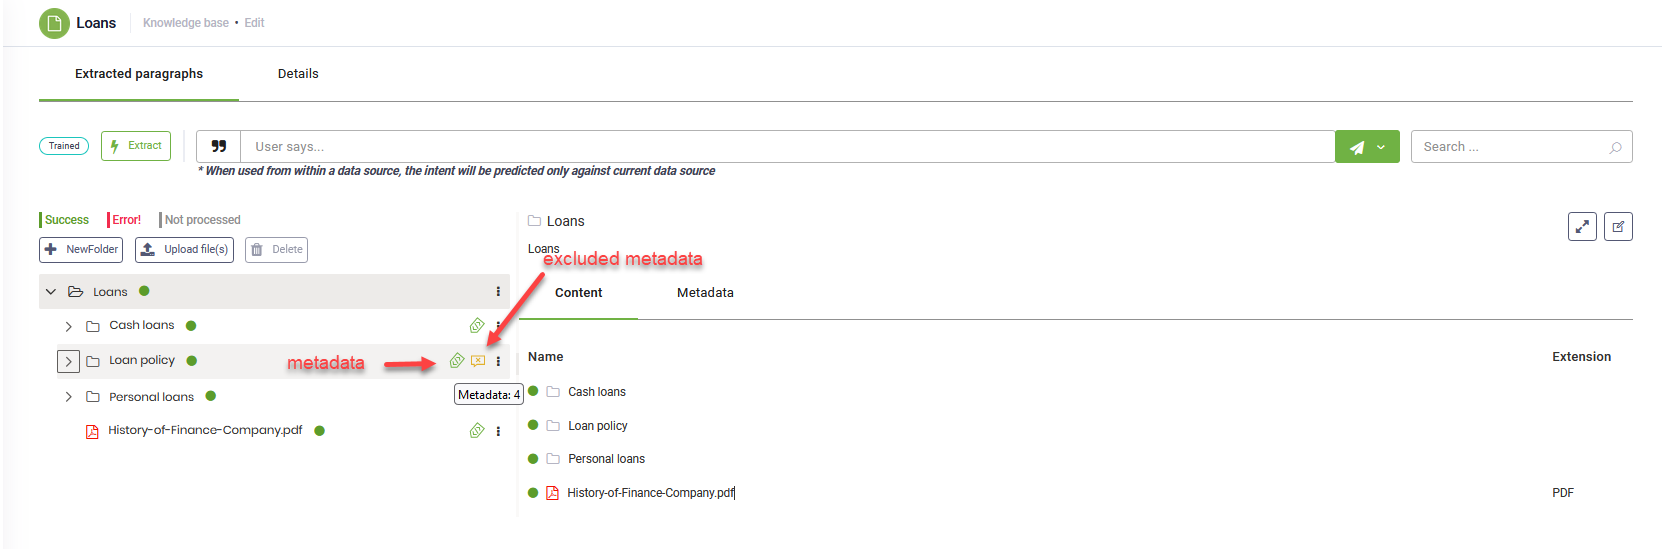
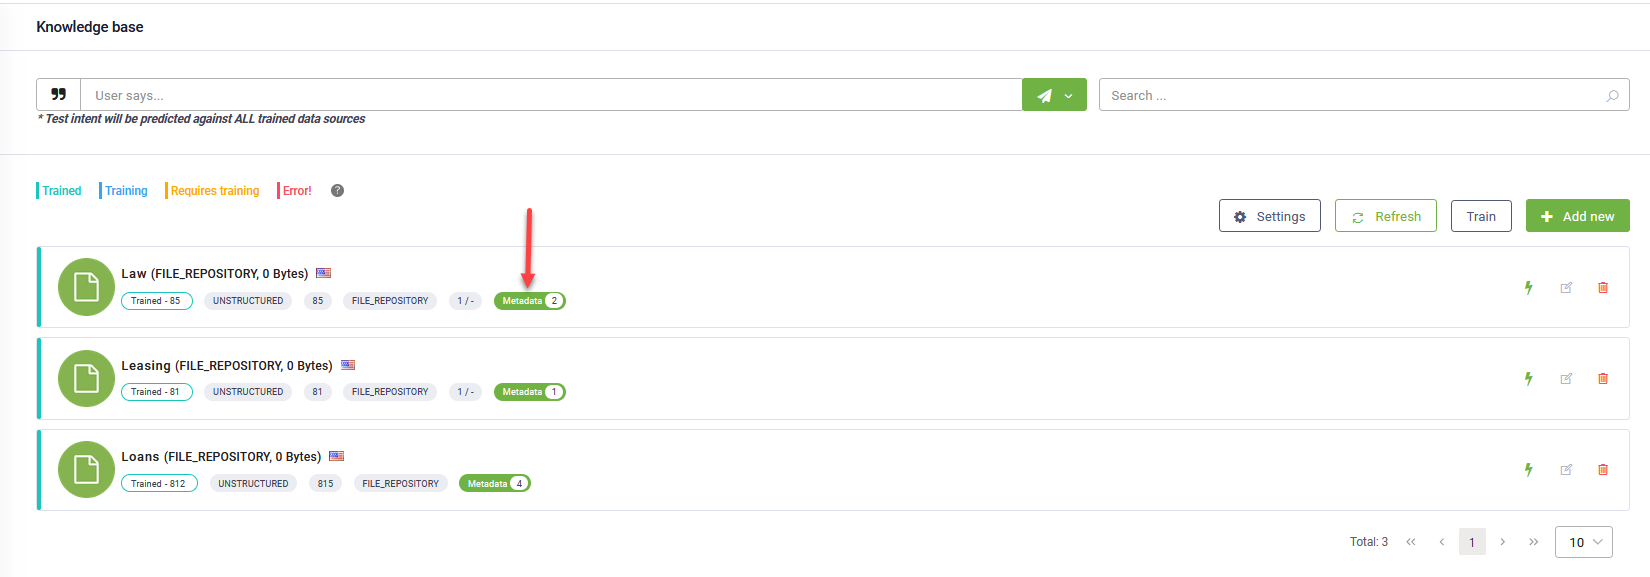
The KB page displays the total number of metadata records added on a data source.
Step 4: Update Flows to Refine Conversational Engine Search
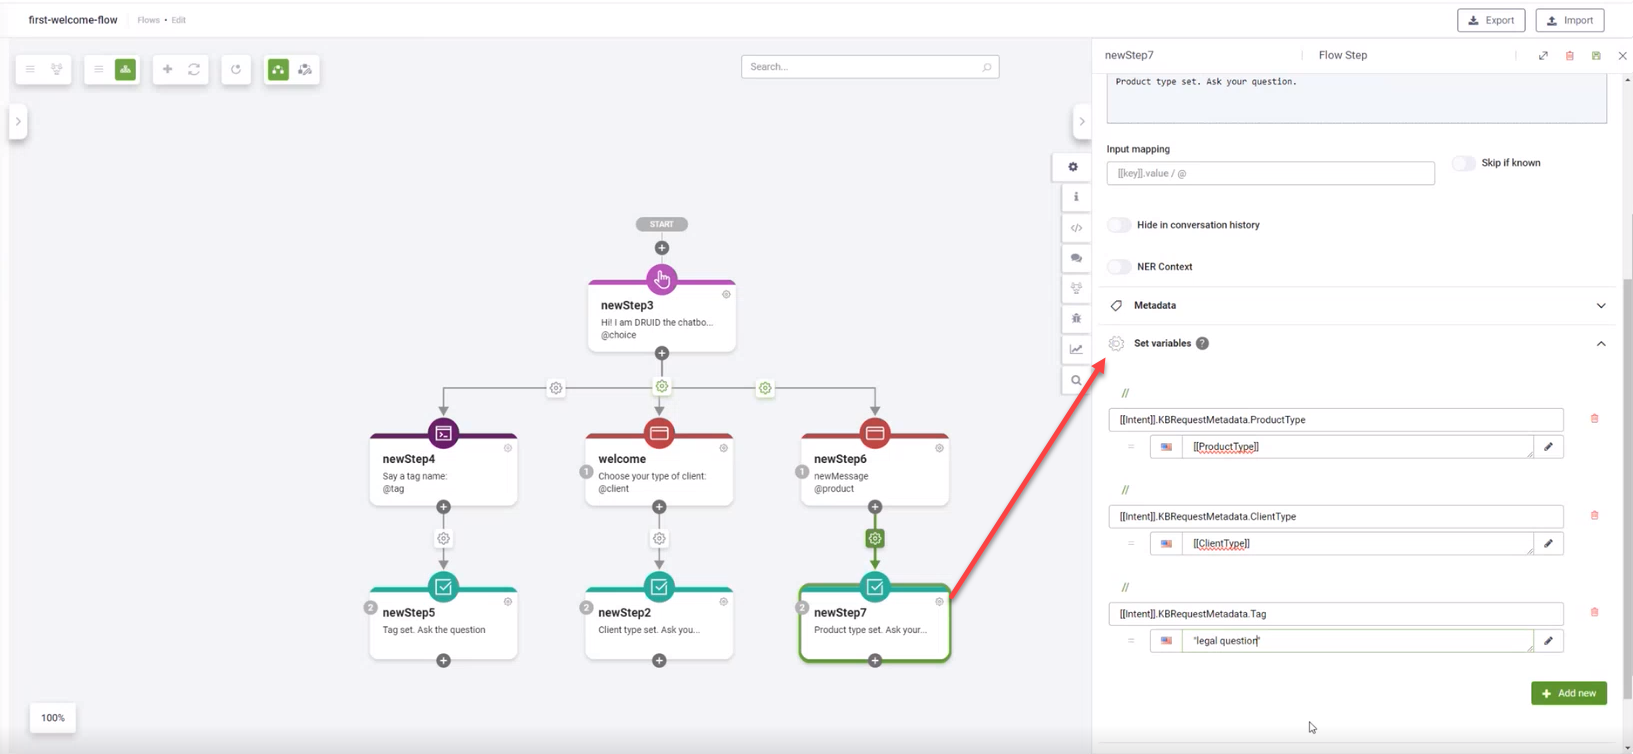
- Adapt flows to gather necessary user information before the user starts asking questions (e.g., client type, product type).
- Set metadata filters within the conversation context based on user data by setting the user-related data in the [[Intent]] entity that handles the predict. The Conversation Engine will search within the KB only based on the metadata filters set in the flow.
- The name property must contain the field name (for example, DocType or ProcessType), without the [[KBMetadata]] prefix.
- The value property must contain the actual metadata value (for example, 'Lease contract' or 'Risk assessment').
- This configuration ensures that the prediction is made only on data sources or nodes that contain the specified metadata values.
- Ensure consistent updating of metadata filters throughout the conversation as needed. The metadata filters set in the flow are stored in the conversation context. If you want to widen or narrow the knowledge base search scope, add or remove metadata filters at different points in the conversation.
Example: Filter by ProductType and ClientType and Tag.
You can set complex metadata filters within the conversation context by setting [[Intent]].KBQueryObject in the Set Variables component and using Code extension to define tailored conditions based on specific metadata fields.
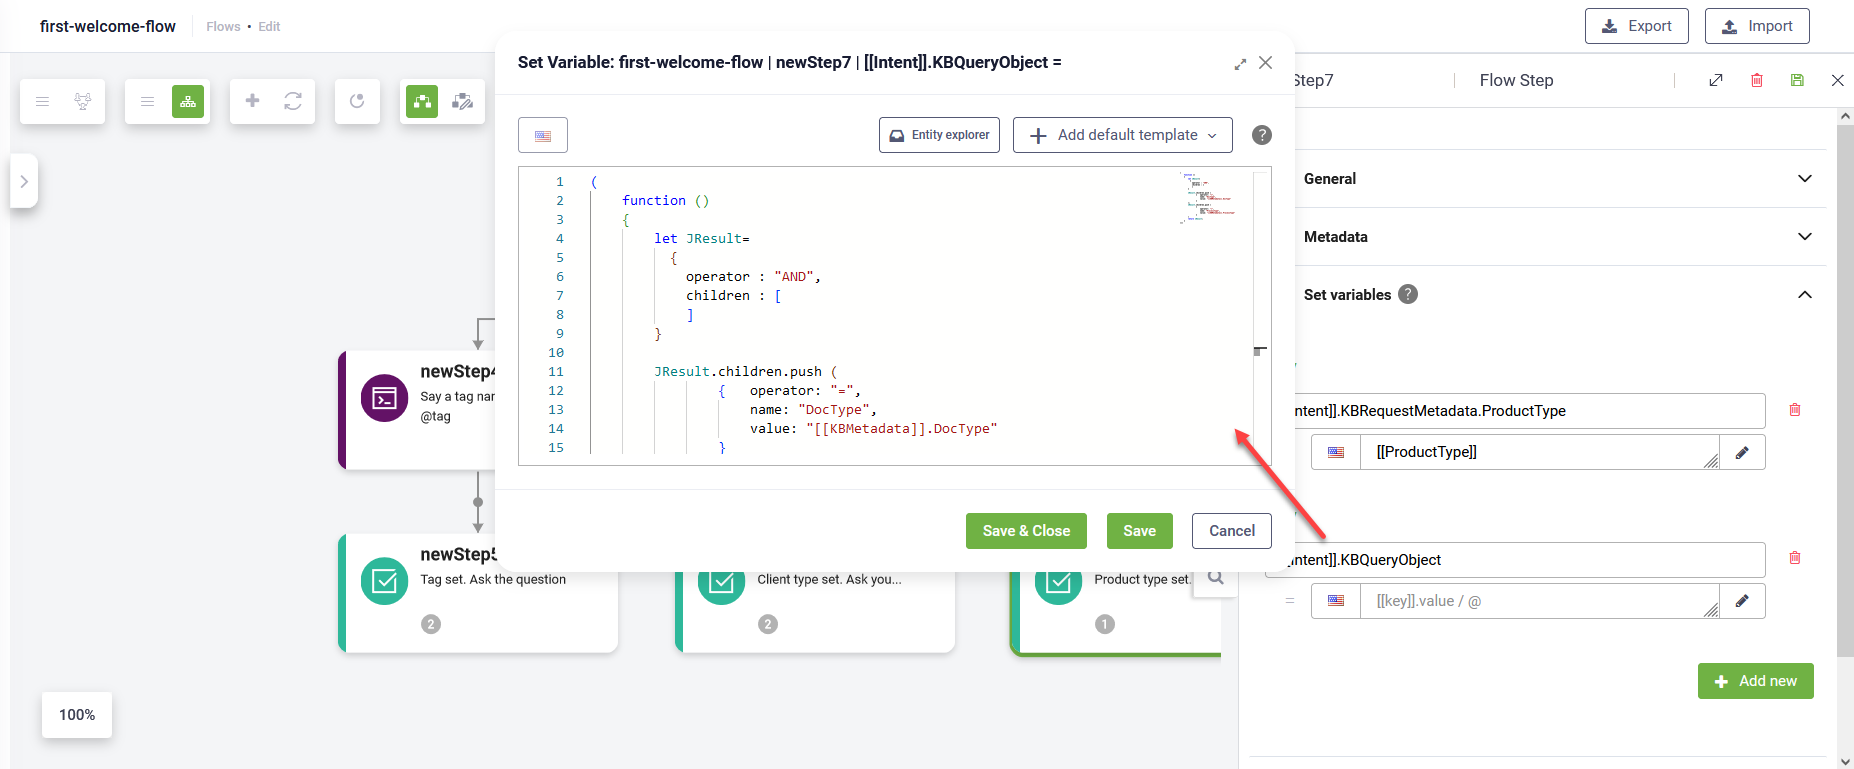
(
    function ()
    {
        let JResult=
          {
            operator : "AND",
            children : [
            ]
        }

        JResult.children.push (
                {    operator: "=",
                    name: "DocType",
                    value: "Lease contract"
                }
        );
        JResult.children.push (
                {
                    operator: "=",
                    name: "ProcessType",
                    value: "Risk assessment"
                }
        )
        return JResult;
    }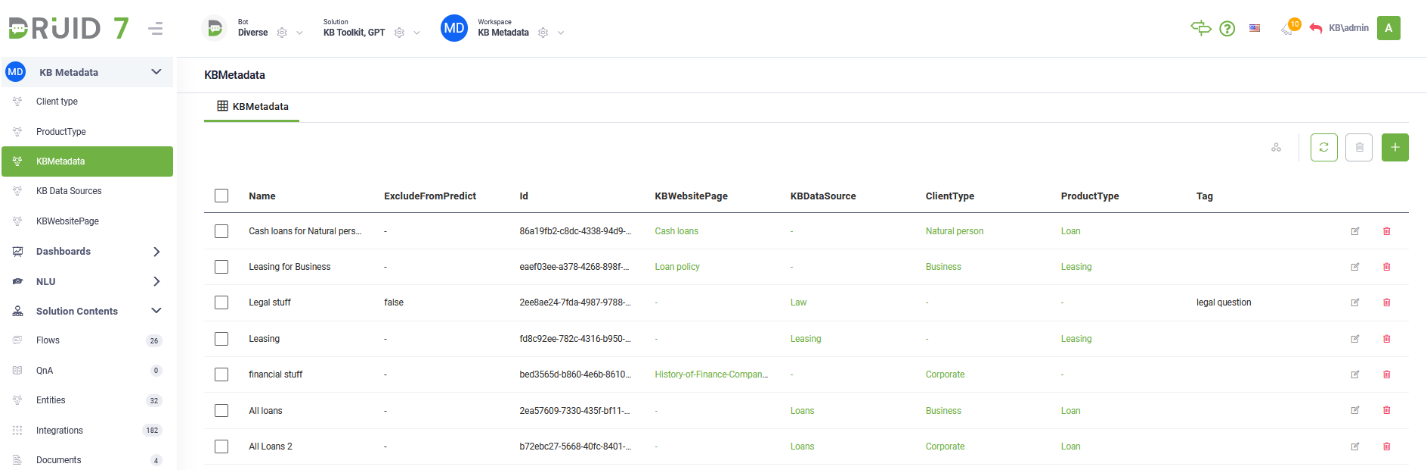
)()Viewing All KB Metadata
The KB Metadata view in the workspace displays all added metadata records, providing a comprehensive overview for easy management.
Enhancing your KB with metadata not only improves the accuracy of responses but also ensures a more personalized and efficient user experience.