Webex
Druid Portal allows you to create the AI Agent once and deploy it in Webex.
Prerequisites
- You built and published an AI Agent.
- You need to have a Webex developer account. If you have not gone an account, sign up here.
- You need a Webex Sandbox or an admin account to Webex Control Hub. To get a Webex sandbox, follow instructions provided in Developer Sandbox documentation.
- For DRUID on premise deployments, make sure that you provide access to/from the necessary messaging endpoints as follows:
| Outbound | webexapis.com |
| Inbound | DRUID.BotApp |
To integrate a DRUID AI Agent with Webex, follow these steps:
Step 1. Create a Webex bot
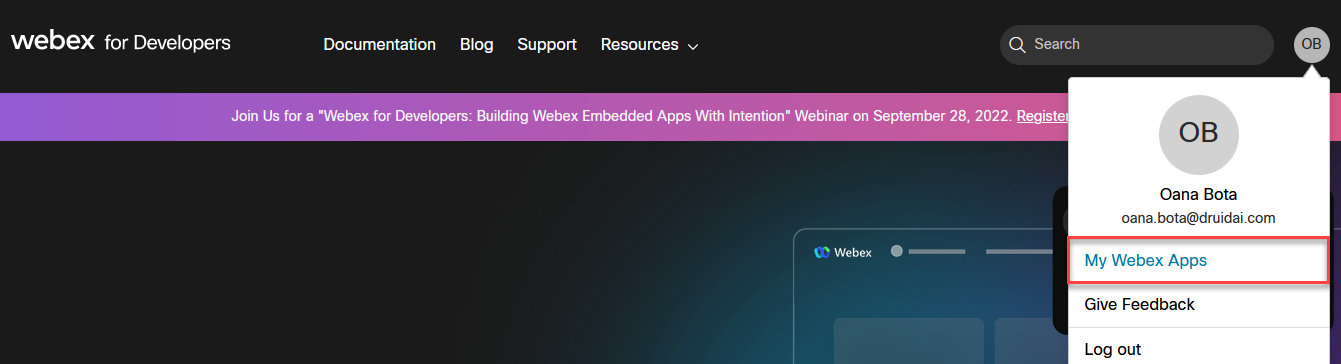
- Log in the Webex developer portal.
- From the menu under your avatar at the top of this page, select My Webex Apps.
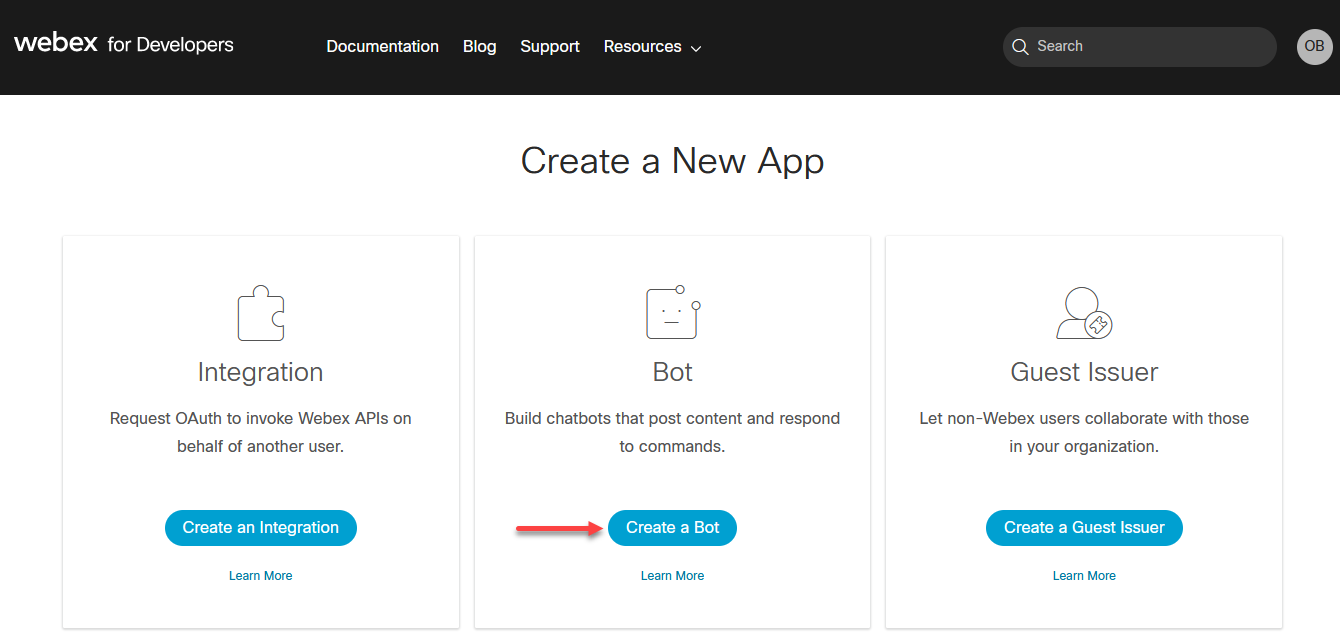
- Click Start Building Apps. The Create a New App page appears.
- Click Create a Bot to start the wizard.
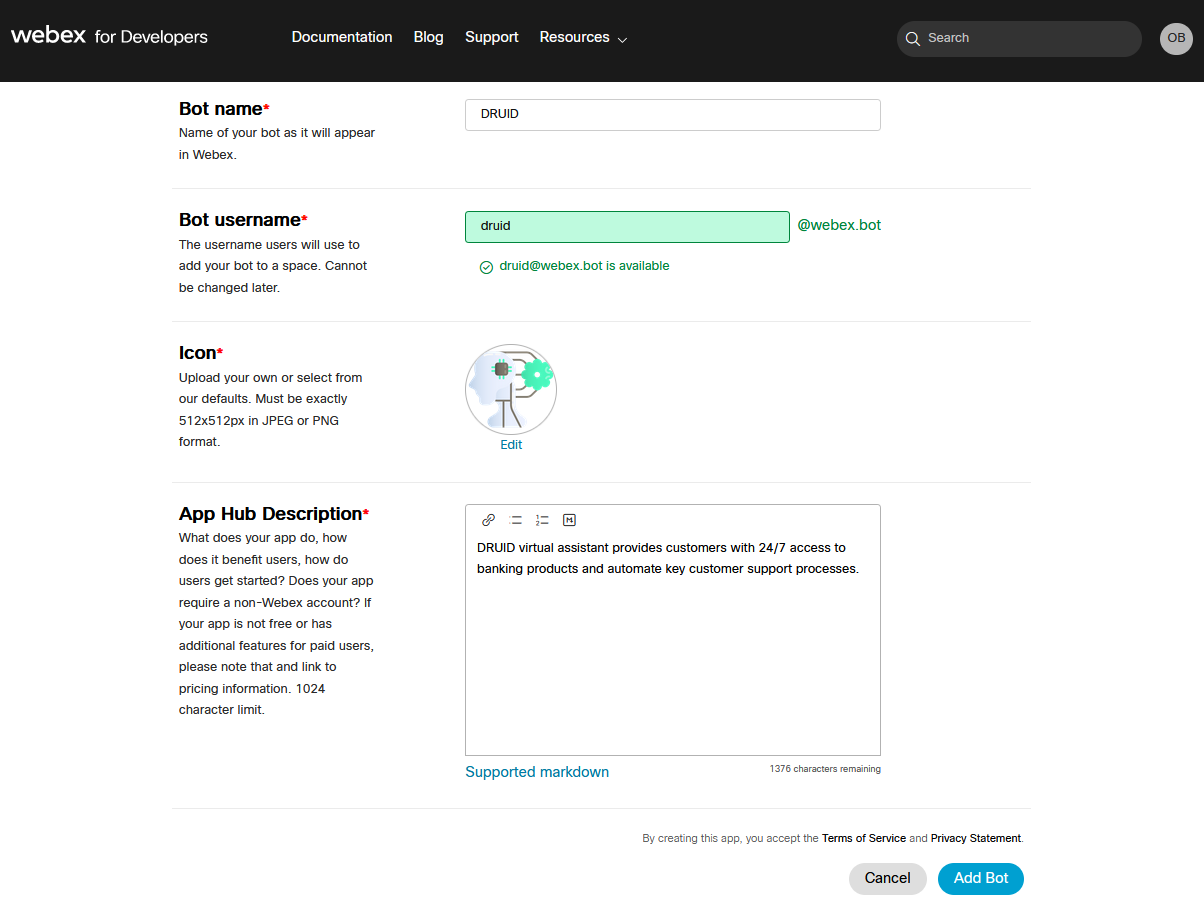
- Provide basic information about the bot: bot name, bot username, and an icon. These fields are end-user facing, so make them as descriptive as possible. Only the bot's first name will be shown when mentioned in messages, so try to avoid spaces in the bot name. The description will be shown to users if you submit your bot to the Webex App Hub.
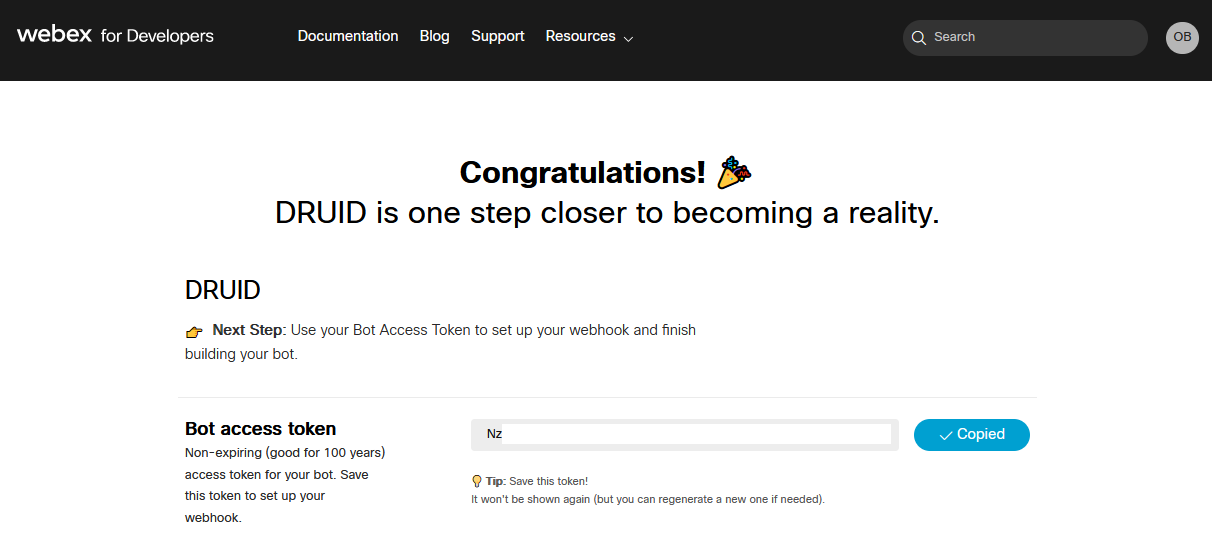
- Click the Add Bot button. A non-expiring bot access token is generated for the new bot. This access token will be used to authenticate your bot with the Webex REST API. Copy the token and keep it somewhere safe, you need it to set up the webhook.
Step 2. Activate Webex channel in DRUID
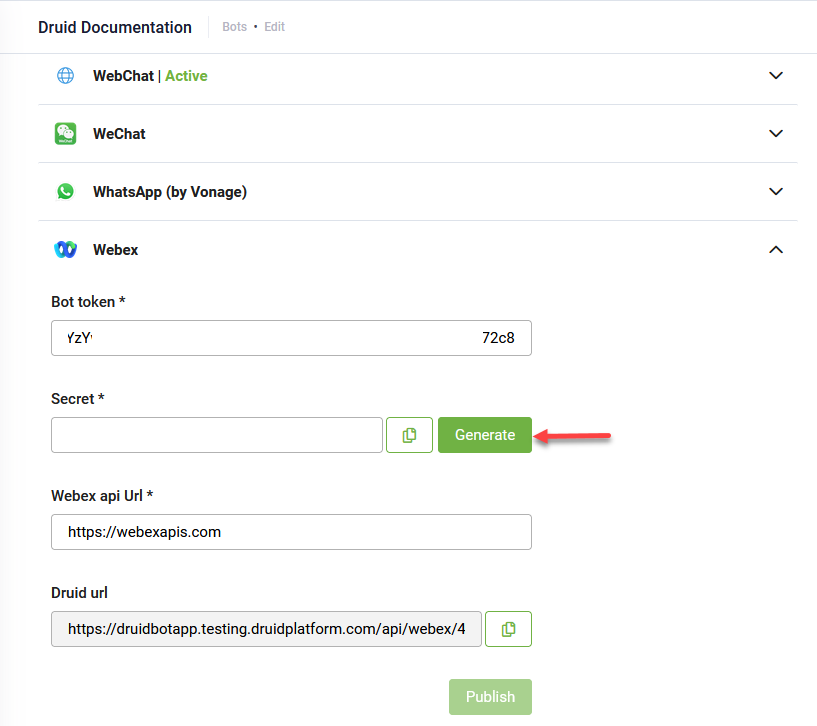
- In Druid Portal, select the AI Agent you want to deploy in Webex, click the Channels tab and then Webex. The Webex channel section expands.
- In the AI Agent token field, enter the access token generated in Webex for your AI Agent and click the Generate button.
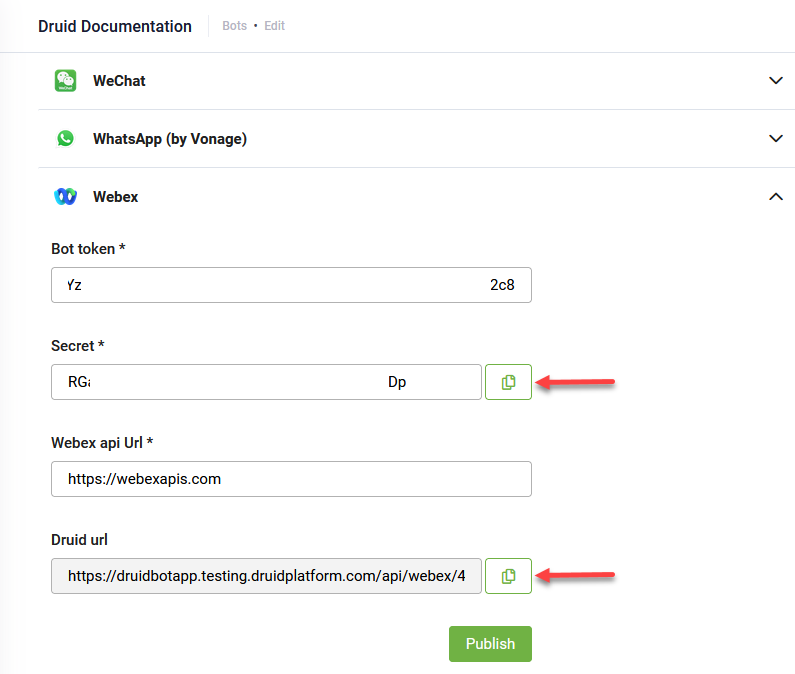
- Copy the Secret generated by DRUID and the Druid url and keep them somewhere safe.
- Click Publish. Wait until the Webex channel is activated.
A secret is generated for Webex integration.
After the channel’s activation, the following fields are available in DRUID:
- [[ChatUser]].ChannelId = "webex"
- [[ChatUser]].UserId - Stores an unique identifier of the Webex user account.
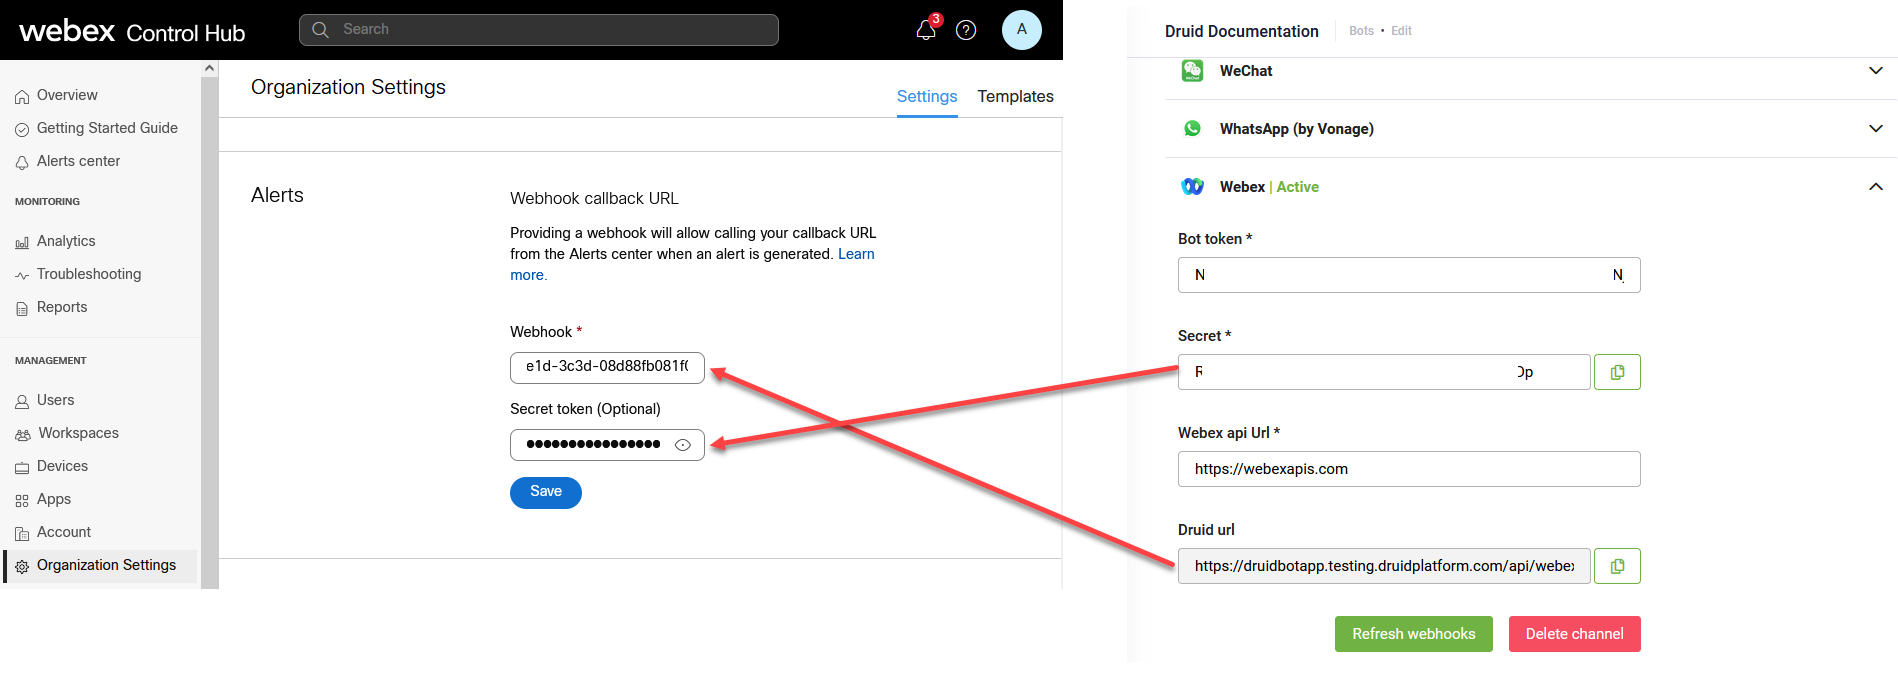
Step 3. Configure the webhook for your Webex bot in Webex Control Hub
- Go to Webex Control Hub and log in.
- On Management menu click Organization Settings.
- Scroll-down to Alerts section. In the Webhook field, enter the Druid url you copied from and in the Secret token field enter the Secret generated by DRUID.
- Click Save.
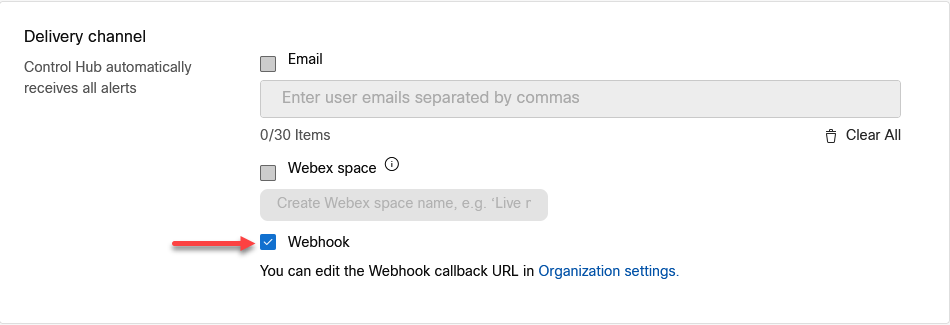
- On the main menu, click Alerts center and then Manage.
- Click Create rule and provide the mandatory details.
- In the Delivery channel section, enable Webhook.
- Click Save.

Step 4. Talk to your AI Agent
- Open your Webex client.
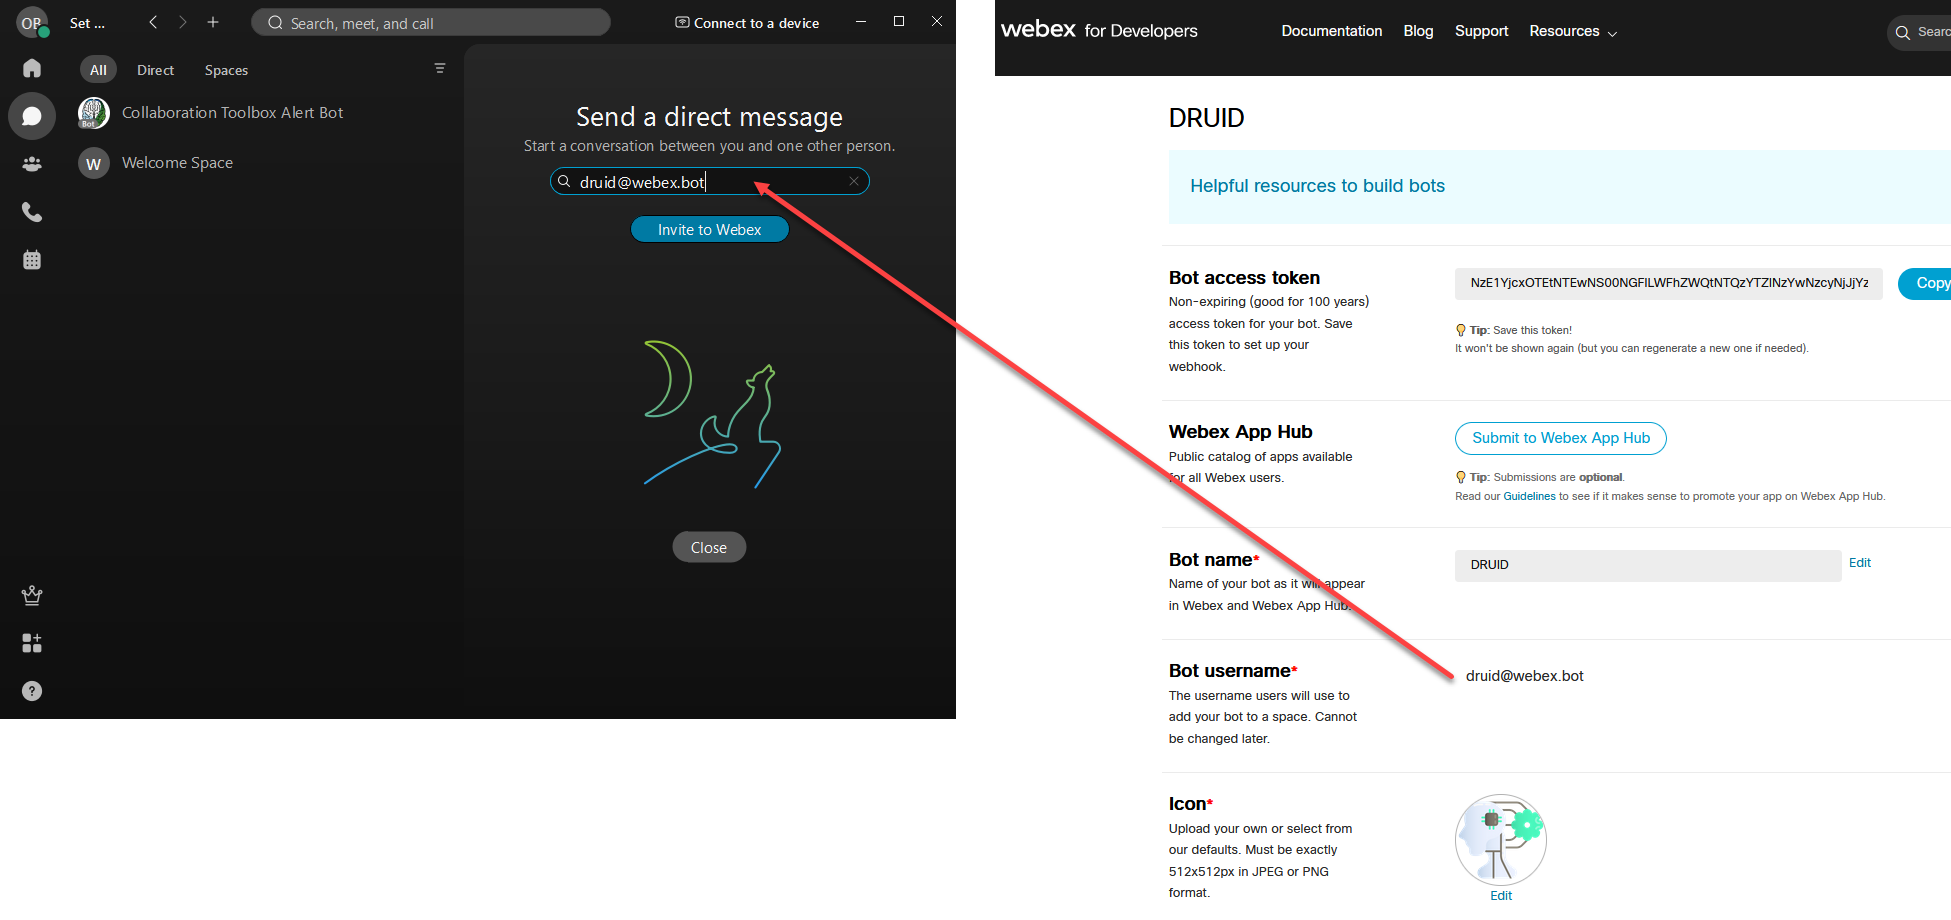
- On the main menu, click the chat icon, then the + icon at the top and select Send a direct message.
- In the Search field, enter the username of your Webex bot.
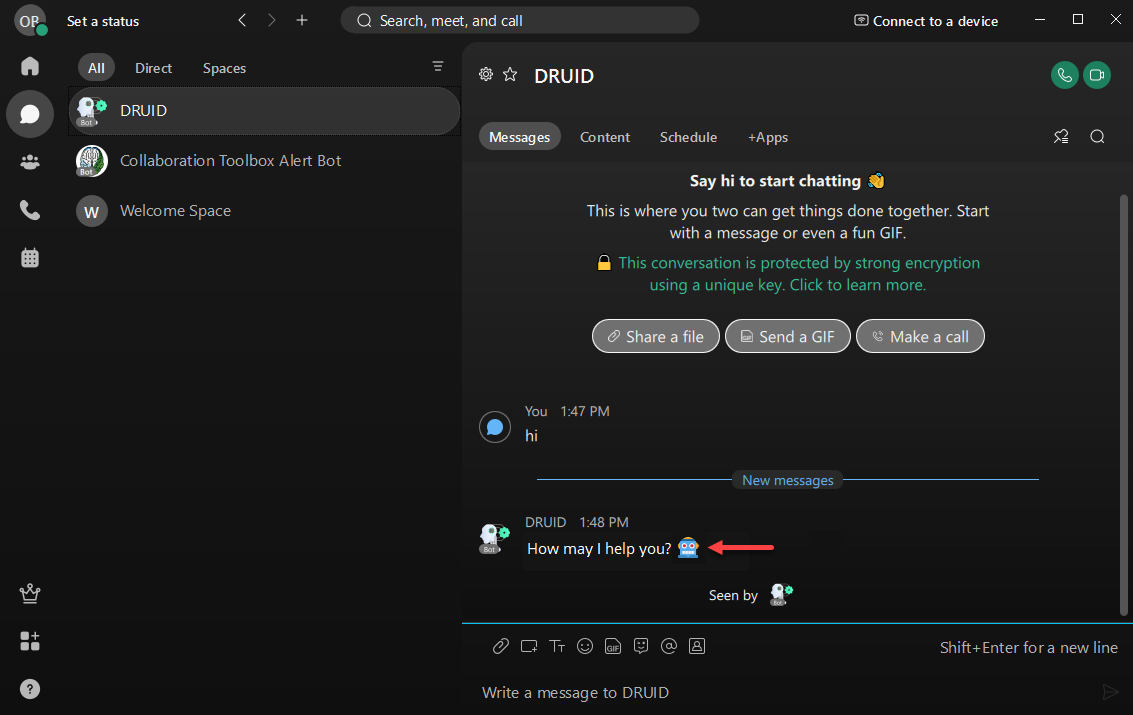
- Click Invite to Webex. You can now start chatting with the AI Agent. A special badge is added to messages the AI Agent sends so users know they're interacting with a AI Agent instead of a human.