Recommend Automations on Forms
Empower your business users to seamlessly trigger conversational flows and integrations directly from forms by providing a curated set of recommended automations—shortcuts or links to specific flows or integrations—tailored to the context of the form(s).
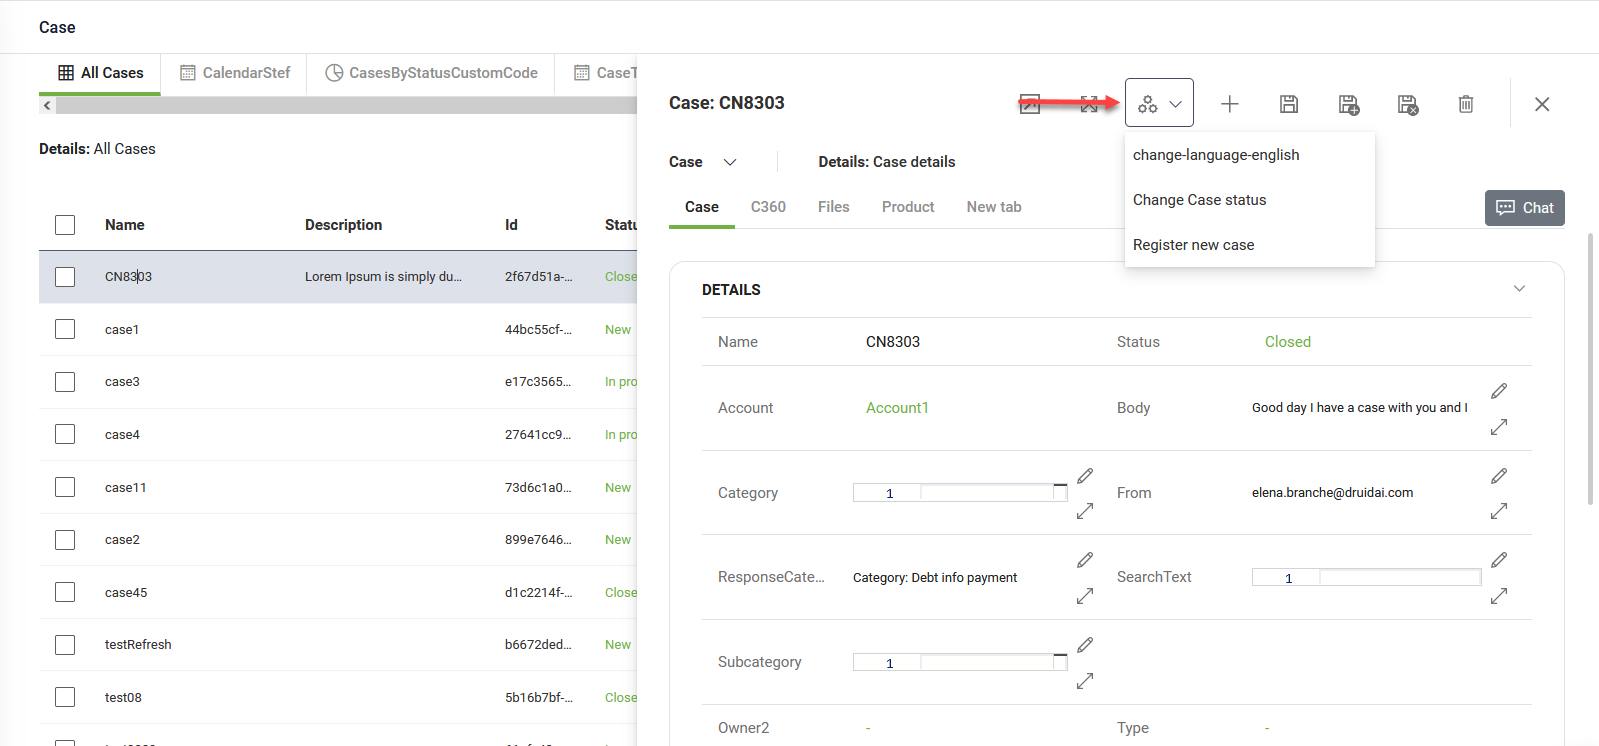
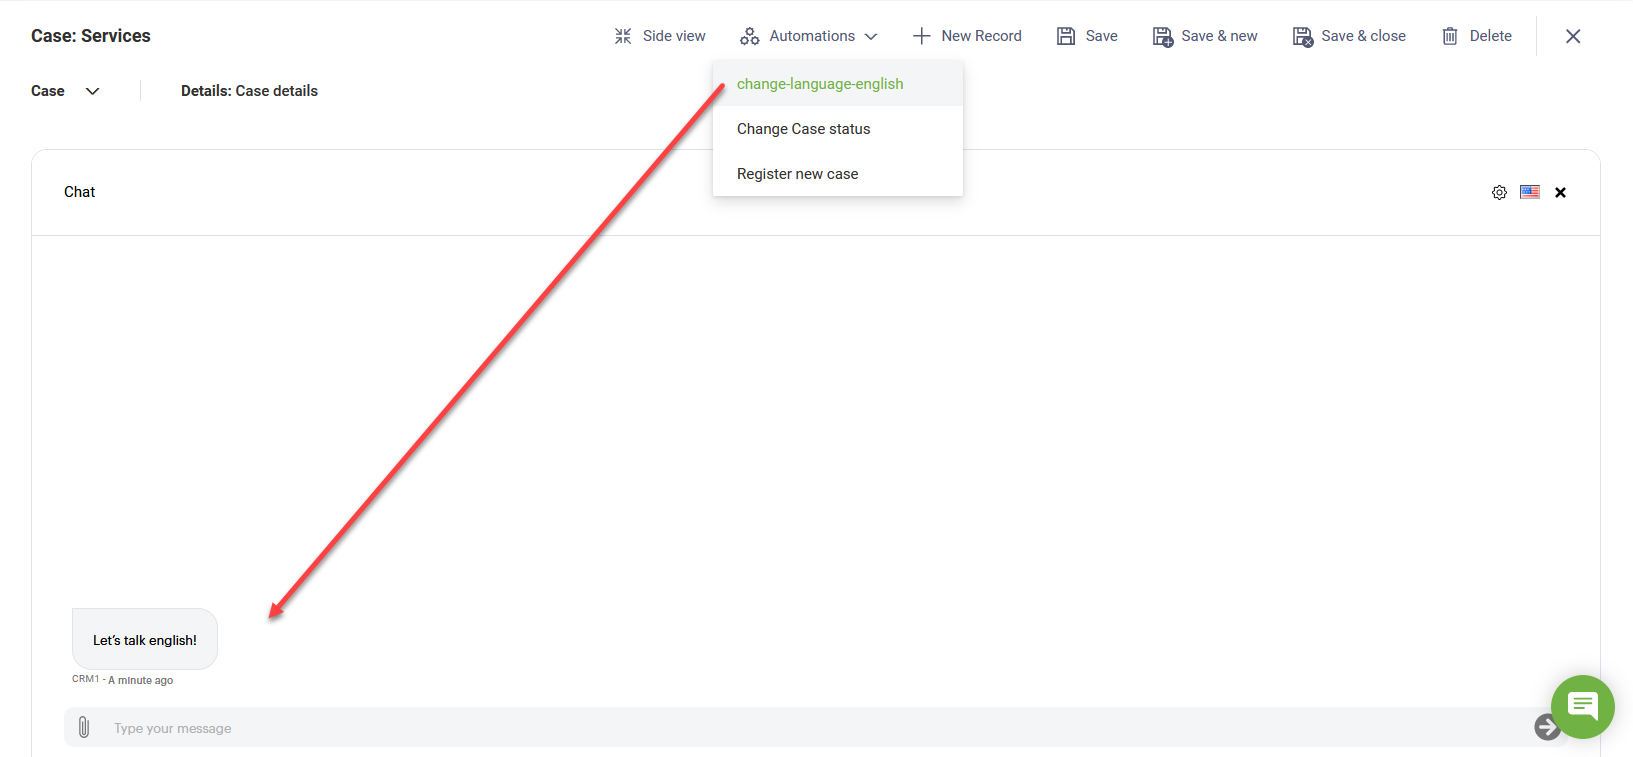
When users select a recommended automation, it triggers the conversation in the chat on the form, and the AI Agent executes the selected flow or integration on the current form.
Recommending automations
To recommend automations to users on forms, follow these steps:
- Navigate to the desired form configuration page.
- Click the Automations icon (
 ) in the right-side editor.
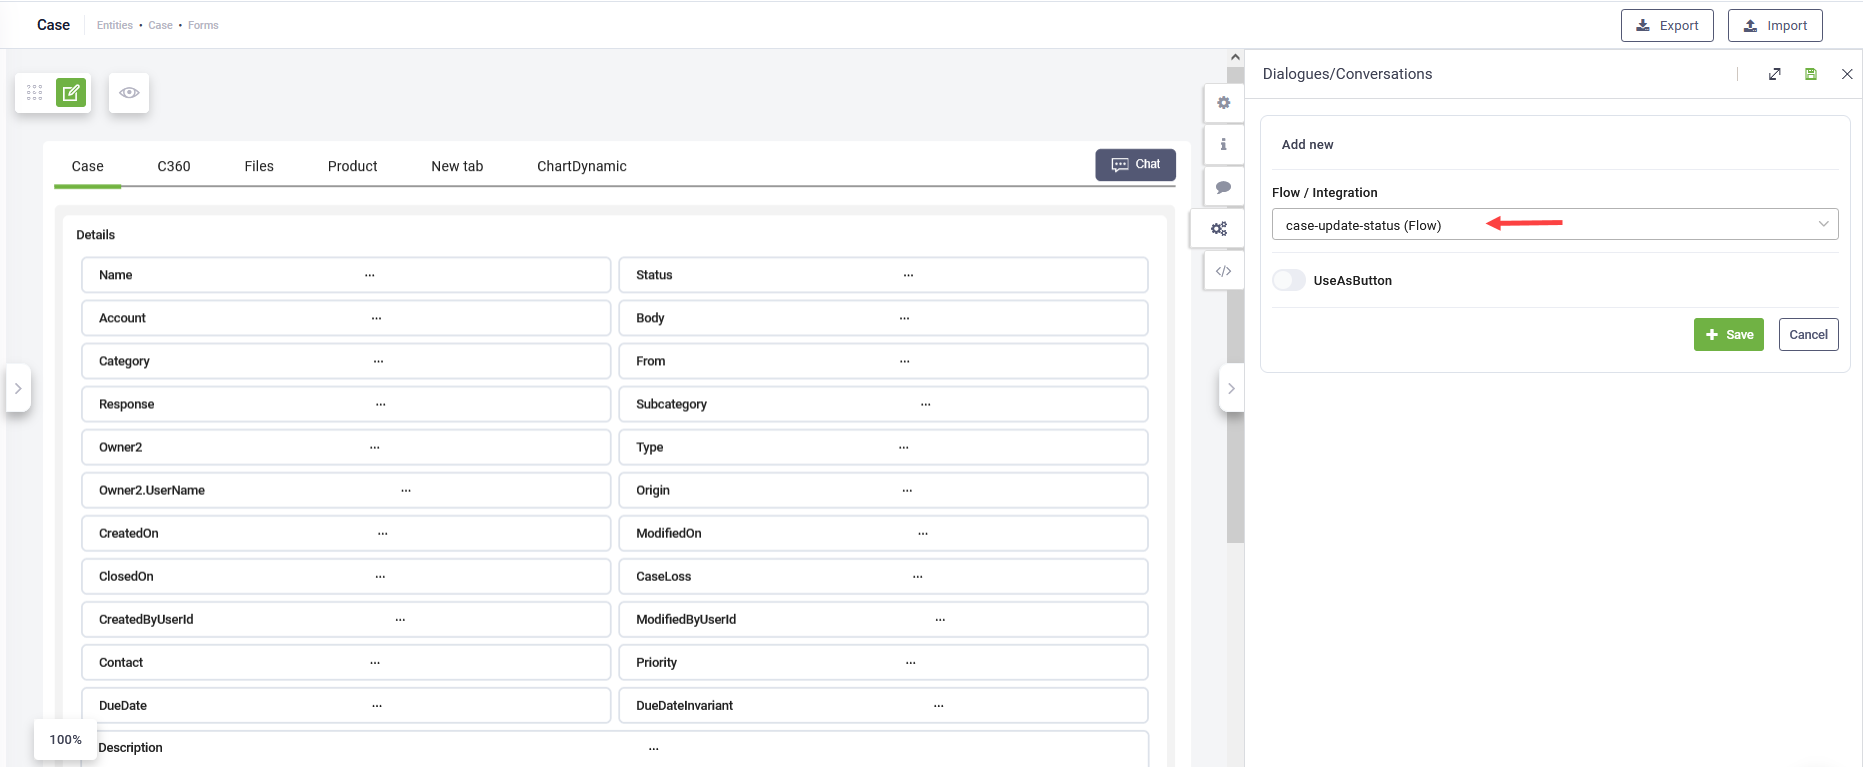
- In the Dialogues/Conversations editor , click Add New.
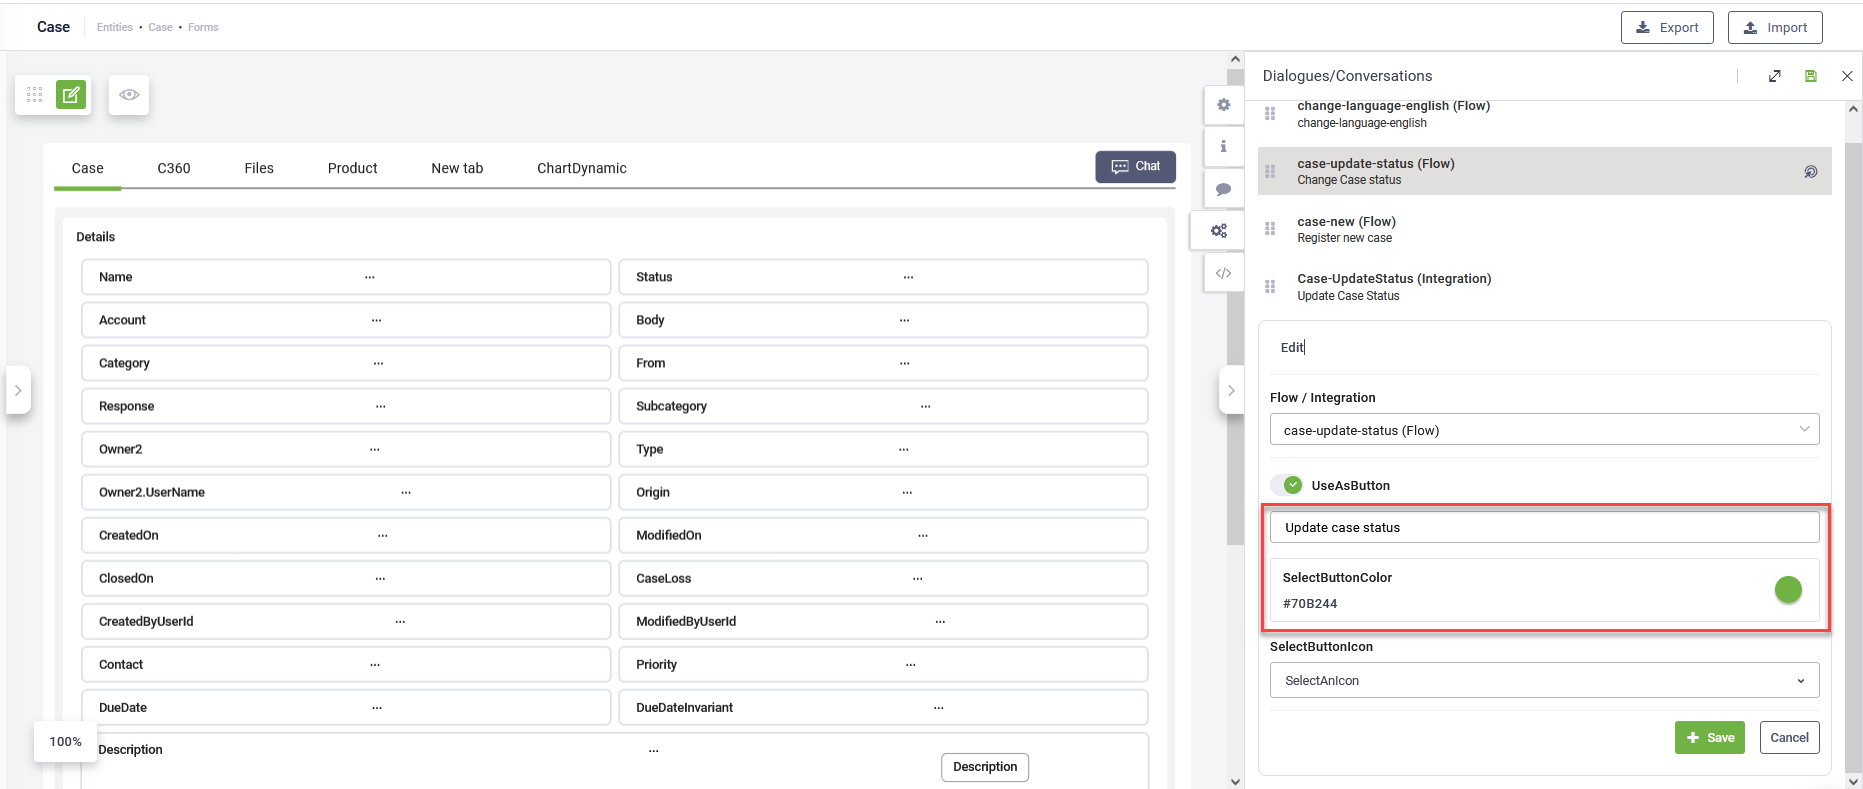
- In the Flow / Integration field, select the flow or integration you want to use. To make the automation available as a button or icon on the toolbar for quick access, select Use as button, then configure the button or icon by following the steps in Making automations available as action buttons / icons.
- Click the Save button.
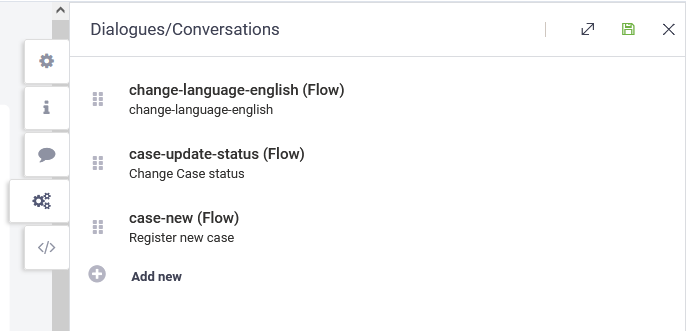
- Add as many automations as needed to the list. You can reorder them using drag and drop.
- Click the Save icon (
 ) located at the top-right corner of the editor to apply the changes.
![]()
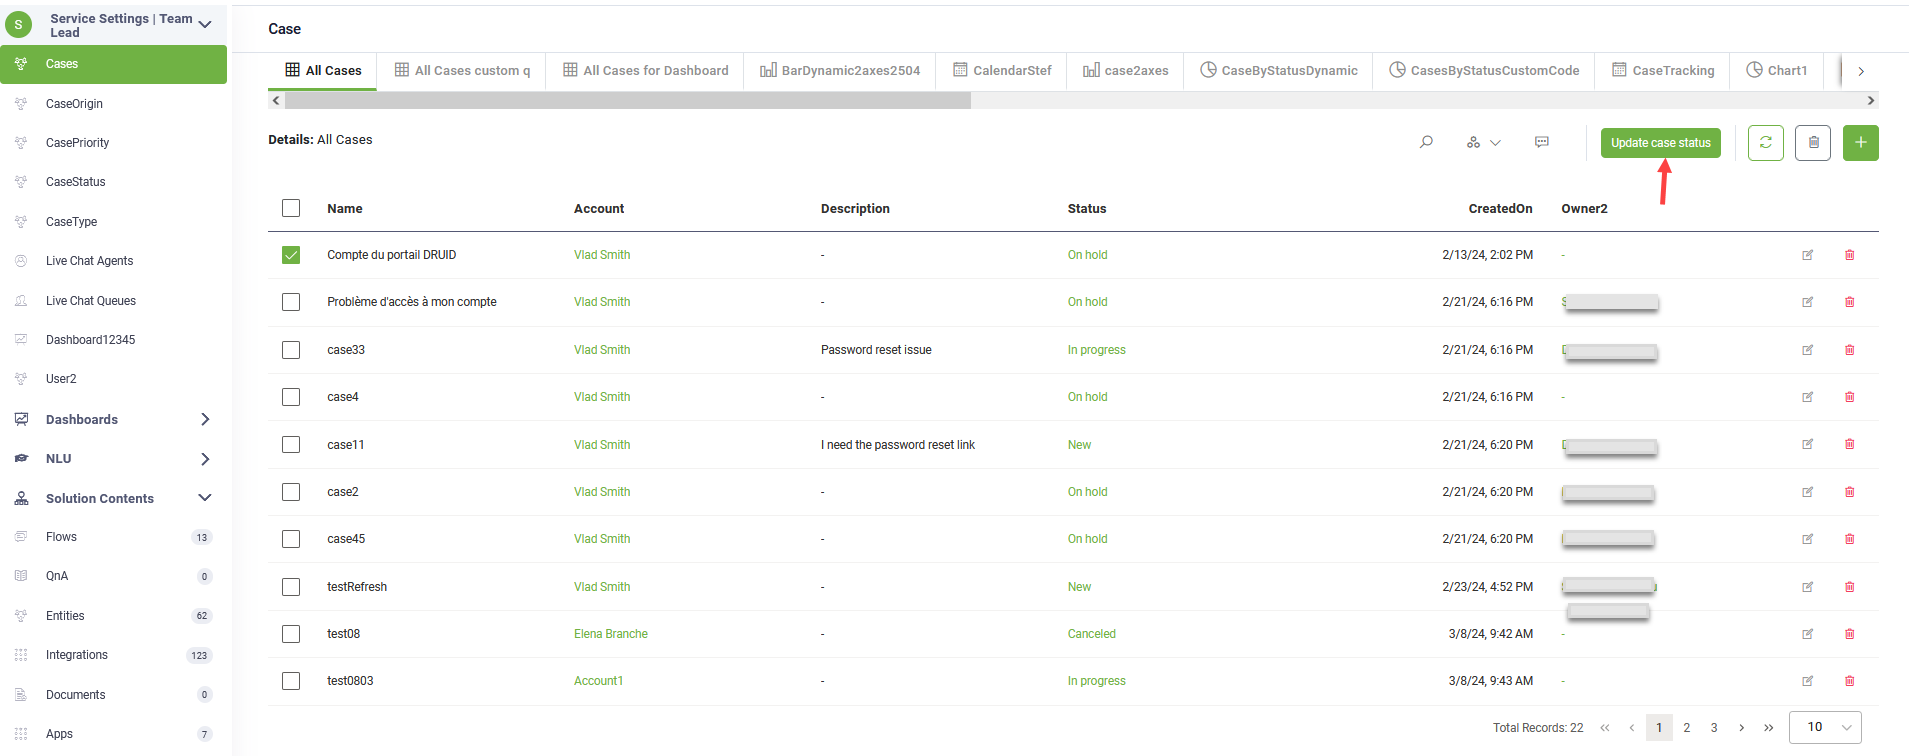
Making automations available as action buttons / icons
Action buttons and icons at the top of views and forms let users trigger recommended automations with a single click. Instead of opening the Automations menu and selecting an action, users can quickly execute key actions from the top-right corner of the page. This feature reduces extra steps and improves efficiency, helping users complete tasks faster.
When creating a new recommended automation or editing an existing one, follow these steps to make it available as a button or icon in the view:
- Select Use as button.
- Choose how you want to display the quick action:
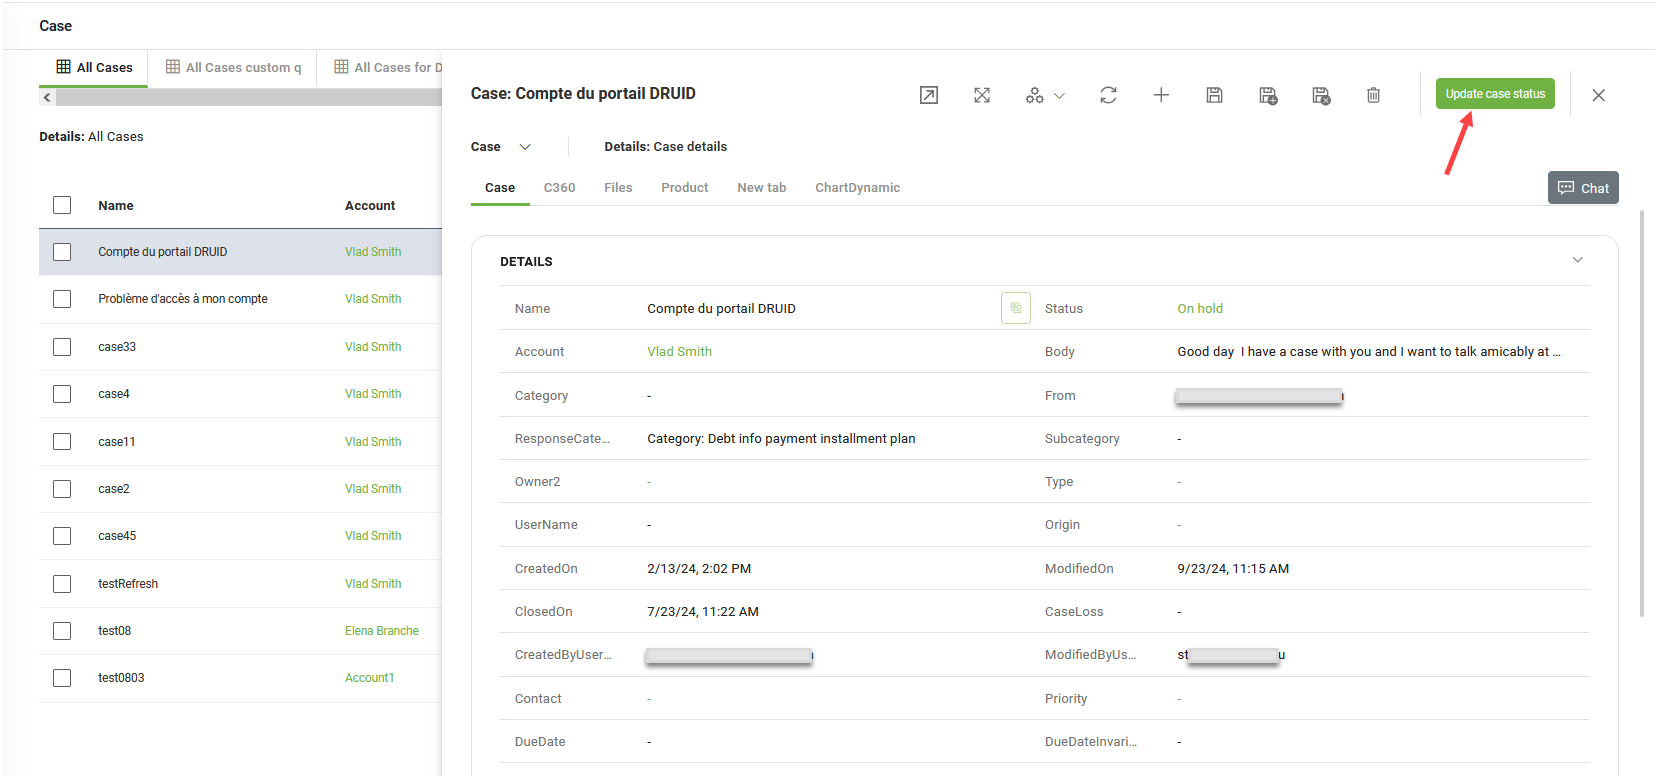
- As a button – Enter a button name and select a color. The default color is DRUID green.
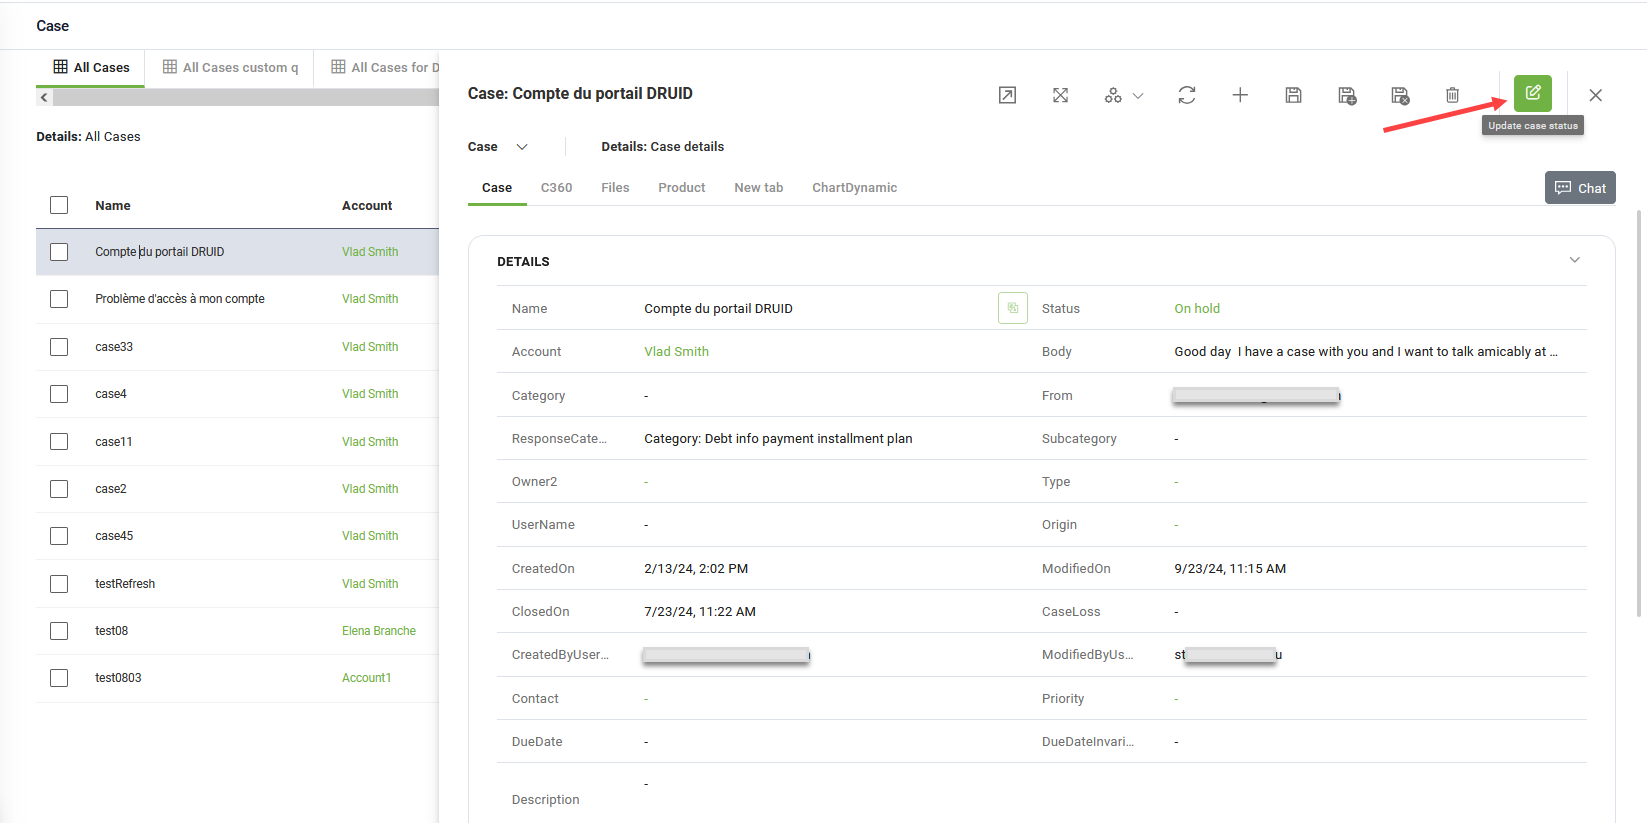
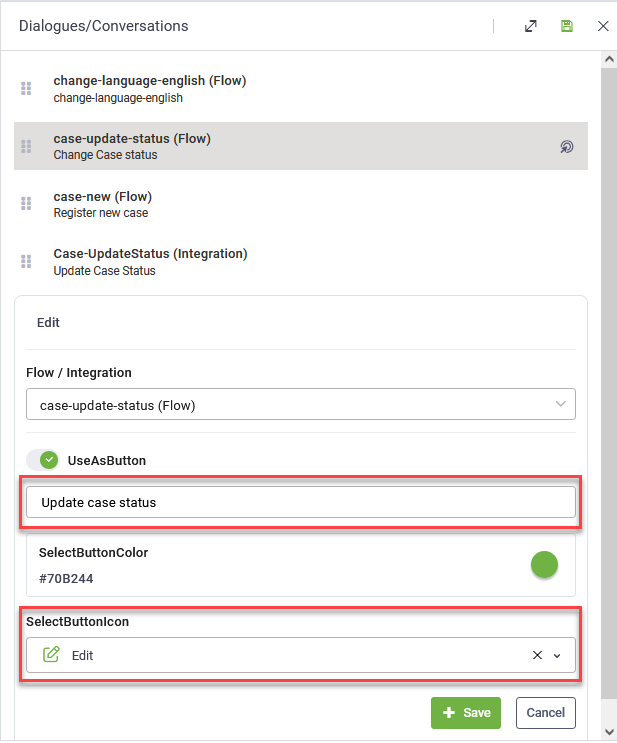
- As an icon with hover text – Enter a button name and select an icon from the available library.
- As an icon only – Select an icon and leave the button name field empty.
- Click Save.
-
Click the Save icon () located at the top-right corner of the editor to apply your changes.