Kanban Views
Kanban views provide a visual way to organize and manage records using cards, columns, and colors. This graphical representation helps teams stay focused on completing tasks before starting new ones, ensuring that top-priority work remains the focus and improving overall efficiency.
Kanban views are useful for various use cases, including project management, lead management, bug tracking, and work monitoring.
In a Kanban view, each record is represented as a card. These cards are arranged within vertical columns on the board, with each column grouping records based on a specific field.
Creating Kanban Views
Creating a Kanban view involves four main steps:
- Add a Kanban view.
- Define the view properties.
- Add and configure columns.
- Define the data through Integrations.
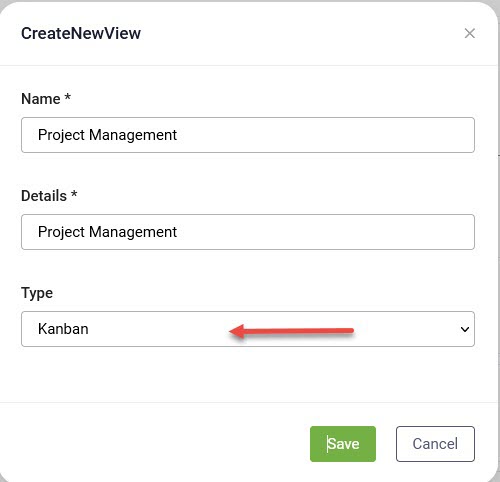
Step 1. Add Kanban View
Before configuring a Kanban view, you must first add a new view of type Kanban to the desired entity.
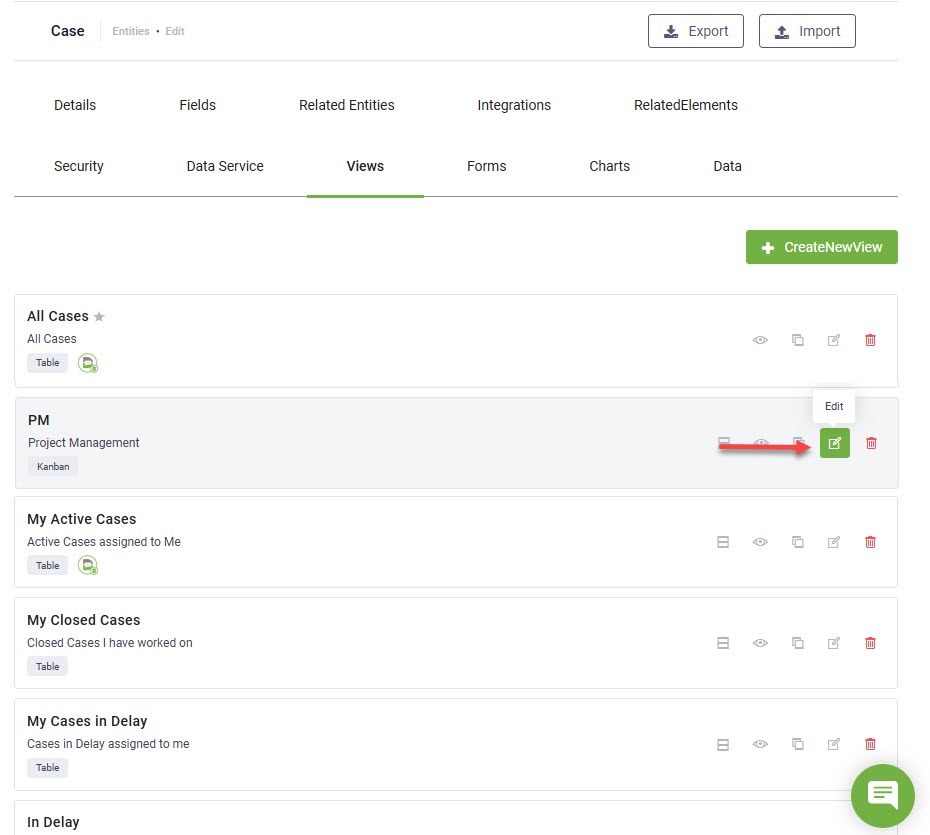
Step 2. Define the view properties
To configure the Kanban view, on the entity’s Views page, click the Edit icon ( )next to the Kanban view you want to define.
The View Designer opens, displaying a default column with an empty card. The right-side editor automatically opens the View Properties panel ( ).
).
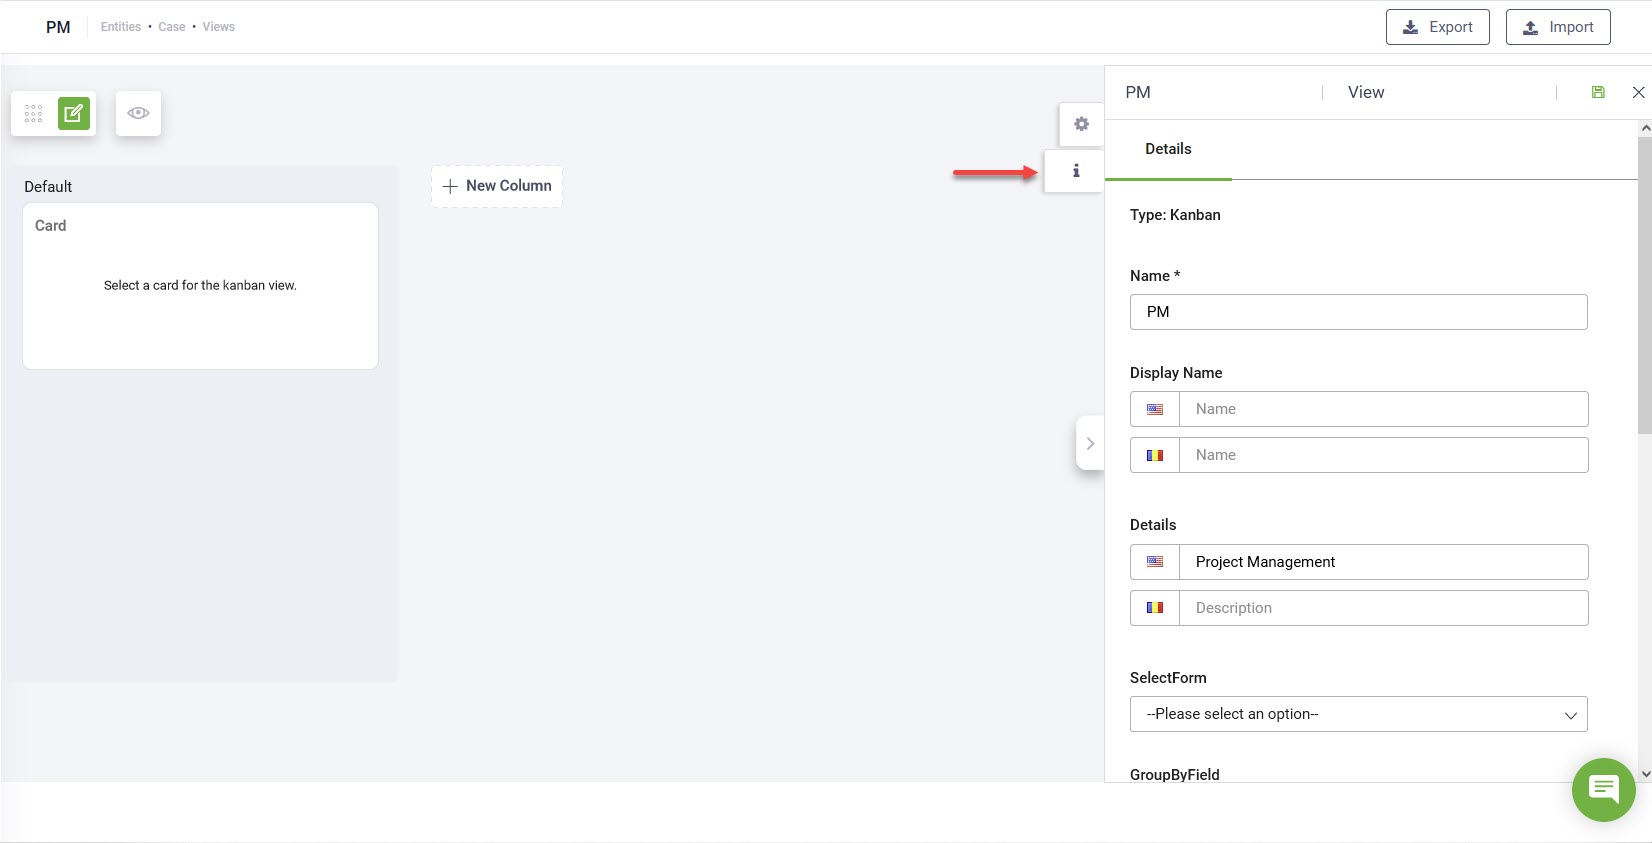
Configure the following properties:
| Parameter | Description | Mandatory |
|---|---|---|
| Name | The view name (editable). | Yes |
| Display Name | If the view contains multilingual records, provide the display name and optional details in all supported languages. | No |
| Details | No | |
| SelectForm |
Choose a form that defines the card content. The form name is displayed as the card title. Info: It is recommended to use simple forms to ensure key information is clearly visible.
|
Yes |
| GroupByField |
Select an entity field to group records into columns (e.g., grouping support tickets by status). |
Yes |
| SortByField |
Set a sorting order for cards within each column based on a specific entity field. If left unset, DRUID sorts the cards by their data index. |
No |
Click the Save icon ( ) in the top-right corner of the editor to apply the settings.
Step 3. Add view columns and define their layout
Click the New Column button ( ) to add as many columns as needed.
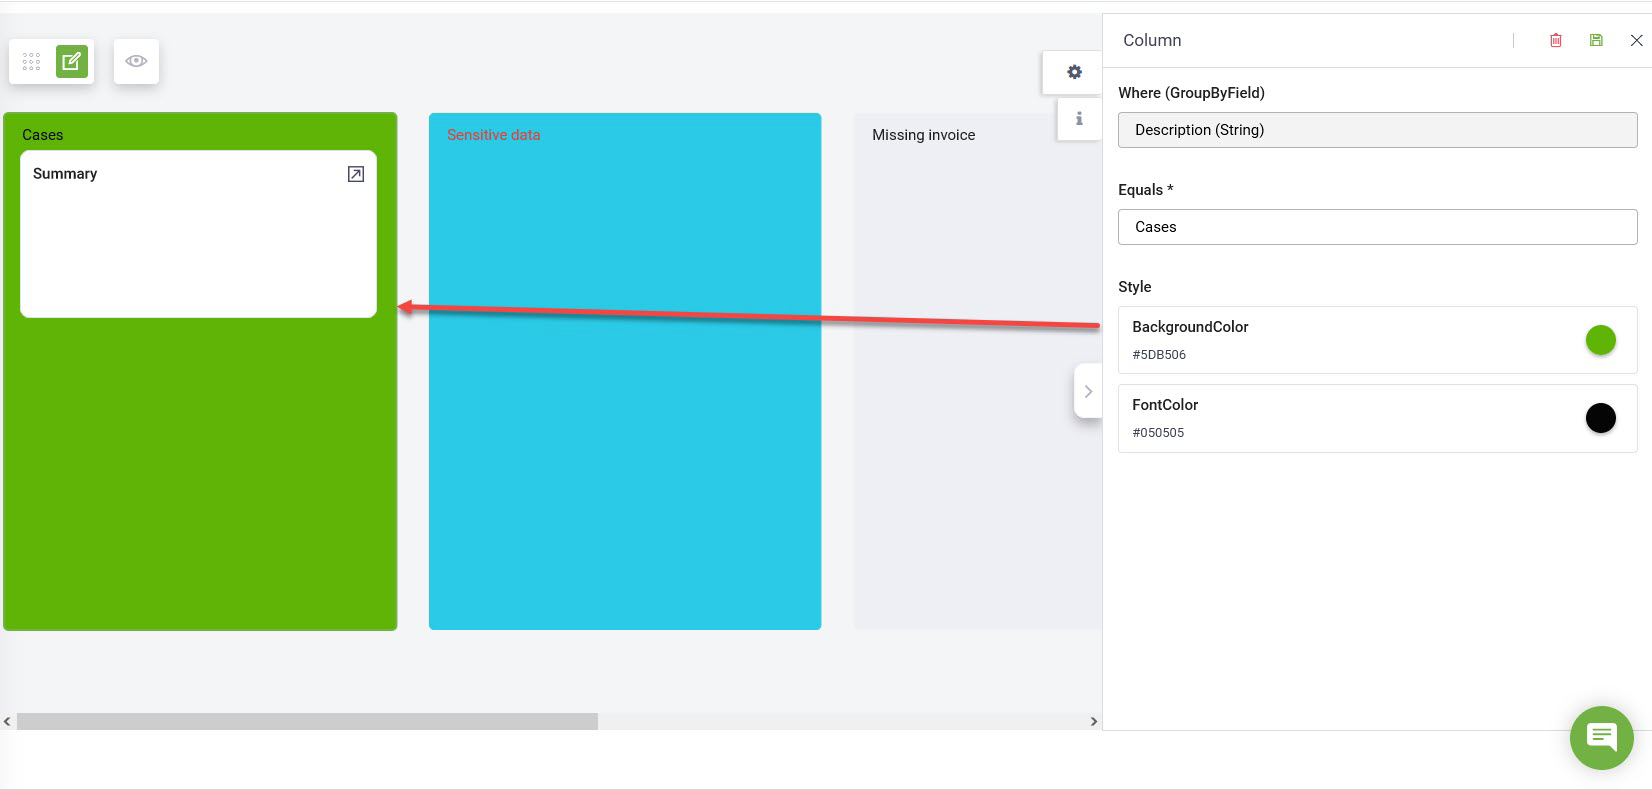
To configure a column:
- Click on the column, then click the Settings icon (
 ).
).
- In the right-side editor, enter the column name in the Equals field. This name will be visible as the column title.
- Set a background color and font color for the column title.
- Click the Save icon () to apply the settings.
Step 4. Define view data by adding integrations
To configure the data sources for your Kanban view, follow the instructions in Define View Data by Adding Integrations, with one additional step. In the Update Data section, define or select the desired integration based on how you want authors and business users to update records in the view, then save the integration(s).
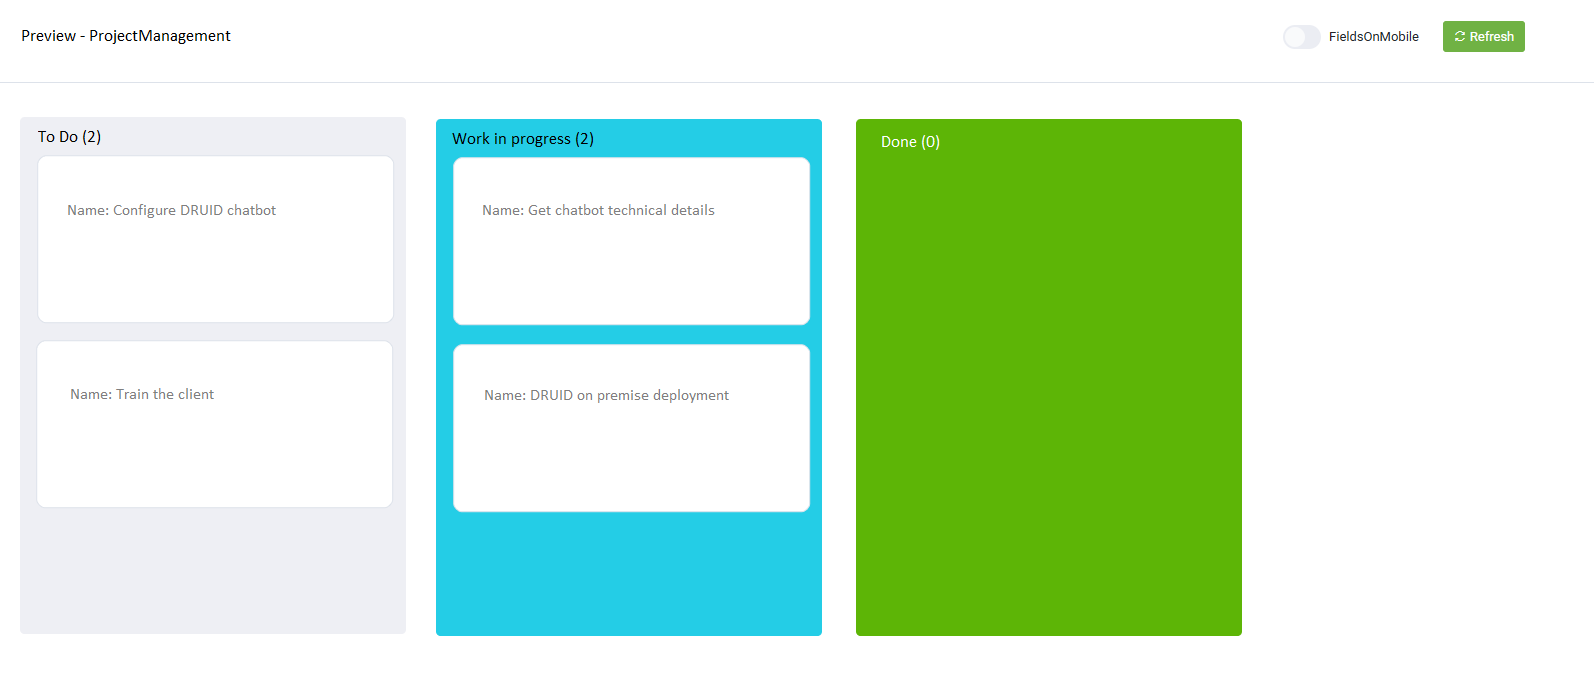
You can now preview the Kanban view and make further adjustments if needed.
Managing records in Kanban views
Update records
You can perform the following actions:
- Move cards from left to right by using drag and drop. When you move a card, for that record DRUID automatically updates the value of the field that groups records into columns (the value of the entity field set in GroupByField).
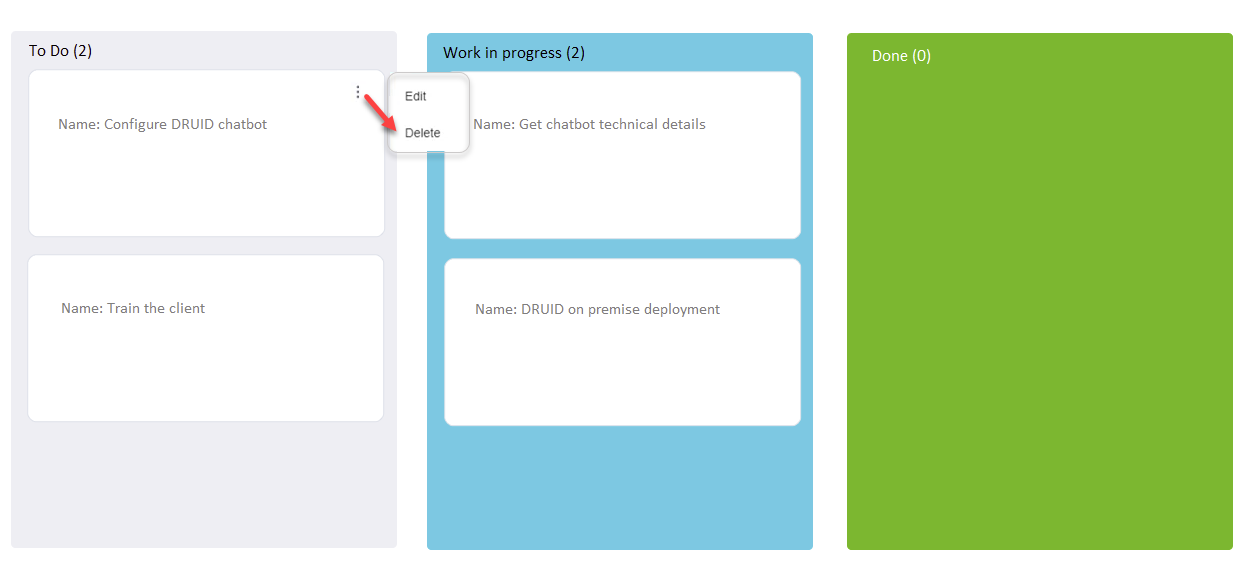
- Update record details. Double click on the desired card or place the cursor on the card, click the three dots and click Edit.

The record details displays in the default form set on the current entity and not the form you selected when creating the Kanban view which is only used to show card information. Make the necessary changes and save the record. The card will be automatically moved to another column only if you update the value of the field that groups records into columns.
Delete records
You have two options to delete a record from a Kanban view:
- Place the cursor on the card, click the three dots and click Delete. You need to confirm record deletion.
- Double-click on the desired card and at top-right corner of the form which displays on the right, click the delete icon.