Standard API Authentication
Use this guide if the target API uses a static, long-lived bearer token, API secret, username key, or organization header. For these services, you can skip complex login workflows and directly add permanent credentials to outbound requests.
Info: If the target API tokens expire periodically and require a dedicated login endpoint call to refresh them, stop here and see the Advanced Dynamic Authentication.
Define the authorization template
The authorization template automatically attaches static credentials to every outbound integration request made through the connector.
Step 1: Create the Authorize Request task
- In the REST app configuration page, locate the Authorize request connector action field and click the + icon.
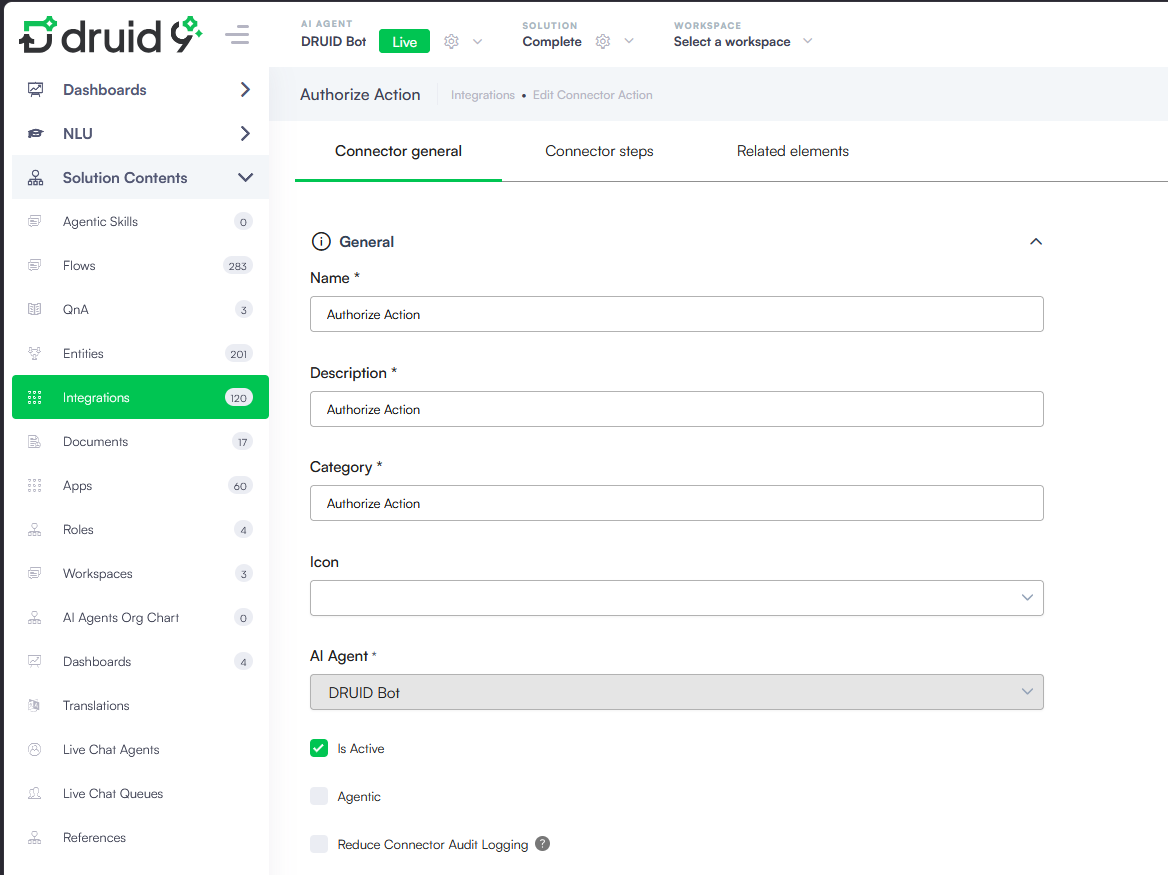
- Complete the mandatory fields in the Connector general tab: Name, Description, Category, Is Active.
- Click Save, and click the Connector steps tab.
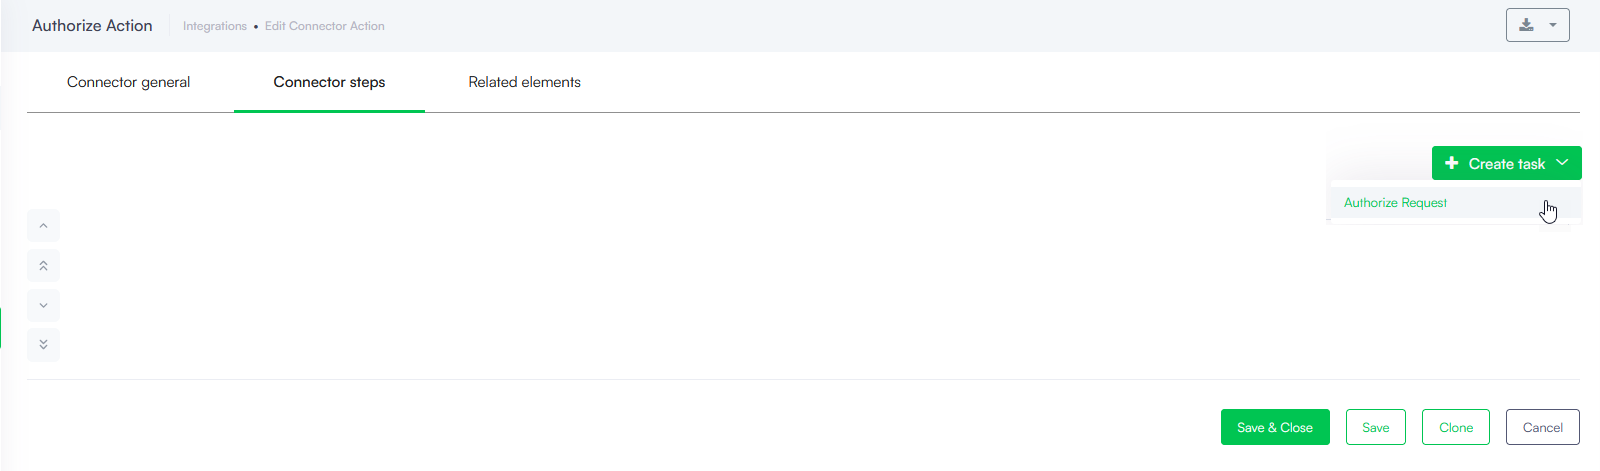
- Click Create task and choose Authorize Request.
Step 2: Configure integration task metadata
- In the General tab, enter a clear, descriptive name (for example, Authorize Action).
- Select the matching Connector Code from the dropdown.
- Select Save.
Step 3: Add credentials to request headers
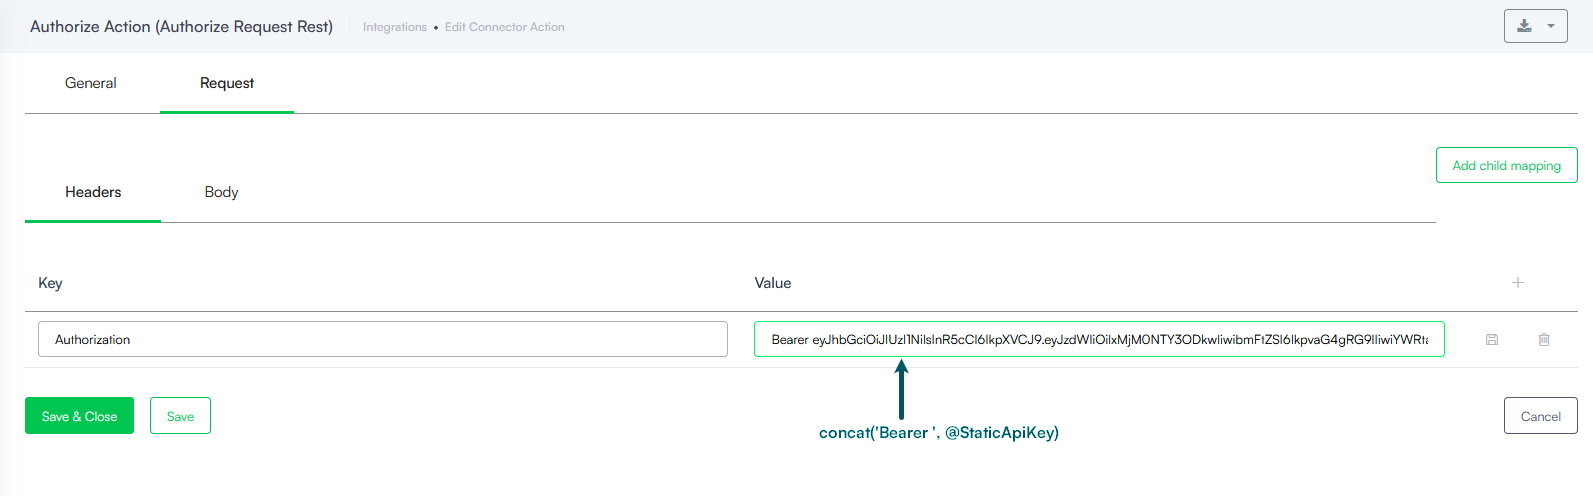
- Click the Request tab (this view defaults to the Headers sub-tab).
- Add the authentication key and value required by the target provider.
- Select Save & Close twice to exit the integration task editor.
Header formatting example: Bearer token
To pass a static token using a standard Bearer authorization header, apply the built-in string concatenation function inside the header value field:
Header Key: Authorization
Value: concat('Bearer ', @StaticApiKey)
Link the authorize action to the connector app
- On the app configuration page, locate the Authorize request connector action dropdown.
- Select the newly created authorization integration task.
- Select Save & Close to apply the authentication format to all future calls.