Defining the Integration Actions
Connector Action (Integration) only represents a host for a group of one or more integration tasks. The integration technology/type (SQL, REST, SOAP, SMTP, etc.) is defined at task level, not at action (integration) level.
Example: If, at a certain point in the conversation flow, you need to send an email to the client, but the necessary data for that email comes from 2 different sources, you can create a single action which always performs the 3 operations, sequentially (getting email address from an SQL Database, then getting some HR data via a REST API call, and then sending this data to that email address using a SMTP call). From the flow designing point of view, you only place one integration action on the flow step.
If a connector action (integration) has more tasks, the response data will be returned to the flow only after ALL tasks inside the action have run. Implicitly, data in the response entity might be altered by the execution of each task. Also, tasks within the same action can be of different types (SQL, REST, SOAP, SMTP, etc.).
Thus, at Connector Action (Integration) level, only the general information is saved, and used for describing and identifying the action.
With the AI Agent data model and DRUID connectors created, using the Connector Designer you can define the integration actions and tasks.
To access the Connector Designer, from the main menu , click Integrations. The Connector Designer appears.
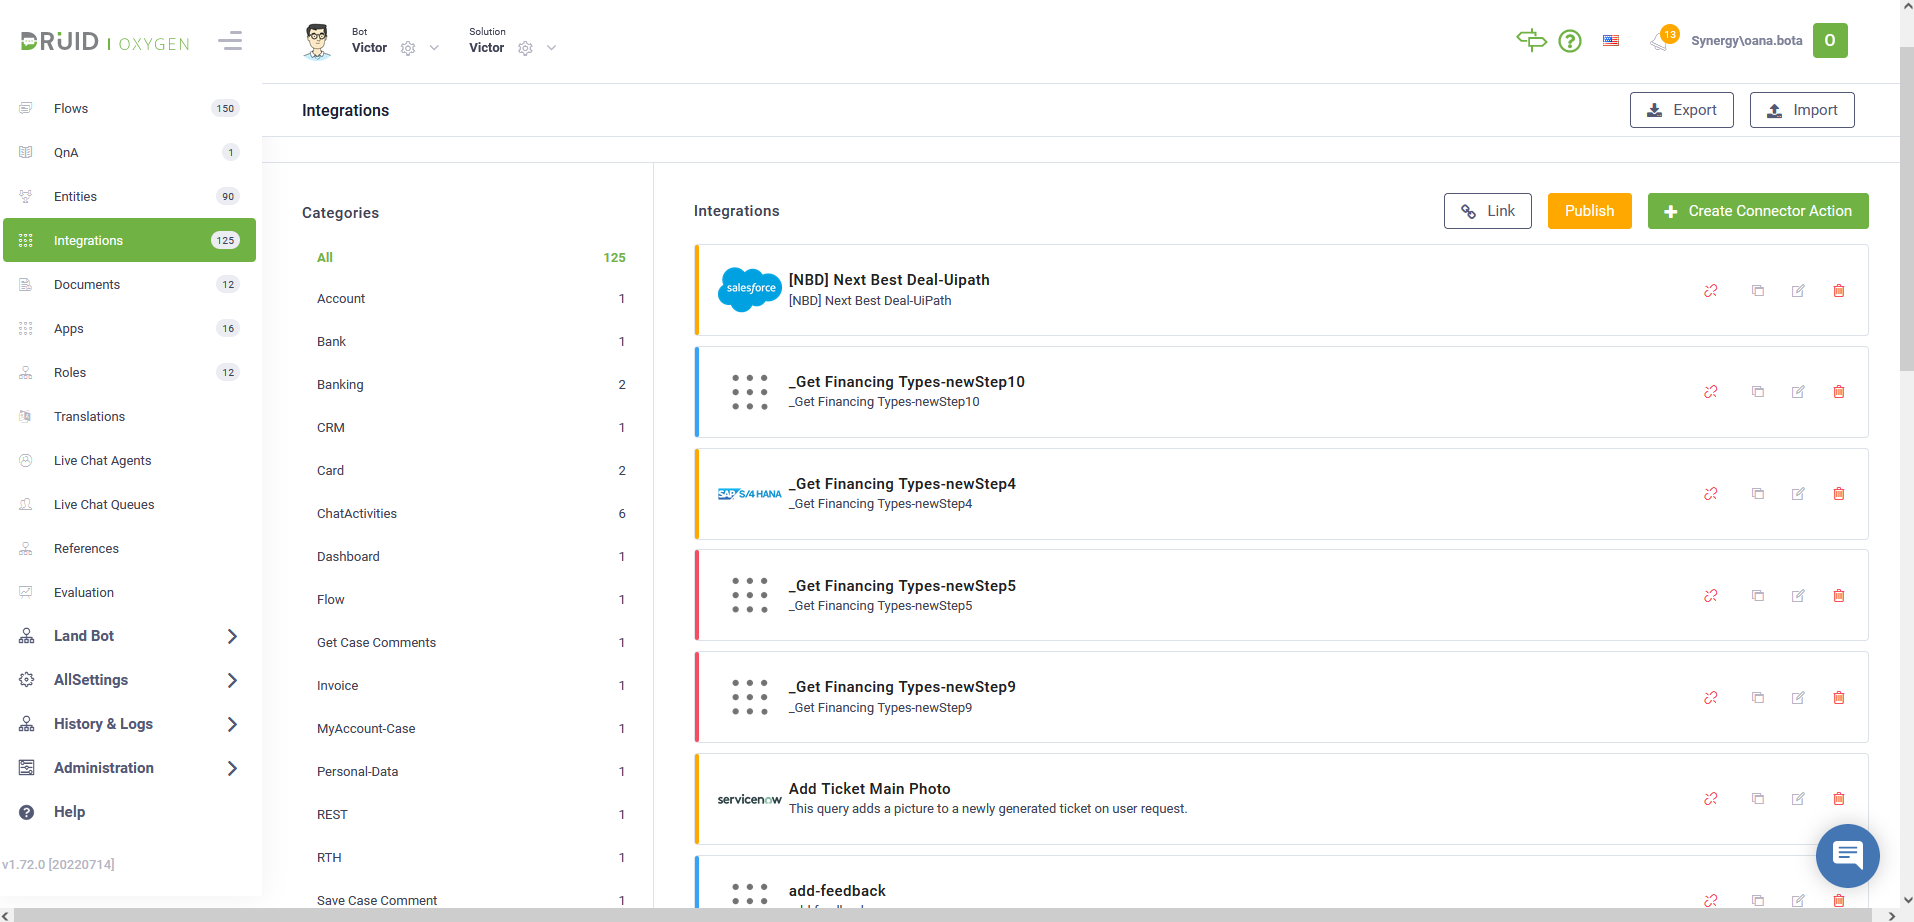
It displays all connector actions break down per category. The line in front of the name indicates whether the action has been published or not and if it contains errors. For details, see the legend displayed on top of the list.
Using the icons displayed in line with an action, you can perform the following actions:
- Unlink an action from the current solution.
- Clone an action.
- Edit an action.
- Delete an action.
To configure an integration, flow these steps:
Step 1: Create connector action
To create a connector action, at the top-right corner of the page, click the Create Connector Action button. The Edit Connector Action page appears by default on the Connector general tab.
Provide the connector action general details by setting up the parameters described in the table below:
| Parameter | Description |
|---|---|
| Name | The name of the action. The field is mandatory. |
| Description | A brief description of the action that might be useful for other tenant admins. The field is mandatory. |
| Category | Define on the spot when creating the action. Useful to easily find the actions in the Integrations list. The field is mandatory. |
| Icon |
Select the icon that best describes the integration. It helps you easily identify the integration action in the list of integrations. If no icon is selected, Druid will show default icon. |
| AI Agent | The name of the AI Agent which will be using the connector action. The field is mandatory. |
| Request Entity Name |
The entity used by the AI Agent to send data to the external app via the current action. |
| Response Entity Name |
The entity used by the AI Agent to receive data from the external app via the current action. |
| Is Response Collection | Select only if the response is expected to be a list of records. E.g., a list of holidays, whereas each holiday has its own data set. |
| Is Active | Select to activate the connector action. |
| Reduce Connector Audit Logging |
Disables the logging of Request Entity and Response Entity data within the Connector Audit Log. Use this option to optimize performance and storage when the entity payload is expected to be significantly large. |
| Disable Connector Audit Full Database Logging |
Prevents the storage of the full entity payload in the database. This is recommended when handling a high request volume that does not require detailed tracking or when payloads are large. While this reduces tracking overhead, system errors are still logged for monitoring and debugging purposes. |
Click Save to save the settings and stay on page, or click Save & Close to save and exit the page.
Now you can add integration tasks to your connector action.
Step 2: Add integration tasks
To add a task, in the Edit Connector Action page, click the Connector steps tab. The page lists all tasks added on the action.
At the top-right corner of the page, click Create Task and from the drop-down select the type of task you want to add on the connector action.
Based on the type of task you select, you have to configure specific settings (that is, the content of the task configuration page differs based on the task type). For more information on task specific settings, see subsequent sections.
Step 3: Publish connector actions
In order for the AI Agent integration with an app to be up and running, you need to publish the connector actions. To do so, at the top-right corner of the Connector Designer, click the Publish button. Once the publishing completes successfully, you can start using the connector action in any flow to send and retrieve data from the app.